

What to Photograph Before a Cape Coral Storm Rebuild
After Cape Coral storm damage, the rush to dry out and rebuild can make it easy to lose a clear record of what happened. Photograph each affected area before demolition, then continue documenting as authorized work exposes concealed damage.
Start with wide room views, move in for close-ups, and record the date, location, and affected area for every photo series. A careful record can help you communicate with your insurer and construction team, but it doesn't guarantee coverage or a particular claim outcome.
Key Takeaways
- Photograph each room from several angles before materials are removed.
- Pair wide shots with close-ups of damage and nearby surfaces.
- Note the date, room, and specific location for each photo series.
- Document concealed damage as it appears during authorized work.
- Keep receipts, estimates, reports, and repair communications with the photos.
- Never enter unstable or restricted areas to take a picture.
Why Photograph the Home Before Demolition?
Preserve what the room looked like
Demolition changes the scene. Drywall, flooring, cabinets, and insulation may be removed before every decision about repair is settled. Photos taken beforehand show the condition of the room and help distinguish visible storm damage from later construction work.
They also give your builder, insurer, and other professionals a shared reference. A written note such as "water staining on the living room ceiling near the lanai door" adds useful context that may not be obvious from a close-up alone.
Treat photos as a record, not a ruling
Photographs can support a discussion about damage, repair scope, and project planning. They don't determine the cause of damage, establish coverage, or replace an inspection or professional assessment.
Before demolition, coordinate with your insurer and the relevant construction or inspection professionals when possible. The right sequence for a larger remodel may include documenting the existing home and confirming the work scope before materials come out. For a practical planning reference, see the right sequence for a whole-home remodel.
Photograph Cape Coral Storm Damage Before Demolition
Begin with wide views
Stand in the doorway or a safe corner and take photos that show the whole room. Include the ceiling, walls, floor, windows, doors, and built-in features when visible. Then photograph the room from another safe angle so the layout is clear.
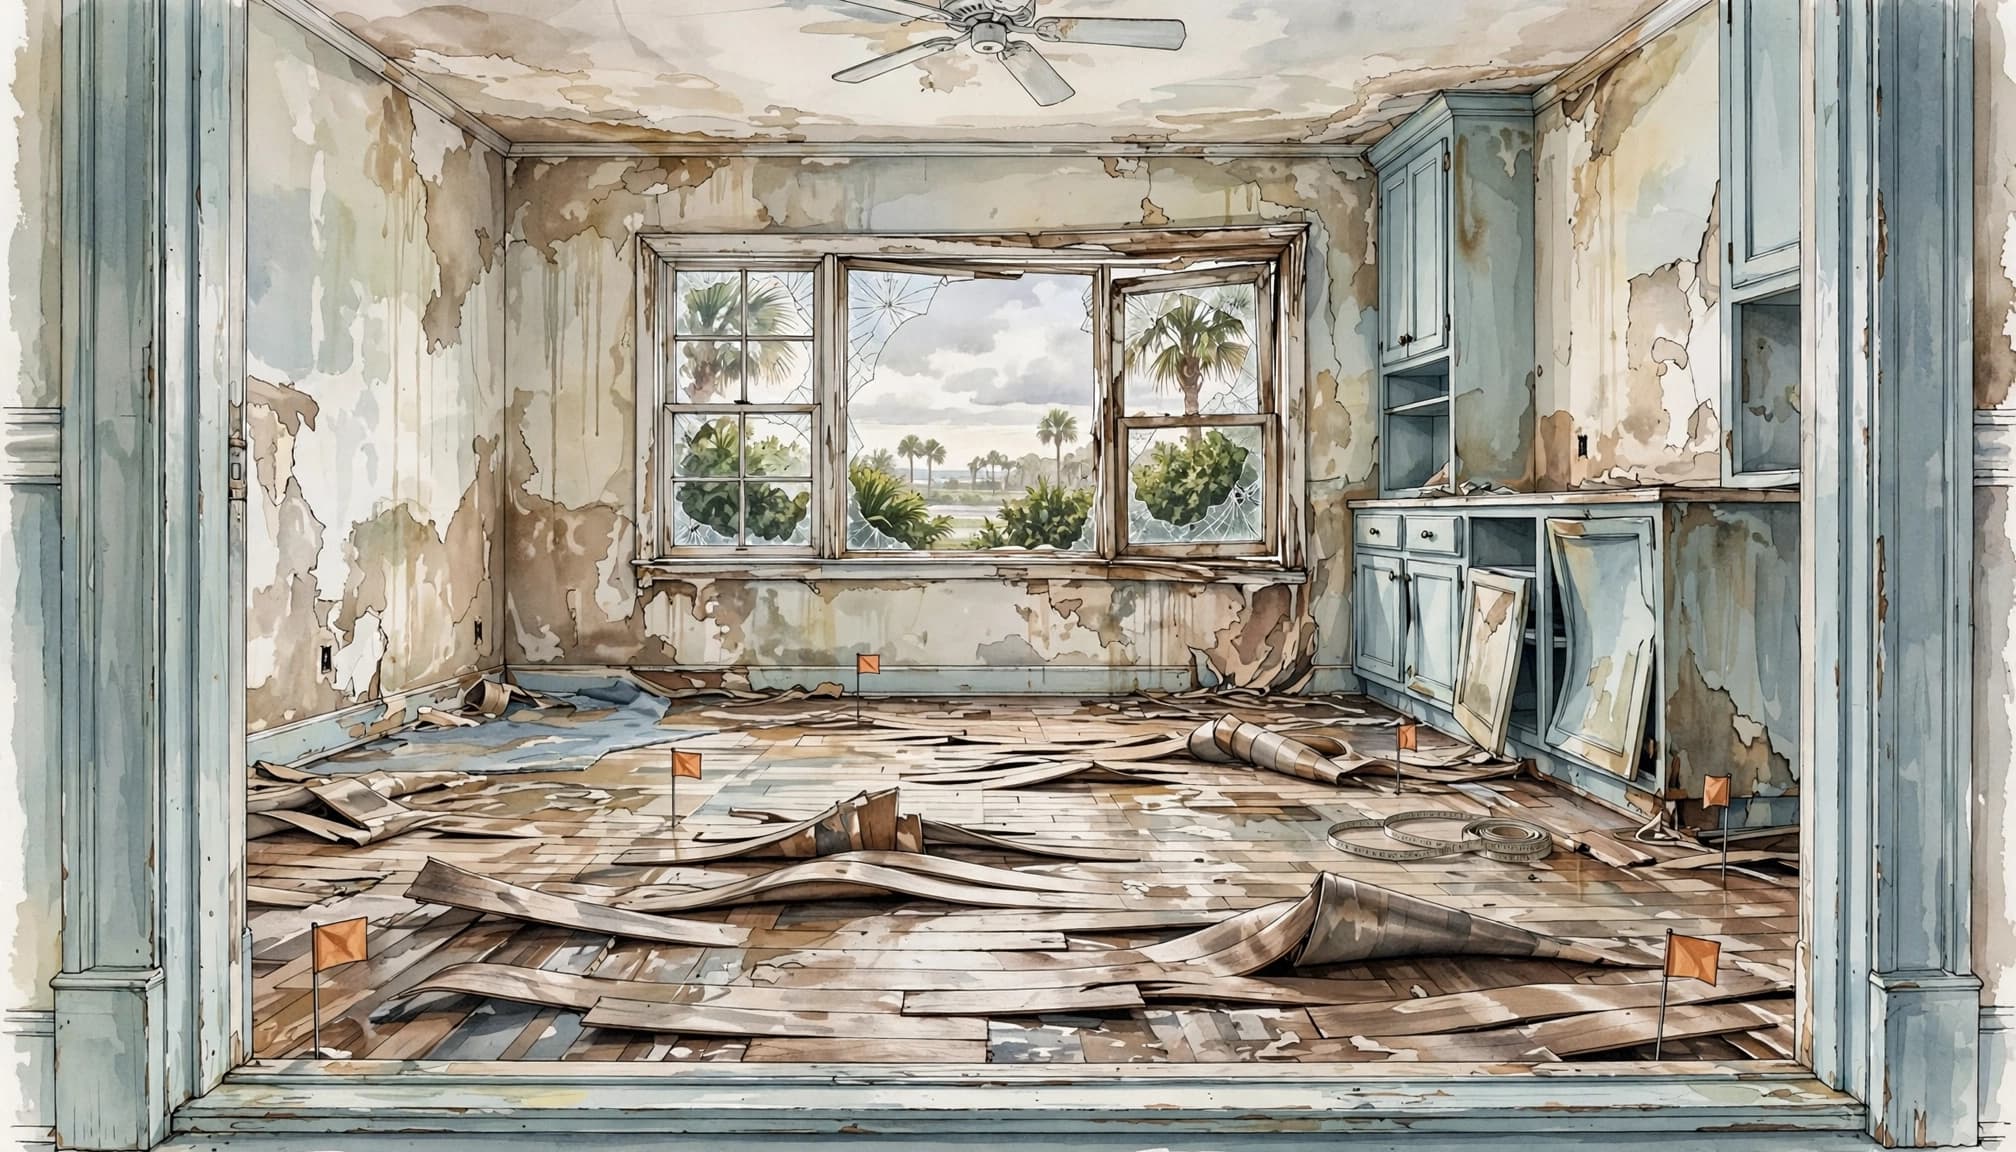
Wide photos provide context for close-ups. A picture of a stained patch is more useful when another image shows where that patch sits in the room.
Make each location easy to identify
For every affected room, note the home address, room name, date, and the part of the room shown. Add a simple location description, such as "north wall beside the kitchen entry" or "hallway floor outside the bathroom."
Take separate series for different affected areas. If water reached both a bedroom ceiling and the closet floor, label those locations independently rather than grouping them under a broad note like "upstairs damage."
Capture Visible Damage and Nearby Surfaces
Pair detail shots with context
After the wide views, photograph each visible problem close enough to show its condition. Capture water stains, cracked finishes, buckled flooring, damaged trim, broken glass, or swollen cabinetry. Then take a second photo from farther back to show where the damage sits.
If it's safe, include a measuring tape or another familiar size reference beside a crack or damaged section. Don't touch sharp debris, wet electrical equipment, or unstable materials to improve a photo.
Document the edges of affected areas
Damage may extend beyond the most obvious mark. Photograph the adjacent wall, floor, ceiling, and nearby openings, including doors and windows. Also record visible transitions, such as where flooring changes or where a wall meets a ceiling.
For roof or exterior damage, take pictures from a safe location on the ground. Never climb onto a roof or ladder after a storm to get a closer view. When damage involves block walls, wood framing, roof connections, or structural openings, record the location and let qualified professionals assess what the images can't show. Cape Coral homes use different structural systems, so Cape Coral home construction types can help explain why a photo alone may not describe the full assembly.
Document Hidden Damage as Work Progresses
Photograph exposed conditions before they're covered
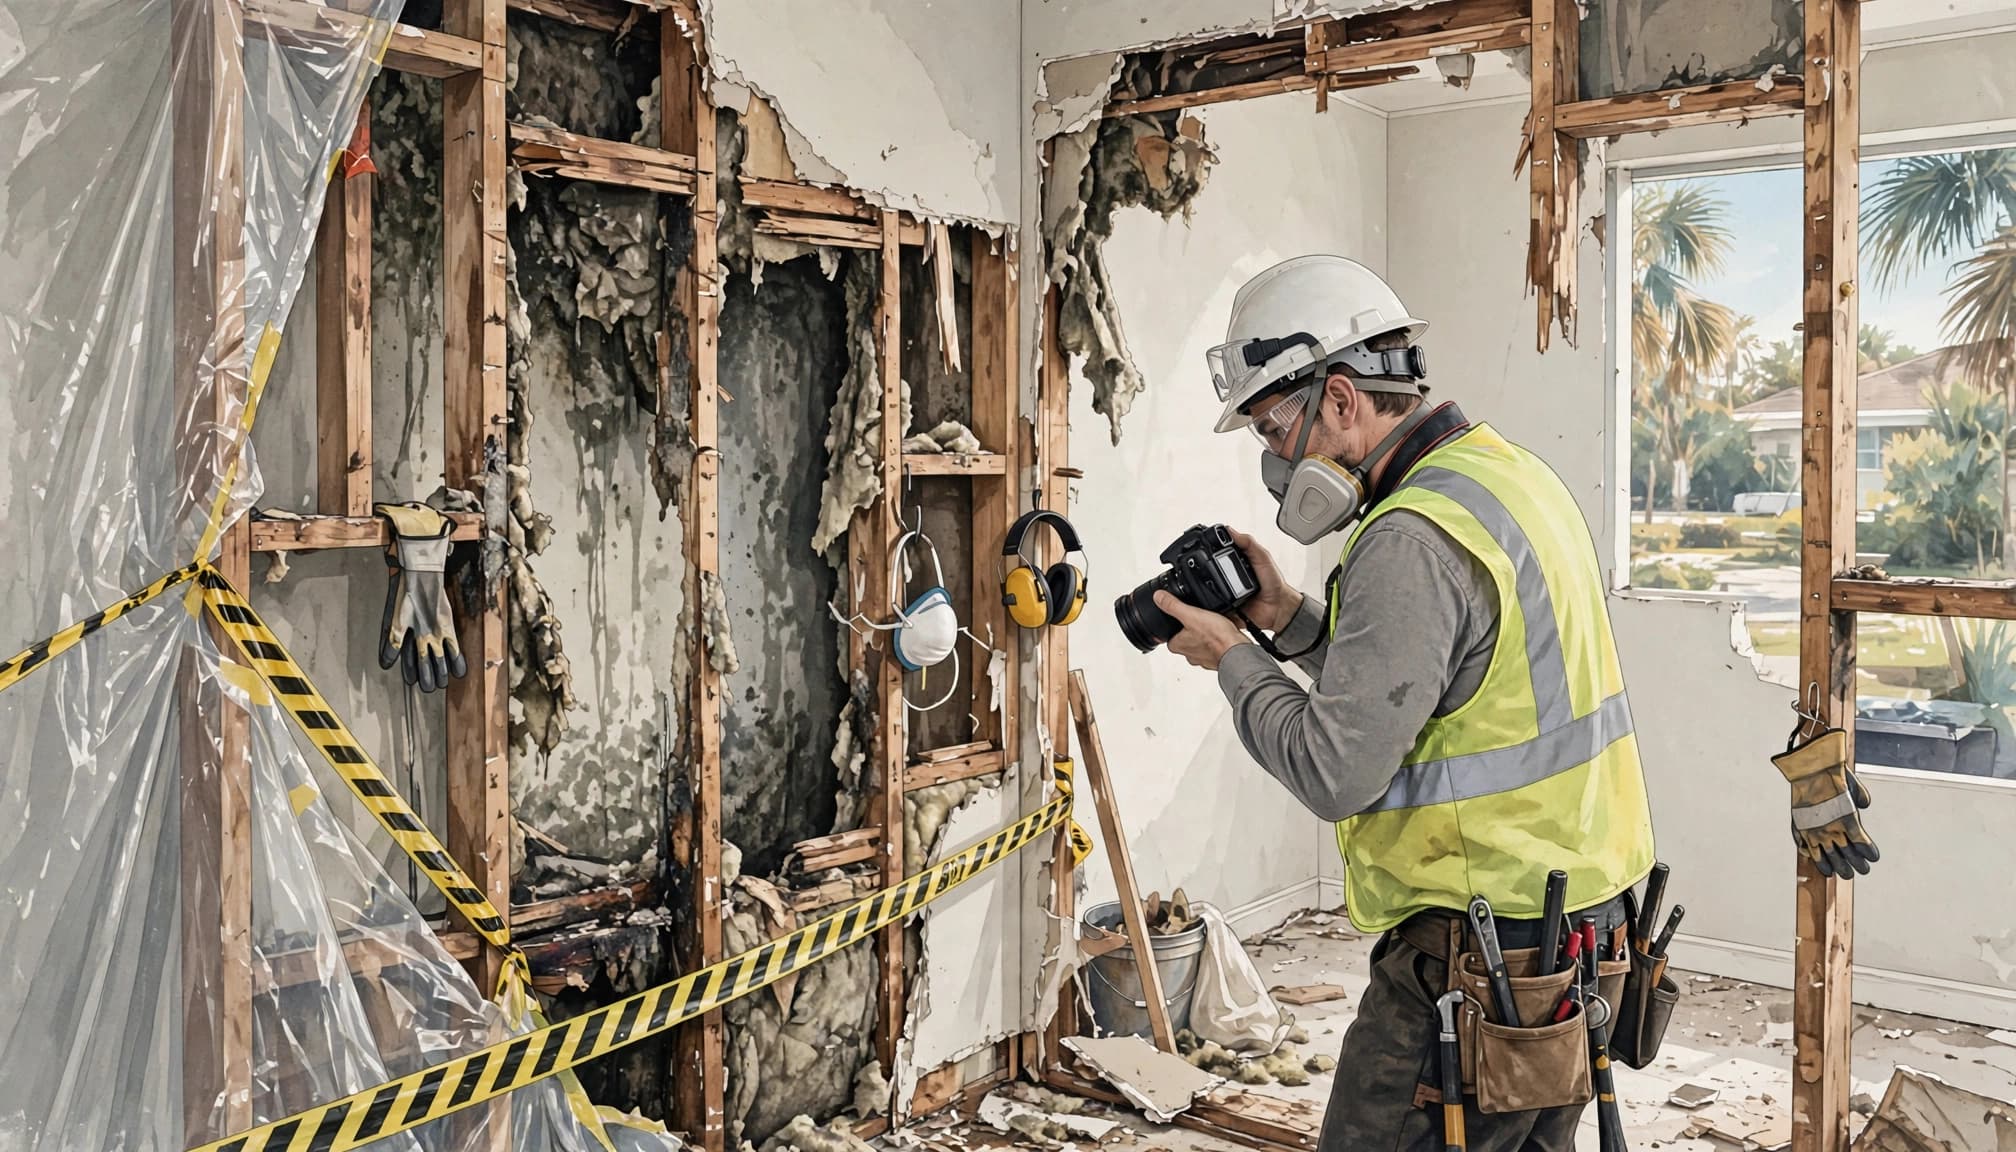
Some damage only becomes visible after authorized work begins. When a contractor removes material and exposes wet insulation, damaged framing, corroded fasteners, or other concealed conditions, photograph the area before repairs or replacement cover it.
Take a wide view showing where the opening is in the room, then closer images that show the exposed material. Record the date, room, and wall or ceiling location. If professionals identify a concern, note who assessed it and keep any written report or repair recommendation with the related photo series.
Keep demolition controlled
Don't remove material yourself just to look for hidden damage. Demolition can expose electrical wiring, plumbing, structural members, or unsafe conditions. Let the people responsible for the work determine how to open an area safely and when it's appropriate to photograph it.
If a newly exposed condition appears to change the repair scope, pause for direction from the contractor or relevant professional before the work proceeds. For a structural wall, the location and support details matter; see what to know before removing a load-bearing wall.
Keep Photos and Repair Records Together
Organize images by date and room
Create a folder for each affected room or major exterior area. Within it, keep photos in date order and use clear file names or a separate log to identify what each image shows. Preserve original files, and keep a backup copy so the record doesn't depend on a single device.
A simple photo log can include:
| Record detail | Example |
|---|---|
| Date | October 12, 2026 |
| Area | Guest bedroom |
| Location | Ceiling above the exterior wall |
| Condition | Water staining and softened drywall |
| Work stage | Before demolition |
The goal is to make the image understandable later, even to someone who wasn't present when you took it.
Save paperwork that explains the work
Keep receipts for emergency services, materials, drying equipment, and repairs. Add estimates, invoices, contractor communications, inspection reports, permits, and relevant product or warranty documents as they become available.
Link each document to the affected room or repair when possible. For example, a receipt for replacement flooring is easier to interpret when filed with photos of the damaged floor and the completed work. Keep records of approved changes too, so the final scope doesn't rely on memory.
Coordinate Before Demolition and Rebuilding
Talk through timing and access
When possible, speak with your insurer and construction professionals before demolition begins. Ask how they want the condition documented and whether they need an opportunity to review it before materials are removed. Their processes may differ, so don't assume that a photo set satisfies every request.
Safety comes first. Stay out of restricted or unstable areas, including rooms with a compromised ceiling, damaged electrical systems, or unsafe structural conditions. If a photo can't be taken safely, leave it to the professionals working in the area.
Plan documentation around the repair sequence
Storm repairs often involve more than one part of the home. If the roof or exterior envelope needs work, coordinate that work with interior repairs so newly finished rooms aren't exposed to ongoing water entry. Weather can affect deliveries, inspections, and exterior work schedules, so keep dates and progress records current.
At Blue Heron Construction, we plan remodeling work around the home's existing conditions and the agreed scope. For a broader view of project phases, see the Cape Coral construction timeline. Clear records help everyone discuss what was found, what changed, and what work remains.
Frequently Asked Questions
How many photos should I take?
There's no single number that fits every home. Photograph every affected room with wide views, then take close-ups of each visible problem and its surrounding area. Add new photos when authorized work exposes concealed damage or when repairs reach a new stage.
What if demolition has already started?
Photograph the current condition as soon as it's safe and permitted. Record which materials have already been removed and what is newly exposed. Keep any earlier photos, contractor notes, or repair records together, since they may help explain how the work progressed.
Do photos guarantee insurance coverage?
No. Photos can document conditions, but they don't guarantee coverage, payment, or a particular claim decision. Coverage depends on the policy and the circumstances of the damage. Coordinate with your insurer and keep written records of discussions and repair decisions.
Should I take pictures in an unsafe area?
No. Don't enter unstable, restricted, or hazardous areas for documentation. Photograph from a safe position if possible, then ask the responsible professional to document concealed or inaccessible conditions during authorized work.
A Clear Record Supports a Better Rebuild
A useful storm-damage photo record shows the home before demolition, identifies each affected area, and continues as concealed conditions appear. Pair those images with dates, location notes, receipts, and repair records.
When safety and timing allow, coordinate with your insurer and construction professionals before work begins. Clear documentation gives your rebuild team a stronger picture of the home's condition before the changes become permanent.