
Add a Pot Filler Without Crowding a Cape Coral Cooktop
A pot filler can make filling cookware easier, but a poorly placed faucet can turn a compact range wall into a crowded one. A good pot filler installation starts with the cooktop, hood, cabinets, and backsplash planned as a single composition.
In a Cape Coral kitchen, the faucet should fold out of the way when you're cooking and reach the pots you use most. The right location depends on the actual layout, not a one-size-fits-all height or position.
Key Takeaways
- Plan the faucet around the cooktop and hood, then check its full swing before selecting a final mounting point.
- Make sure the folded arm doesn't interfere with cabinet doors, and the extended arm can reach the cookware you expect to fill.
- Choose the cooktop, hood, and cabinetry before finalizing the faucet location.
- Have a licensed plumber review wall access, supply-line routing, installation details, and applicable permit requirements.
Why a Pot Filler Can Crowd a Cooktop Wall
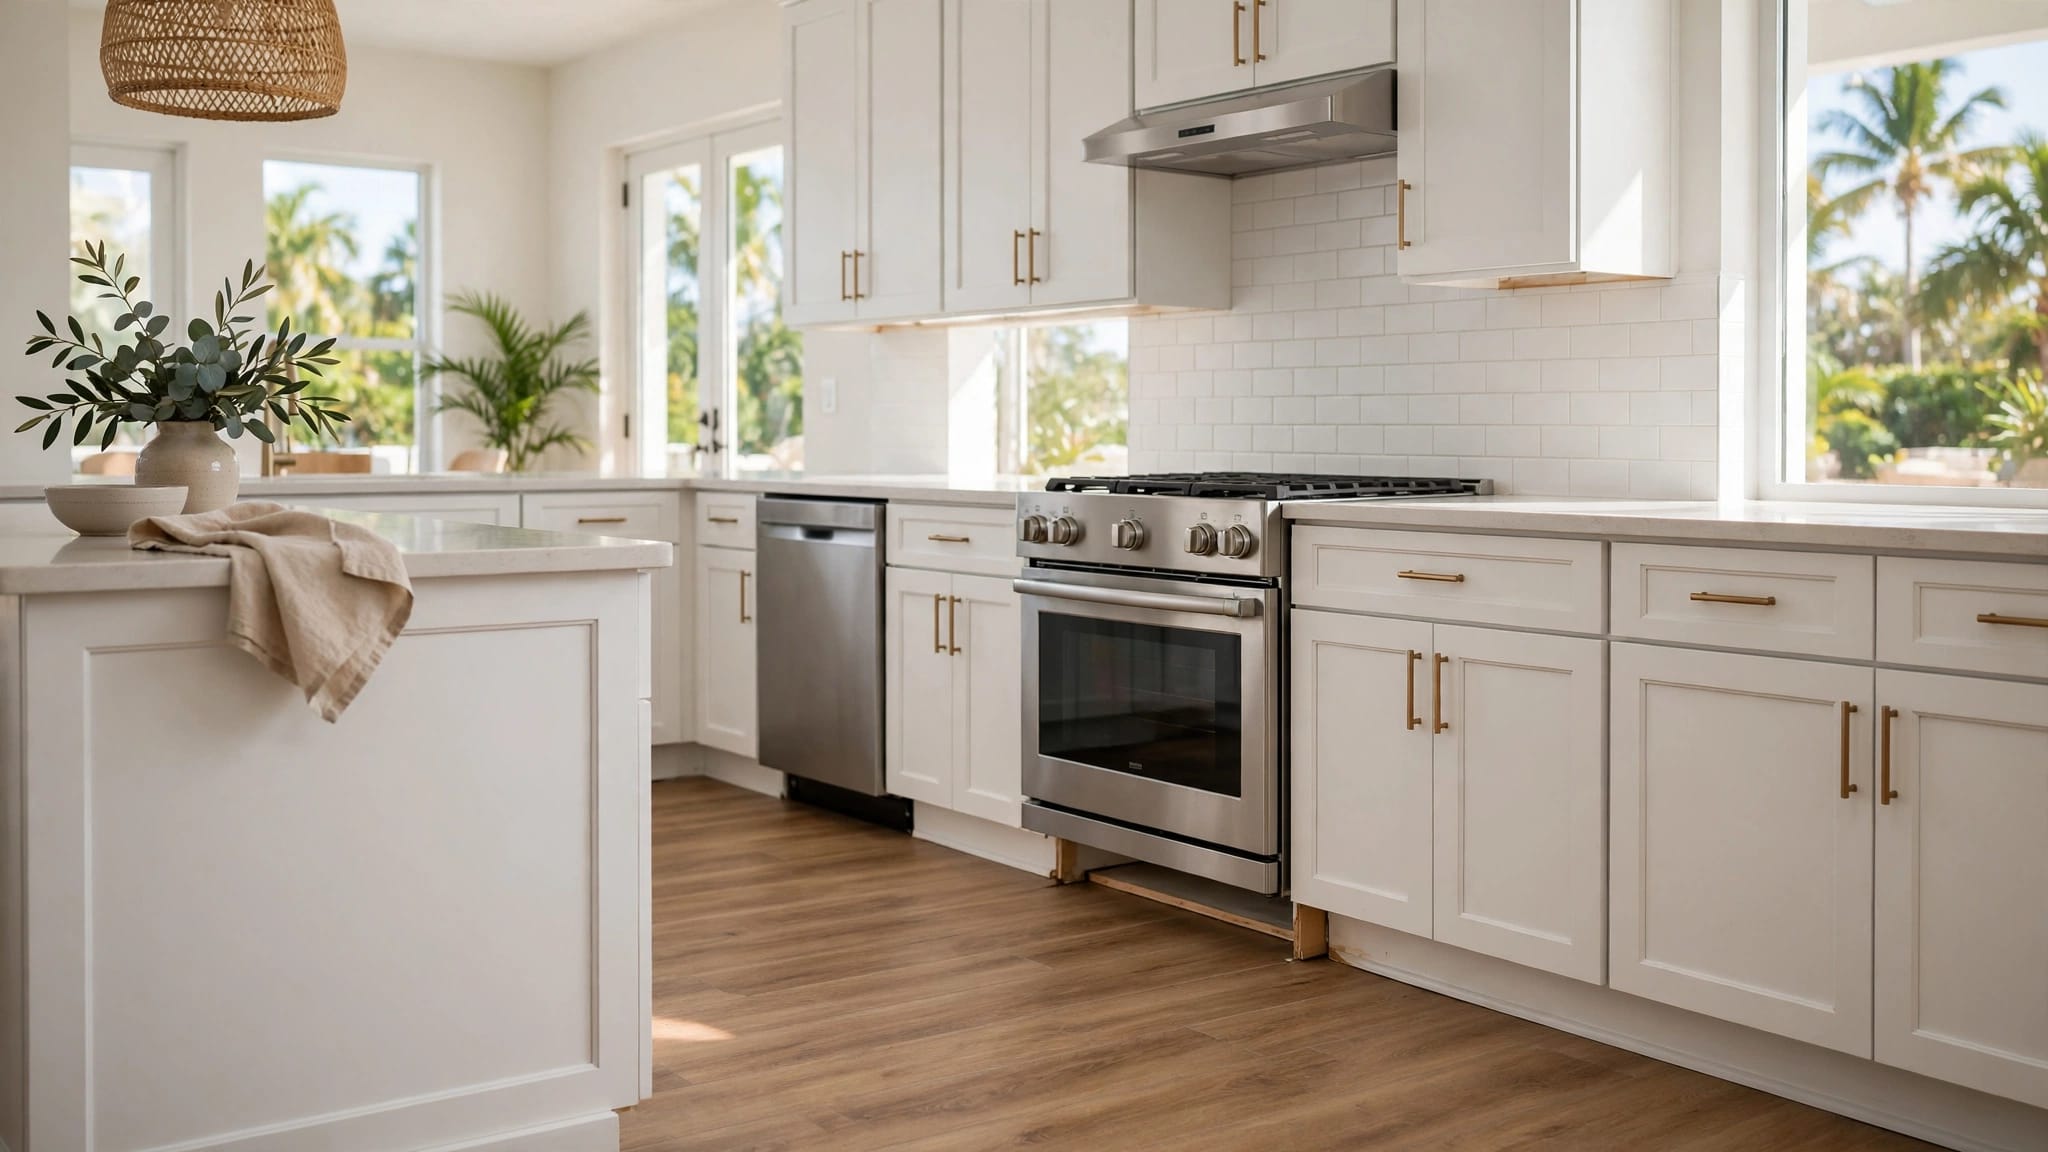
A wall-mounted pot filler occupies space that might already be shared by a range hood, upper cabinets, tile, shelves, or decorative trim. Even when the faucet folds away, its body and arm remain visible. If they sit too close to the hood or cabinet edge, the range wall can feel busy and cramped.
The faucet also needs a useful operating zone. It should swing over the cookware without blocking the range controls or interfering with normal cooking. That means assessing where pots sit on the cooktop, not simply centering the faucet on the wall.
Cape Coral kitchens often connect to living rooms, lanais, and other busy areas. A tight cooking zone can affect traffic and work surfaces beyond the range. Good kitchen layout planning for Cape Coral homes accounts for how the full room functions, not only how the range wall looks.
Plan Pot Filler Installation Around Reach and Clearance
A faucet's reach determines whether it's useful. Its folded position determines whether it stays out of the way. Both positions matter before the plumbing location is set.
Check the folded and extended positions
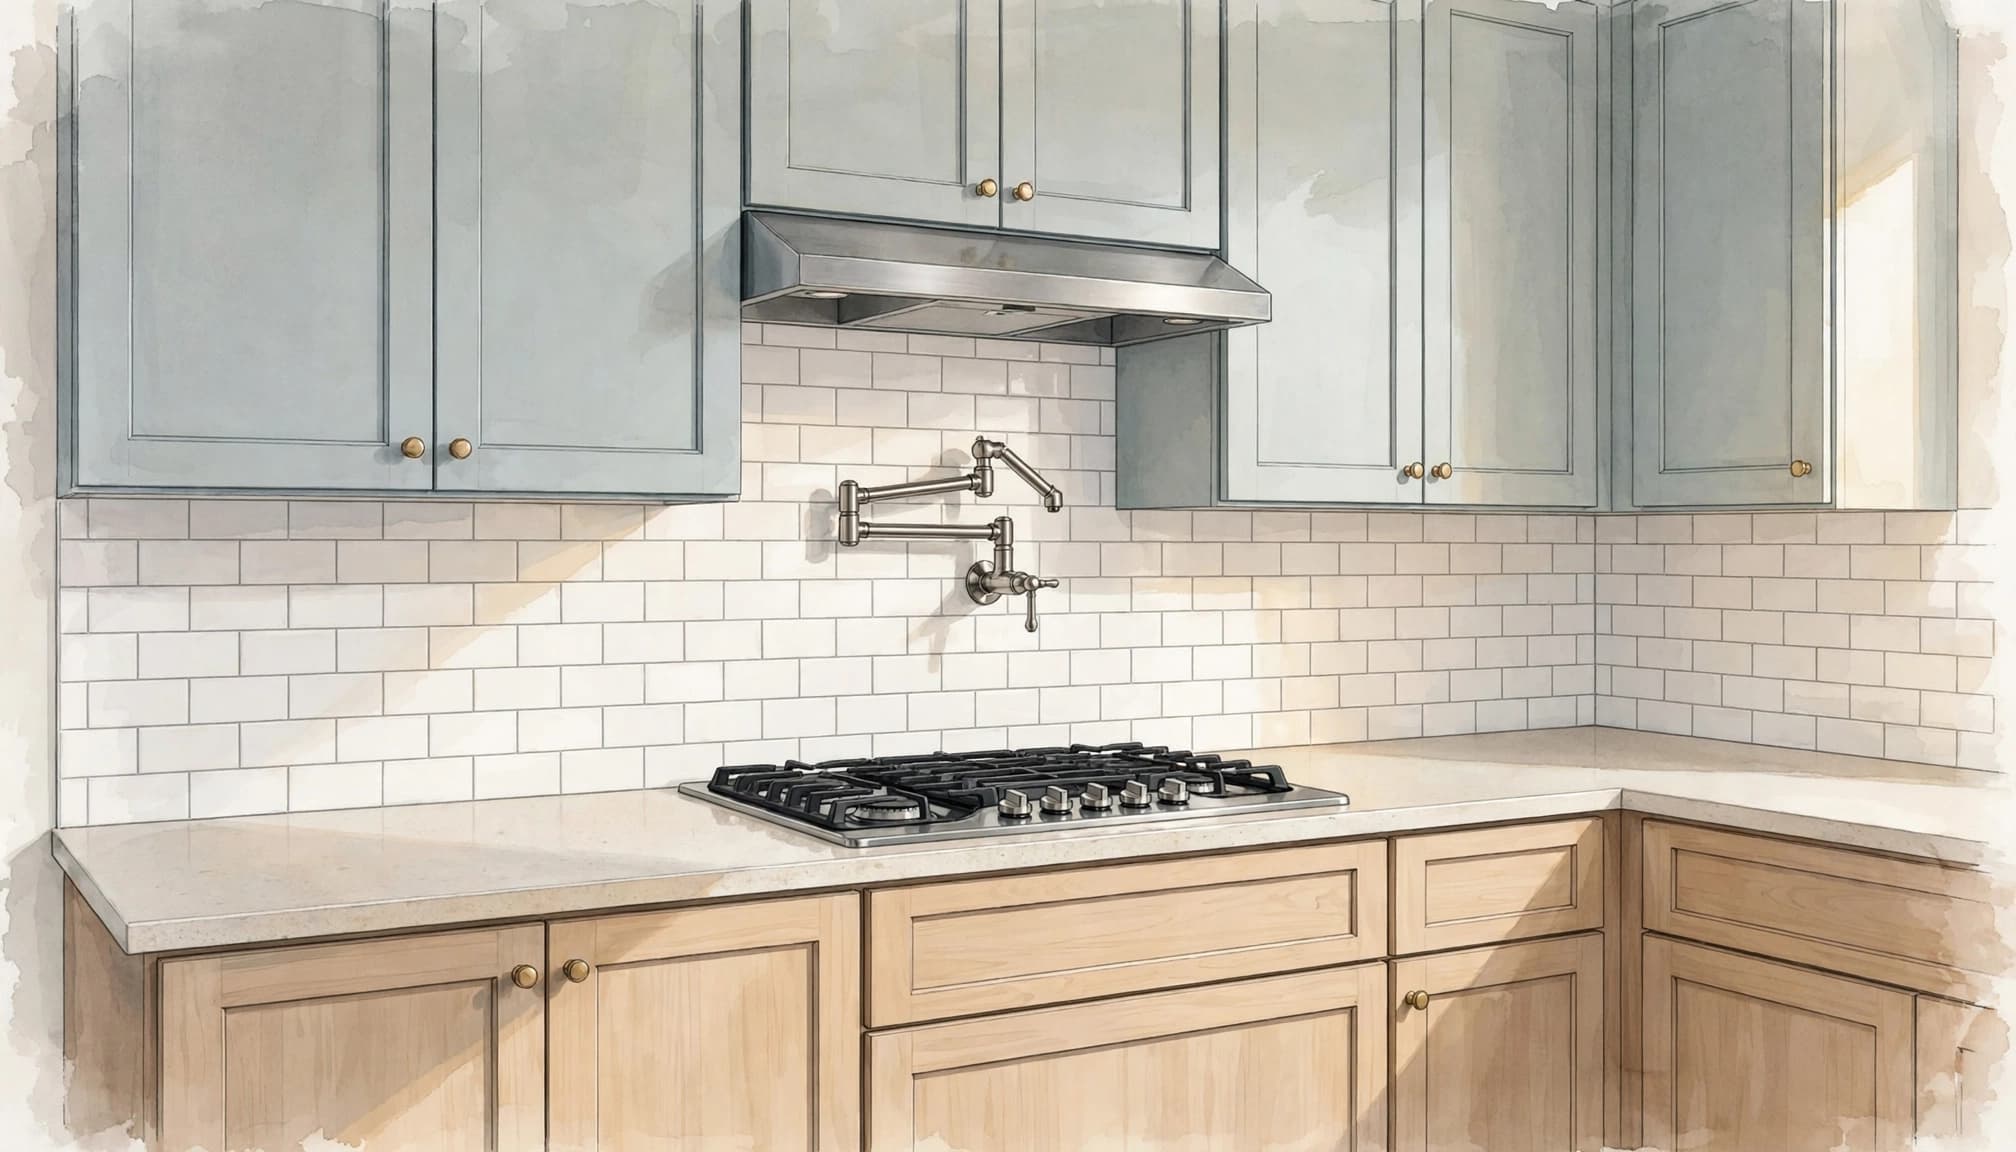
Use the faucet manufacturer's dimensions to sketch its footprint on the wall elevation. Then map the swing path from the mounting point to the cookware area. A simple full-size paper template can help you see where the arm will sit when folded and where it travels when extended.
Check the movement against the hood, cabinet sides, trim, and any shelves. Also consider whether the faucet can swing smoothly without bumping into nearby objects. The arm should rest neatly when it's not in use, rather than projecting into the room or competing visually with the hood.
Test the reach over cookware
Look at the position of your usual pots, including larger stockpots. The faucet should reach the cooking area without forcing you to stretch around the hood or move cookware to an awkward spot. Consider whether you can turn the faucet on and off comfortably while standing in front of the range.
A faucet that reaches one burner may not serve every burner equally well. Decide which cooking area matters most, then assess the reach against the cooktop and the cookware you actually use. Avoid placing it so low that pots or cooking activity obstruct access, or so high that the arm becomes difficult to handle.
Coordinate the Hood, Backsplash, and Cabinets
The cooktop wall has several parts competing for a clean layout. Set the range and hood locations first, then position the faucet within the remaining space.
Keep the range hood as the visual anchor
The hood usually occupies the most prominent area above the cooktop. Place the faucet so it doesn't crowd the hood's edges or interrupt its shape. If the hood has a broad canopy, a projecting arm can feel especially intrusive when it's left extended.
Also consider how the hood and faucet look together from the adjacent room. In an open kitchen, the range wall may be visible from the dining or living area. A compact folded profile and a clear path around the hood help the fixture feel intentional.
Treat backsplash and cabinetry as part of the plan
A pot filler needs a suitable mounting location on the finished wall. Tile layout, grout lines, cabinet edges, and backsplash transitions can all affect where the faucet can sit neatly. Plan the fixture before the backsplash is installed, rather than trying to fit it into leftover space afterward.
Cabinet doors and trim deserve a movement check, too. Open nearby doors while testing the faucet's swing path. When planning kitchen appliances before finalizing cabinetry, include the hood and cooktop in the same layout review. The faucet location should follow the dimensions of the actual selections.
Fit the Faucet Into the Full Kitchen Layout
A pot filler can make one task easier, but it shouldn't disrupt the rest of the kitchen. Check how the range wall relates to prep counters, storage, and paths through the room. If a cabinet, island, or peninsula affects where people stand, include it in the layout review.
Consider where you'll set a filled pot after moving it from the cooktop. The faucet can reduce the need to carry a full pot from the sink, but the surrounding counter still needs to support cooking. If the range is crowded by small appliances or narrow landing areas, the faucet alone won't solve that problem.
Review the wall elevation and floor plan together. The elevation shows the relationship between the faucet, hood, backsplash, and cabinets. The floor plan shows whether people can move around the cooktop while someone is cooking. Keep adjacent work areas functional, and avoid adding decorative shelves or accessories that further compress the cooking zone.
If electrical outlets, lighting, or other wall features are changing as part of the remodel, coordinate those locations before finishes go in. Planning kitchen outlets before cabinets and backsplash helps keep the finished wall from becoming a patchwork of late adjustments.
Coordinate Plumbing Before the Wall Is Closed
A pot filler requires a water supply connection at the range wall. The route to that location depends on the wall construction and what's behind it. Existing finishes, framing, and nearby utilities can affect access, so the plumbing plan belongs in the early layout stage.
During a remodel, discuss the intended faucet position with the plumber before the wall is closed or the backsplash is installed. If the project is still in design, share the cooktop, hood, and cabinet plans so the connection is placed to suit the final arrangement. Don't finalize the faucet location from a rough sketch if the product specifications or cabinetry may still change.
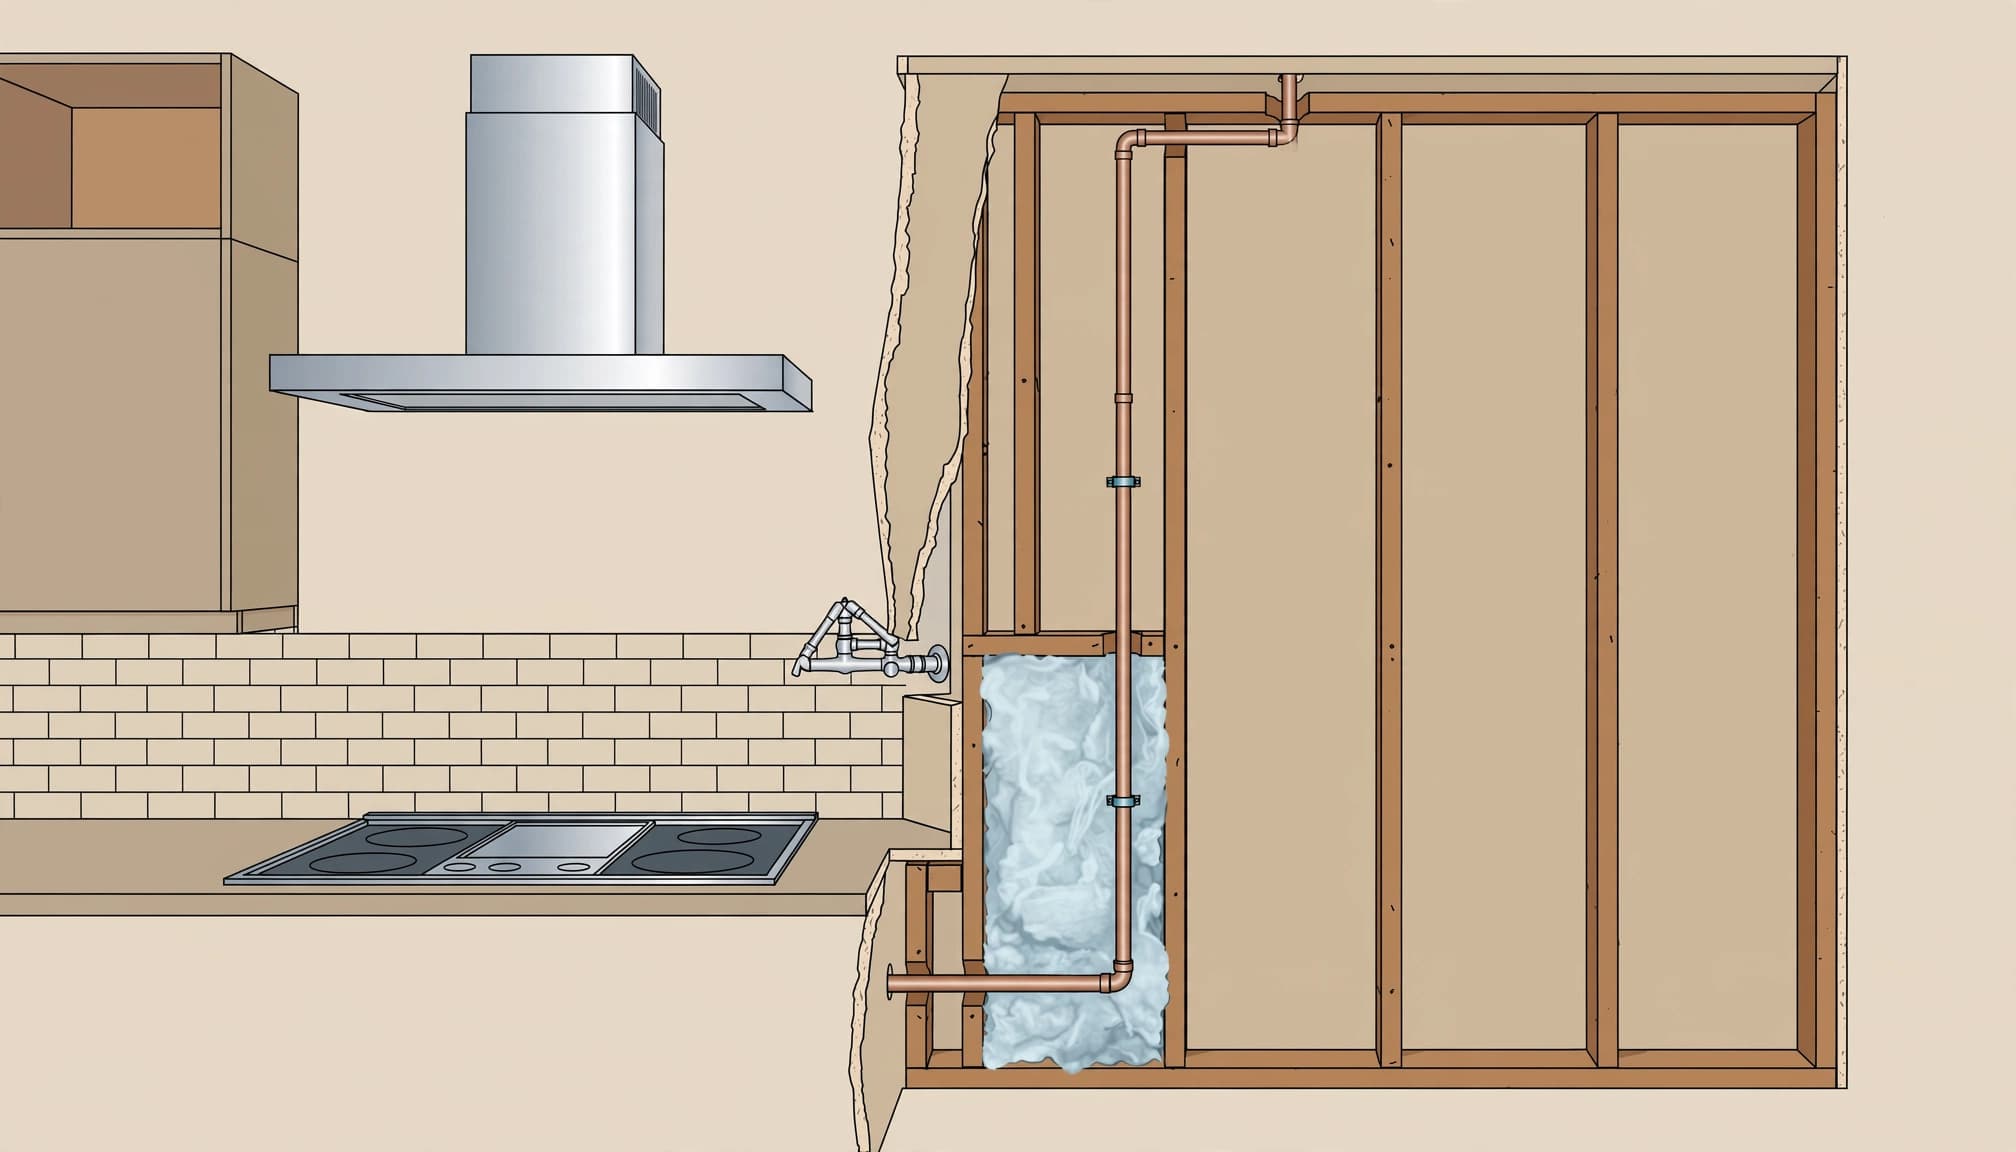
Wall access is particularly important when a finished kitchen is staying in place. Reaching the installation area may involve opening a wall or removing part of the backsplash. A licensed plumber can assess the access and coordinate the supply-line route with the rest of the work.
Confirm Installation Details and Permit Needs
A pot filler involves plumbing work, so include it in the project scope rather than treating it as a last-minute fixture swap. Ask a licensed plumber to review the faucet's installation instructions, the planned mounting point, wall access, and how the work will be completed.
Permit requirements depend on the work being performed, not on whether the finished change looks small. Cape Coral permit guidance identifies plumbing changes as work that may require additional review. Have the licensed plumber confirm which local requirements apply to the specific project, and coordinate any required inspections before the wall or backsplash covers the work.
Schedule the plumbing decision alongside cabinetry, tile, and appliance selections. That timing reduces the risk of moving a finished backsplash or changing a cabinet detail to accommodate a connection that wasn't planned. If the remodel changes other systems or wall features, include those items in the same permit and construction discussion.
Frequently Asked Questions
Should a pot filler be centered over the cooktop?
Not automatically. Centering may look balanced, but the faucet also needs to reach the cookware and clear the hood, cabinets, and other features. Base its position on the cooktop layout and the faucet's full swing.
Can I add a pot filler after the backsplash is installed?
It may be possible, but wall access and the supply-line route can make the work more involved. The finished tile may also limit where the faucet can be placed. A plumber can assess the existing wall and explain the installation approach before work begins.
Does a pot filler replace the need for a kitchen sink nearby?
No. The faucet is intended to fill cookware at the range. You'll still need a sink for tasks such as washing food, cleaning cookware, and draining water.
Make the Range Wall Work as a Whole
A pot filler feels at home when its folded position is tidy and its extended arm reaches the cookware without crowding the hood, cabinets, or work area. Plan those clearances with the actual appliance and cabinetry selections, then coordinate the plumbing before the wall is finished.
For a kitchen remodel, Blue Heron Construction can help coordinate the design and construction details through our kitchen remodeling in Cape Coral services. With the wall plan and plumbing decisions made early, the faucet can add convenience without taking over the cooktop.