

Kitchen Outlet Placement for Cape Coral Remodels
A beautiful kitchen can still feel awkward when the nearest outlet sits behind an appliance or too far from the prep area. Good kitchen outlet placement keeps everyday tasks convenient while supporting the electrical requirements for a safe Cape Coral remodel.
Outlet locations must be decided before cabinets, backsplash, and countertops are installed. Once those finishes are in place, moving a receptacle can mean cutting tile, repairing drywall, changing cabinets, or replacing sections of stone. Start with the rough-in plan, then build the kitchen around it.
Why kitchen outlet placement comes before cabinets and backsplash
Electrical work happens during the rough-in stage, before drywall closes the walls. At that point, the electrician can run wiring, install boxes, and coordinate circuits with the cabinet layout. Afterward, the backsplash and countertops cover much of that access.
Cabinet drawings determine where outlets can fit. A tall pantry cabinet may cover a planned receptacle. A refrigerator or range may leave no usable wall space. An upper cabinet can also block an outlet that looked accessible on the original floor plan.
Countertop material creates another concern. Cutting a finished quartz or granite surface for a misplaced outlet is expensive and may affect the stone's appearance. Tile installers also need accurate outlet locations so they can make clean cuts around wall plates.
Review these items before the electrician sets the boxes:
- The final cabinet elevations and appliance dimensions
- Countertop overhangs, backsplashes, and open wall sections
- Coffee stations, charging areas, and small-appliance zones
- Island seating and work surfaces
- Lighting controls, under-cabinet lights, and range hood wiring
- Dedicated circuits for appliances with higher electrical demands
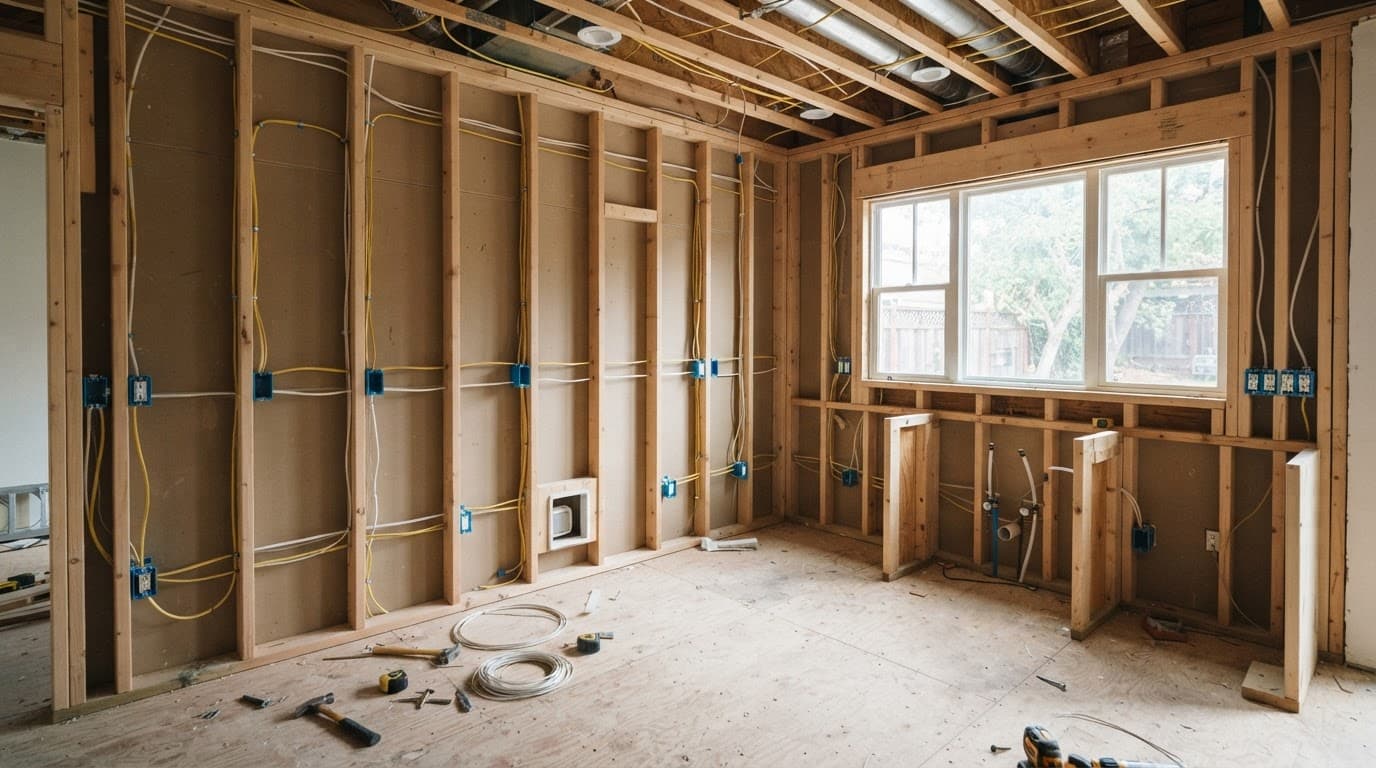
An outlet plan should follow the cabinet elevations, not the other way around. A box placed six inches away from the intended backsplash opening can still become unusable after installation.
Cape Coral kitchen outlet rules to confirm before rough-in
Florida kitchen remodels must follow the electrical code adopted by the applicable jurisdiction. Cape Coral projects also need a permit review, so your electrical contractor should confirm the current requirements before work begins.
Wall countertop receptacles
The familiar countertop spacing rule uses a 24-inch reach. No point along a qualifying wall countertop should be more than 24 inches from a receptacle. In practice, adjacent outlets are often no more than 48 inches apart.
A wall countertop section that measures at least 12 inches wide generally needs a receptacle. The outlet must sit on or above the counter and usually cannot be more than 20 inches above the countertop surface. Face-up outlets installed directly into the work surface are not an acceptable substitute.
Countertop receptacles also need protection against electrical shock. GFCI protection shuts off power when current takes an unintended path, which matters near sinks and wet hands. Current requirements may also call for AFCI protection, which helps detect dangerous arcing in the wiring. Your electrician should verify how both protections apply to your remodel.
Plan for two 20-amp small-appliance circuits for countertop receptacles. These circuits should remain separate from the range, dishwasher, disposal, microwave, and refrigerator circuits when the equipment requires dedicated power.
Islands and peninsulas
Island and peninsula requirements have changed across recent code editions. Older rules used countertop dimensions to determine whether an island needed a receptacle. Newer code language gives jurisdictions more flexibility, and Cape Coral has issued local guidance that deserves attention during permit planning.
A Cape Coral advisory describes one receptacle for the first 9 square feet of island or peninsula countertop area, with an additional receptacle for each 18 square feet beyond that amount. It also references placing at least one receptacle within 2 feet of an outer end.
Because code adoption and local interpretation can change, don't rely on a generic online diagram. Ask the electrical contractor and permitting office to confirm the requirement for your specific project. Even when an outlet isn't required, adding one can make an island more useful for mixers, laptops, holiday serving, or small appliances.
A zone-based kitchen outlet planning checklist
The most reliable plans divide the kitchen into work zones. Each zone gets outlets based on how you use it, not only on wall measurements.
Prep and wall-counter zones
Start with the main counter beside the sink and cutting area. Place receptacles where a toaster, blender, hand mixer, or food processor can reach without crossing the sink.
Keep outlets away from the corner where two backsplash walls meet. Corner placement often becomes crowded by cabinet fillers, trim, or small appliances. A receptacle near the center of an open counter section is usually easier to use.
If you want a dedicated coffee station, plan its outlet before selecting the cabinet. A coffee maker, grinder, and kettle can occupy more space than expected. Two receptacles in that area may prevent cords from running across the prep surface.
Use horizontal spacing as a starting point, then check the final appliance locations. A receptacle hidden behind a toaster oven offers little daily value.
Island and peninsula zones
An island needs more than a decorative outlet location. Consider whether the surface will support meal prep, baking, seating, or occasional entertaining.
Place a receptacle where someone can plug in a mixer without stretching a cord across the room. If the island includes seating, a side panel outlet may be convenient for charging, but it must stay clear of knees and chair backs.
Avoid installing a receptacle directly below a sink or where plumbing access will occupy the cabinet. Also avoid placing it on the end panel where a stool or walkway could damage the cover. The cabinetmaker, electrician, and designer should agree on the exact side before rough-in.
Appliance and utility zones
Large appliances need their own electrical plan. Confirm the requirements for the refrigerator, dishwasher, disposal, microwave, range, wall oven, and hood using the actual product specifications.
A refrigerator outlet may need to sit in a nearby cabinet or recessed area instead of directly behind the appliance. That choice can keep the plug from pushing the refrigerator too far forward.
Dishwasher and disposal wiring also needs coordination with plumbing. A receptacle or disconnect located in the wrong cabinet can interfere with the drain line or service access. The microwave location should account for the appliance's height, cord length, and ventilation requirements.
Don't forget the range hood. Its wiring should be planned before the upper cabinets and hood surround are built. Under-cabinet lighting may need separate switches, junction boxes, or low-voltage drivers.
Sink, pantry, and charging zones
The sink wall deserves extra care because water, plumbing, and electrical devices occupy a small area. Keep receptacles at practical distances from the basin and follow the required GFCI protection.
A pantry with countertop space needs the same attention as the main kitchen counter. Homeowners often add outlets for a second refrigerator, wine cooler, freezer, or small appliance after the pantry is finished.
Charging drawers are useful, but they still need access for service and ventilation. Place their receptacles inside a cabinet only when the installation method and device listing allow it. A simple backsplash outlet near a desk-height section may be easier to maintain.
Coastal Florida details that affect outlet planning
Cape Coral kitchens face heat, humidity, storm exposure, and frequent indoor-outdoor living. Those conditions make location and protection matter.
Use approved covers and electrical devices suited to the installation area. Interior kitchen receptacles usually don't need outdoor weatherproof enclosures, but an outlet near an open lanai, exterior door, or wet bar may need a different approach.
Keep receptacles out of direct splash paths. A sink, beverage center, or ice maker can create more moisture than a typical prep counter. GFCI protection remains important, but it doesn't make careless placement acceptable.
Salt air can affect homes near the coast, especially when doors and windows stay open. Ask the contractor about corrosion-resistant components where the project conditions call for them. Good ventilation and dry cabinet interiors also protect wiring and appliances over time.
If the kitchen connects to an outdoor cooking area, plan that area as a separate electrical environment. Outdoor appliances and receptacles need equipment rated for outdoor exposure. An indoor kitchen outlet should never be treated as a replacement for a properly planned outdoor circuit.
Common kitchen outlet placement mistakes
Several problems appear repeatedly in remodels.
- Installing outlets from an old floor plan: Cabinet layouts often change after the first electrical drawing. Recheck every box against the final elevations.
- Placing a receptacle behind a fixed appliance: The outlet may satisfy a rough plan but remain inaccessible once the appliance is installed.
- Forgetting small counter sections: A narrow prep area, pantry counter, or beverage station can still need a receptacle.
- Using too few outlets around the island: One outlet may meet a minimum requirement but fail during baking, entertaining, or holiday cooking.
- Putting outlets too close to sinks or wet equipment: Follow code clearances and use the required GFCI protection.
- Installing face-up countertop receptacles: These openings collect spills and are not the proper solution for a standard kitchen work surface.
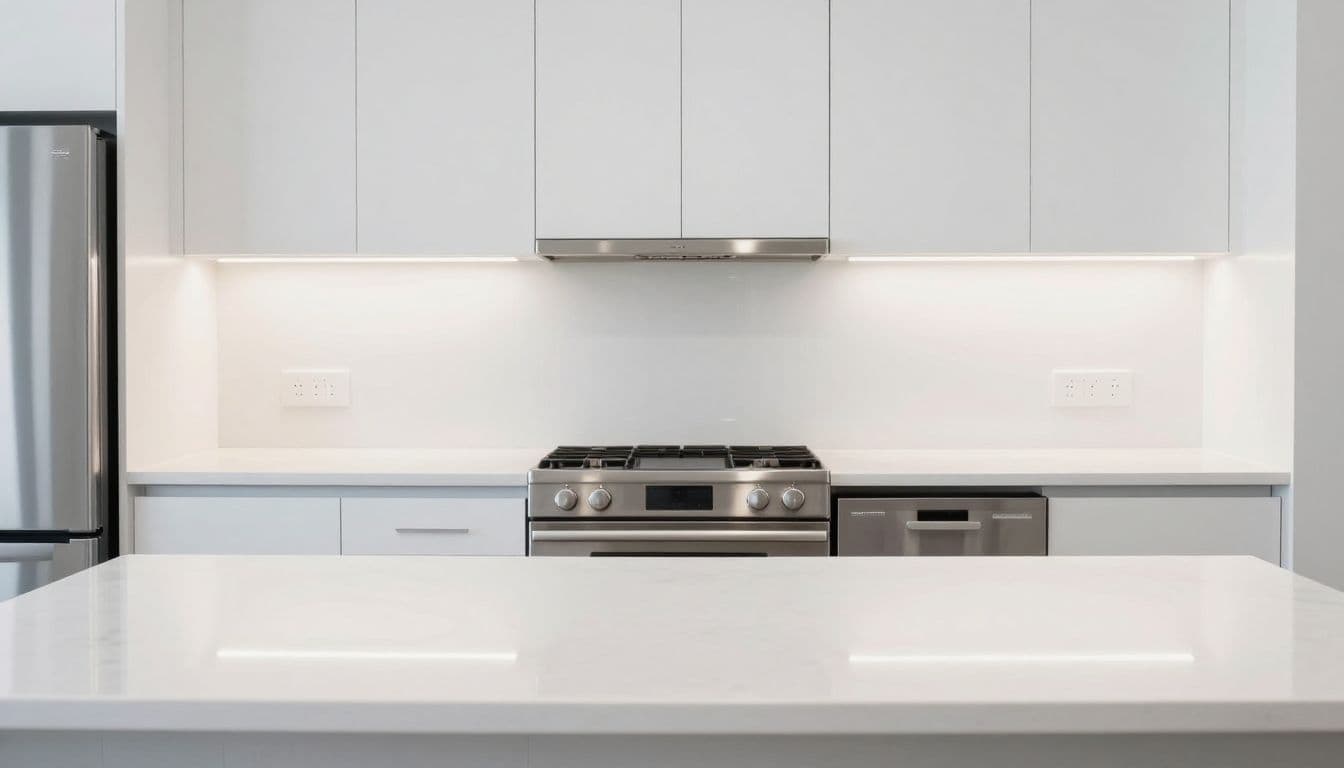
- Ignoring wall switches and lighting controls: Outlet planning should include under-cabinet lights, pendants, dimmers, and three-way switches.
- Sharing circuits without checking appliance loads: A crowded circuit can trip when several high-use appliances run together.
Take photographs of the rough-in before insulation and drywall cover the walls. Keep those photos with your remodel documents. They can help locate wiring later without unnecessary exploratory cuts.
Review the plan before the walls close
Mark every proposed outlet on the wall with painter's tape. Use the actual cabinet widths, appliance sizes, and countertop height. Then walk through normal tasks, such as making coffee, unloading groceries, blending food, and charging a phone.
Check whether cabinet doors, drawers, appliance doors, and stools will block access. Confirm that each outlet lands in an open backsplash area and that no plumbing or ductwork conflicts with the electrical box.
The final review should include the homeowner, cabinet designer, electrician, and remodeling contractor. A company providing Cape Coral kitchen remodeling services can coordinate these details with the broader cabinet, plumbing, and finish schedule.
Before drywall, confirm the circuit plan, GFCI and AFCI protection, island requirements, and appliance specifications. That short meeting is easier and less expensive than correcting a finished backsplash.
Conclusion
Good kitchen outlet placement starts with the way you use each counter, island, appliance, and storage zone. Plan the locations with the cabinet elevations, verify Cape Coral requirements, and coordinate circuits before the walls close.
Moisture protection, accessible service points, and enough outlets for daily tasks will make the finished kitchen easier to use for years. When outlet locations are settled before the backsplash and countertops, the electrical system supports the design instead of competing with it.