
Bathroom Lighting Bonita Springs for Makeup and Nighttime
One bathroom can need crisp light at 7 a.m. and a soft path at 2 a.m. A thoughtful bathroom lighting Bonita Springs plan handles both without making the room feel harsh.
Many remodels stop at one ceiling fixture over the center of the room. That setup may brighten the tile, but it can leave your face in shadow and force you to turn on bright overhead light during nighttime trips. The better approach uses separate layers for makeup, general visibility, and nighttime navigation.
Start Your Bathroom Lighting Bonita Springs Plan With Two Jobs
Lighting works better when you plan around the task instead of the fixture. Makeup requires even light across the face, while nighttime navigation calls for low, indirect illumination that helps you see the floor without fully waking you.
That distinction should guide a bathroom lighting Bonita Springs plan from the first sketch. Mark the vanity, mirror, shower, toilet, door, and any windows before choosing fixture locations. Wall framing, medicine cabinets, plumbing, and tile layouts can affect where an electrician can install wiring.
A typical plan includes three layers:
- Ambient light fills the room when you clean, shower, or get dressed.
- Task lighting illuminates the face at the vanity.
- Accent or guide lighting marks the path between the door, toilet, and vanity.
Strong daylight is helpful, but it doesn't replace a complete electrical plan. Bonita Springs homes can receive bright sun through windows, yet the room still needs balanced light after sunset. Also, daylight changes throughout the day, so choose fixtures that work when the window contributes little or no light.
Use separate switches for the main ceiling fixture, vanity lights, and nighttime lighting. Dimmers give you more control, especially when a bathroom serves several people with different routines.

Photo by Pixabay
Bathroom Lighting Bonita Springs: Build the Vanity Around Your Face
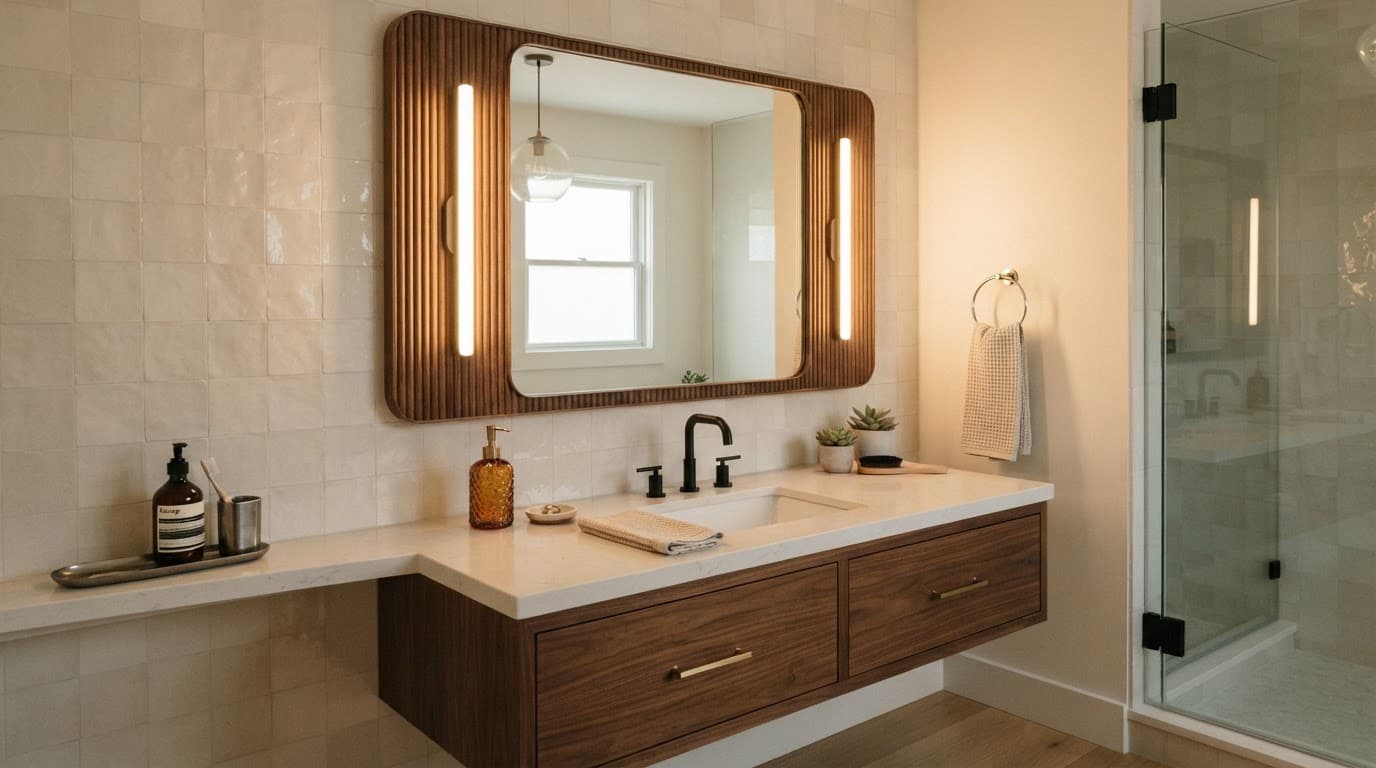
For makeup, the most useful light reaches your face from both sides. A single fixture above the mirror shines down over the forehead and nose, which can create shadows beneath the eyes and chin.
Install vertical sconces on both sides of the mirror when the wall space allows. Place the center of each fixture roughly 60 to 66 inches above the finished floor, then adjust for the height of the people who use the vanity. The light should sit near eye level rather than far above the head.
For a typical 30- to 36-inch mirror, the sconces often sit just outside the mirror. Leave enough room for the fixture, electrical box, trim, and cabinet doors. If a medicine cabinet sits beside the mirror, check the door swing before finalizing the location.
A double vanity needs balanced light for each sink. You can use one sconce on the outside of each mirror and another between the mirrors, or select a wide fixture that provides even illumination across both users. Avoid placing the only light at one end of a long vanity because the person farthest from it will receive less light.
An overhead fixture still has a role, but use it as fill rather than the primary face light. A recessed light directly above your head can create strong eye and cheek shadows. Position ceiling light between the vanity and the room, or choose a fixture with broad, diffused output.
A bright mirror does not always mean a well-lit face. The direction of the light matters as much as the total brightness.
Choose shades and diffusers that hide exposed LED points. Frosted glass and opal acrylic produce softer light than clear bulbs with visible filaments. The fixture should illuminate the face without creating glare in the mirror.
For makeup, look for LED bulbs or integrated fixtures with a color temperature around 3500K to 4000K and a color rendering index of 90 or higher . A strong R9 rating can also help with red and pink tones, which matter when applying blush, lipstick, or concealer. Keep the fixtures around the mirror within a similar color range so your face doesn't look warm on one side and cool on the other.
Brightness depends on vanity size, wall color, mirror size, and existing daylight. Compare lumens rather than watts. A 60-watt-equivalent LED produces about 800 lumens, but the total output of a multi-bulb fixture varies by product. Dimming lets you start with enough output and reduce glare when needed.
Design a Separate Nighttime Lighting Layer
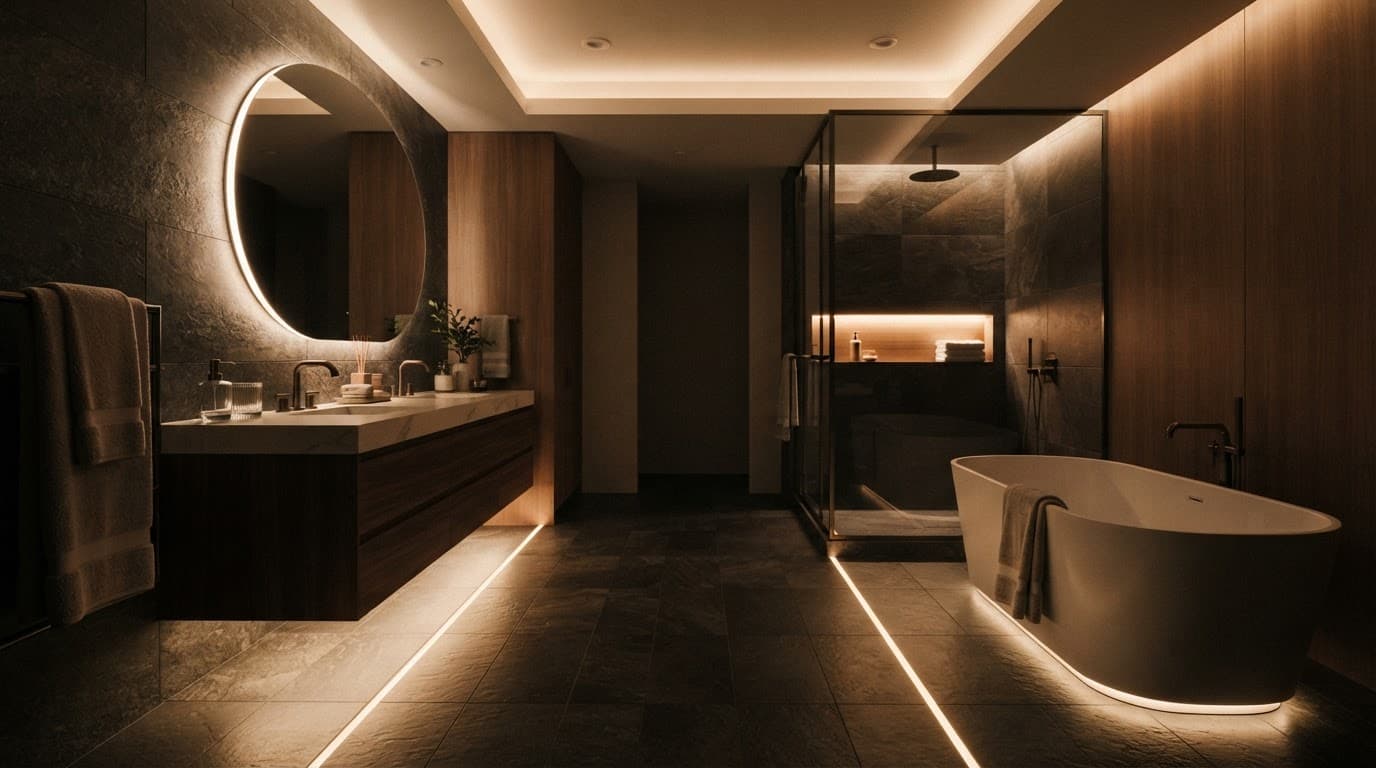
Nighttime lighting should guide your feet without putting a bright source in your eyes. Low-level fixtures work better than the main ceiling light because they illuminate the floor and nearby obstacles while keeping the rest of the room dim.
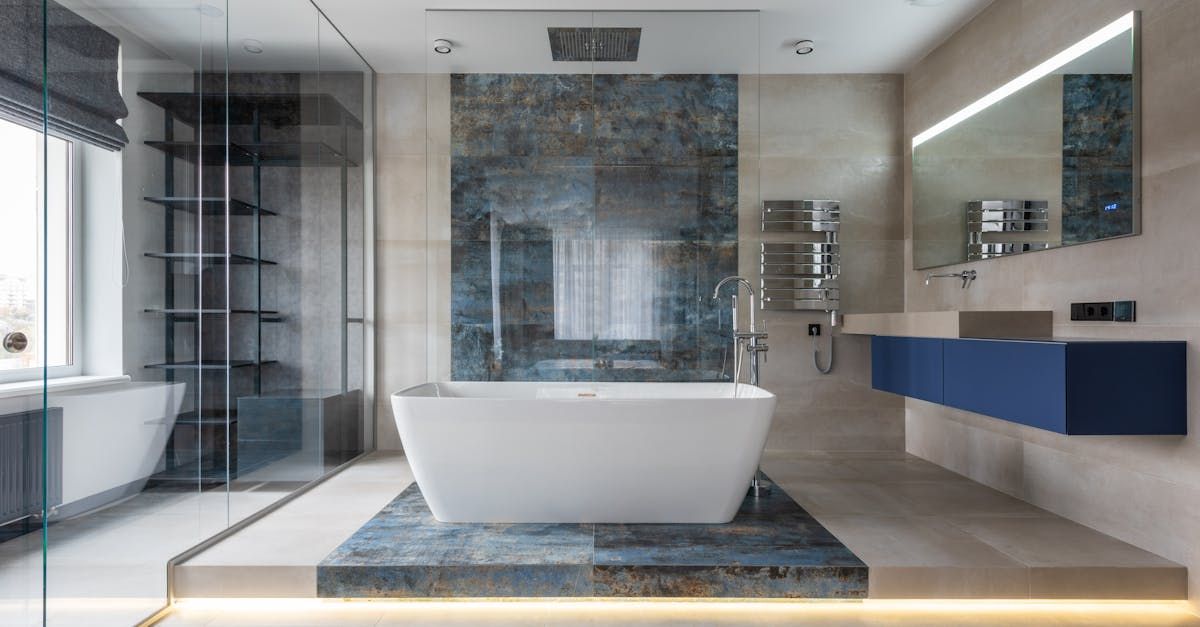
An LED strip beneath a floating vanity is one practical option. It creates a soft line of light along the floor without competing with the mirror. For a vanity that reaches the floor, a small recessed toe-kick light or low wall fixture can provide a similar effect.
Choose a warm color temperature, often around 2200K to 2700K , for this layer. Warmer light feels less intense at night and creates less contrast when you leave a dark bedroom. Use a dimmer if the fixture produces more light than you need.
A motion sensor or occupancy switch can activate the path light when someone opens the door. A separate wall switch also gives you control when the bathroom is used during the day. Keep nighttime lighting on its own circuit or control whenever possible, so turning on the vanity doesn't activate every fixture in the room.
Place the light where it won't reflect directly into the mirror. A strip aimed toward the floor is usually more comfortable than a bright fixture facing the user. If the bathroom connects to a bedroom, check the sightline from the bed. Light spilling through an open door can disturb someone who is sleeping.
The shower area may need its own wet-location fixture based on the fixture instructions and local electrical requirements. That light doesn't need to operate as the nighttime path light. A low fixture near the toilet and vanity can provide enough visibility for basic movement.
Keep nighttime light below eye level. A fixture above the mirror can shine into your eyes when you wake up and make the room feel harsher than necessary.
Test the route after dark before final installation. Walk from the bedroom or hallway to the toilet and vanity. If you can see the floor clearly without turning on the ceiling light, the placement is doing its job.
Choose Bulbs, Fixtures, and Controls for Florida Bathrooms
Humidity affects fixture selection, especially in bathrooms with frequent showers and limited ventilation. Look for fixtures marked damp-rated for humid areas. A fixture installed inside a shower enclosure may need a wet-location rating, so follow the product instructions and local code requirements.
For homes near the coast, corrosion-resistant finishes can help protect exposed hardware. Stainless steel, powder-coated finishes, and sealed components may hold up better than unprotected metal in salty outdoor air. Your contractor or electrician can match the finish to the room's ventilation and location.
LEDs are a practical choice because they use less energy and produce less heat than older incandescent bulbs. When comparing options, review four details:
- Color temperature controls whether the light looks warm, neutral, or cool.
- CRI indicates how accurately the light shows skin, clothing, and tile colors.
- Lumens show the amount of light produced.
- Dimmer compatibility confirms that the bulb will operate properly with the selected control.
The following comparison keeps the two main jobs separate.
| Lighting use | Best placement | Useful starting point | Preferred control |
|---|---|---|---|
| Makeup and grooming | On both sides of the mirror, near eye level | 3500K to 4000K, CRI 90+ | Wall dimmer |
| General bathroom use | Ceiling fixture or broad ambient source | Around 2700K to 3500K | Standard switch or dimmer |
| Nighttime navigation | Under vanity, toe-kick, or low wall position | 2200K to 2700K, low output | Motion sensor or separate switch |
These are starting points, not fixed rules. Tile color, mirror size, ceiling height, and daylight can change how bright the room feels. A dimmable design gives you room to adjust after installation.
Avoid mixing several color temperatures within the same viewing area. Warm sconces beside a cool vanity bar can make skin tones look uneven. Keep the mirror lighting consistent, then use warmer light at the floor for nighttime movement.
A Practical Bathroom Lighting Planning Checklist
Use this checklist before ordering fixtures or closing the walls:
- Draw the vanity, mirror, medicine cabinet, door, shower, toilet, and windows to scale.
- Mark side-sconce locations near eye level, then check cabinet doors and wall clearances.
- Separate vanity, ambient, and nighttime fixtures on different switches or controls.
- Choose bulbs by color temperature, CRI, lumens, and dimmer compatibility.
- Confirm damp-rated or wet-rated fixtures for each bathroom location.
- Walk the room after dark and adjust the path-light position before final installation.
If lighting is part of a larger renovation, coordinate fixture locations with plumbing, framing, ventilation, and tile work. Professional bathroom remodeling services can address those details together instead of treating lighting as a last-minute purchase.
Final Bathroom Lighting Takeaway
The strongest bathroom lighting Bonita Springs plans treat makeup and nighttime movement as separate needs. Side-mounted, high-CRI vanity lights help you see your face clearly, while warm low-level lighting guides you without flooding the room.
Plan the wiring before the walls close, keep each layer on its own control, and test the room after dark. The result is a bathroom that feels bright when you need precision and calm when you need only a safe path.