

Cape Coral Kitchen Cabinets: Before Countertop Templating
Your new cabinets can look finished while still needing adjustments before the countertop fabricator arrives. Cape Coral kitchen cabinet installation must establish a stable, final layout before anyone measures for the permanent countertop.
Templating typically happens after the cabinets are installed, leveled, and secured. Appliance openings, sink placement, and countertop support also need to match the approved design.
The preparation starts with the room itself, then moves through the details that determine the countertop's fit.
Key Takeaways
- Countertop templating normally follows cabinet installation because the fabricator measures the actual installed layout.
- Base cabinets need level tops, aligned faces, secure attachment, and adequate support for the selected countertop.
- Sink, faucet, and appliance selections affect openings and cutouts, so those decisions belong before fabrication.
- Cabinet changes after templating can require new measurements and affect the remaining construction sequence.
Preparing for Cape Coral Kitchen Cabinet Installation
Cabinets depend on the condition of the room around them. A wall repair, unfinished rough-in, or flooring change can affect their final position.
Finish the work behind the cabinets
Plumbing, electrical, and ventilation rough-ins should match the cabinet and appliance plans before installation begins. Required rough inspections belong before the work gets concealed.
The sink drain, supply lines, appliance connections, and outlets need locations that fit the intended cabinetry. Otherwise, an installer may face unnecessary cabinet cuts or conflicts with drawers and storage accessories.
Our kitchen remodel scope guide explains how these trade tasks fit alongside cabinet and countertop work.
Prepare dry, stable surfaces
Walls need to be ready for cabinet attachment, and the flooring approach must be settled. Cabinet height depends partly on how the finished floor relates to the cabinet bases and appliance bays.
In Cape Coral, indoor humidity control matters during finish installation. Wet construction materials, active leaks, and unresolved moisture problems need attention before cabinetry goes in. Cabinets shouldn't become a cover for damage that still needs repair.
Set Cabinet Positions Before Fastening Everything
The installer establishes the layout in the room before committing every cabinet to its final attachment points. This allows corrections while the boxes can still move.
Establish the cabinet run
The approved plan identifies the sink base, cooking area, appliance openings, and cabinet sequence. The installer transfers those positions to the room and accounts for corners, wall irregularities, and fillers.
A cabinet run needs more than the right overall length. Cabinet faces must line up, and adjacent doors need space to open.
Fillers create clearance beside walls and other obstructions. Their position can also affect where the countertop ends, so they belong in the layout before templating.
Place islands and exposed ends
An island needs its final footprint before the countertop gets measured. Its position affects work aisles, appliance-door clearance, seating, and the planned countertop overhang.
Exposed end panels also matter because they can change the finished width of the cabinetry.
At this stage, the installer accounts for door and drawer movement, appliance access, and nearby passageways. Moving an island after templating changes the dimensions the fabricator used, even when the move appears small.
Level the Entire Base Cabinet Run
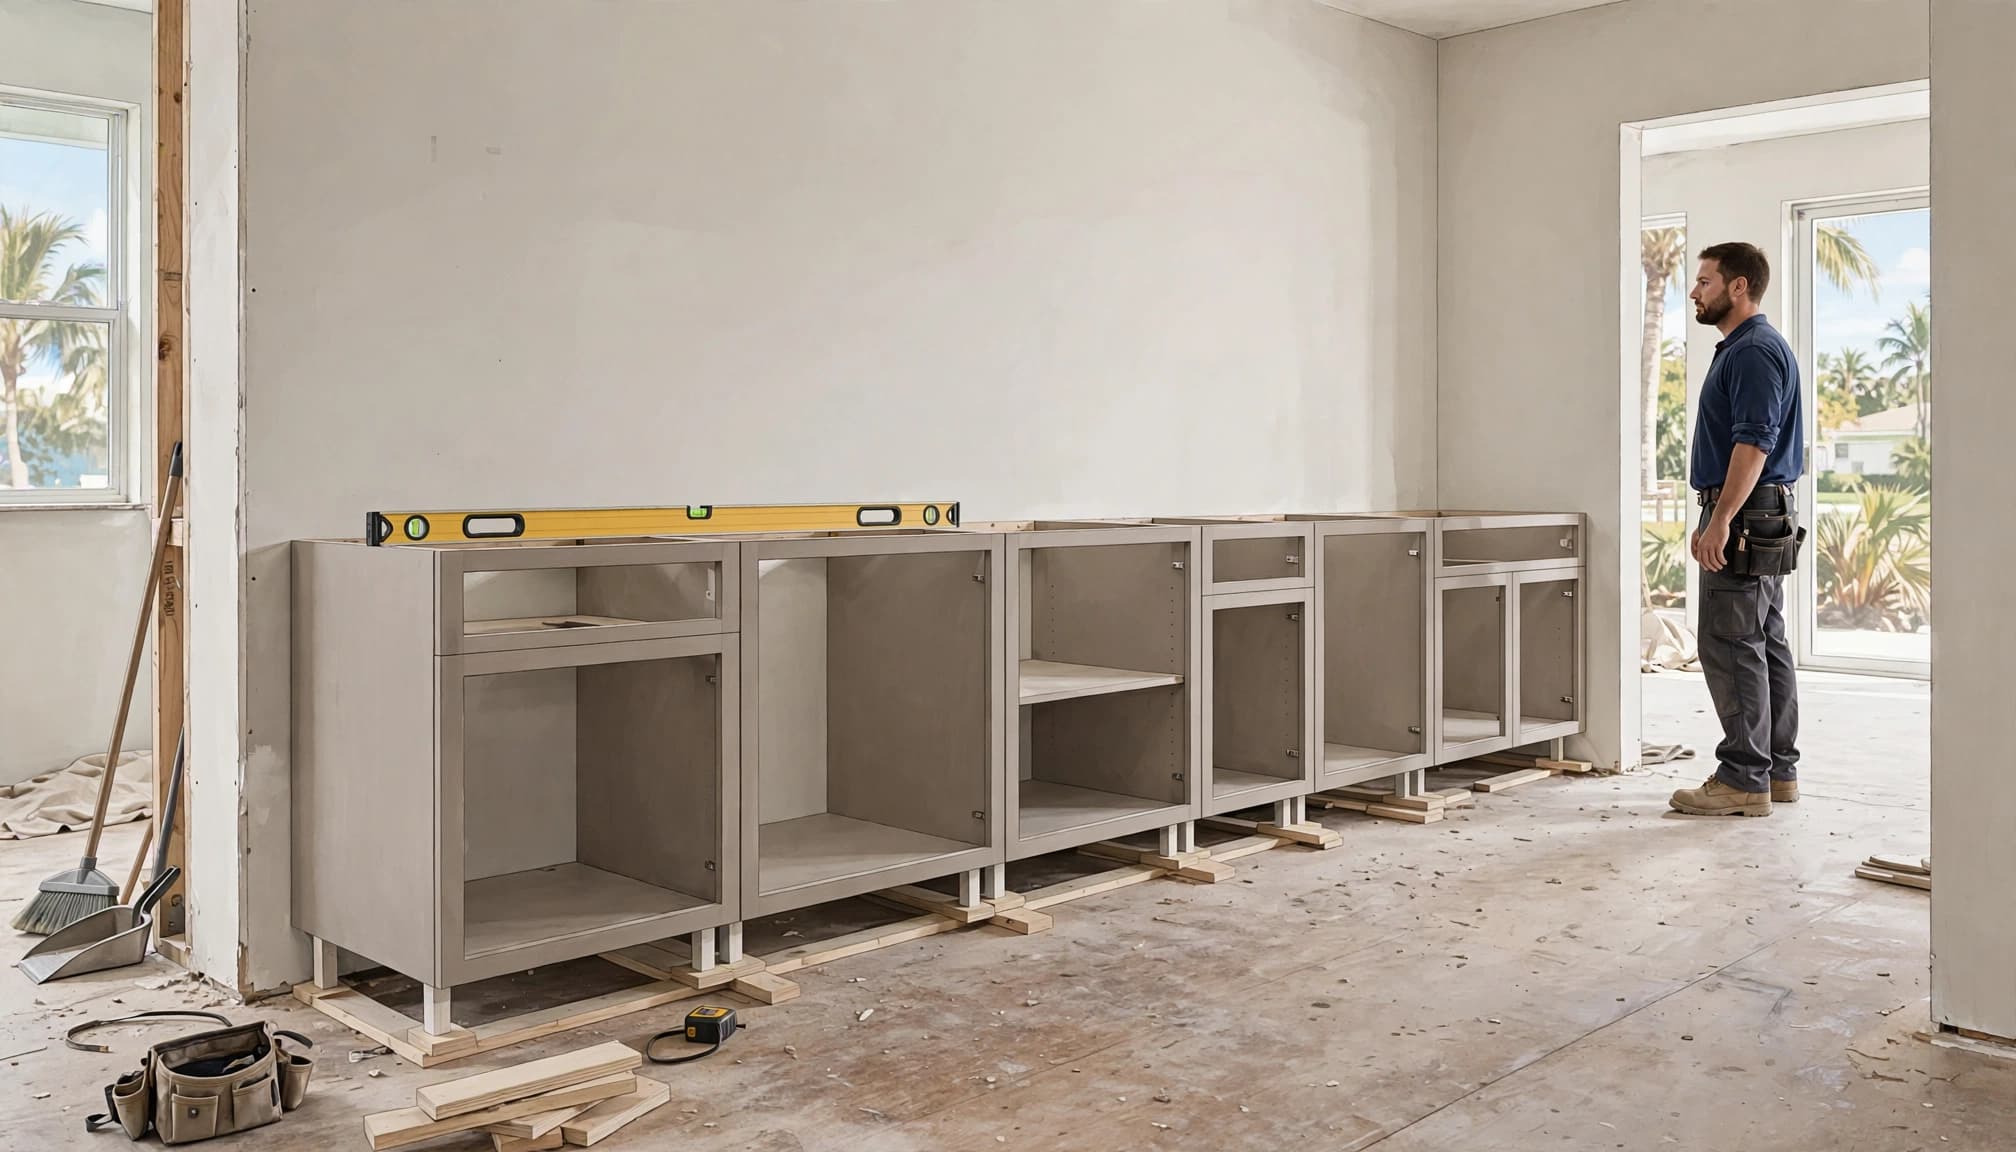
A countertop needs a consistent support plane across the cabinets beneath it. The installer evaluates the whole run, rather than treating each cabinet as an isolated box.
First, the installer identifies floor variations and establishes the intended cabinet height. Shims or the cabinet system's adjustment components compensate for uneven surfaces.
Next, level checks run side to side and front to back. Adjacent cabinets also need their top edges aligned so the countertop doesn't bridge unintended high and low spots.
Cabinet boxes must remain square during these adjustments. A twisted box can affect door alignment and drawer operation even if one top edge appears level.
The same review applies at corners, across appliance openings, and along island cabinets. These transitions can reveal differences that a quick check on one cabinet misses.
A straight-looking row of cabinet doors doesn't prove that the cabinet tops form a level support plane.
Countertop fabrication should follow these corrections. A finished slab isn't a substitute for fixing poorly aligned cabinetry.
Secure Cabinets and Plan Countertop Support
Leveling establishes the geometry. Securing the cabinets keeps that geometry from changing during measurement, delivery, and countertop installation.
Anchor the cabinet boxes
The installer joins adjacent cabinets and anchors them to suitable attachment points using the cabinet system's installation requirements. Attachment must suit the wall or floor construction.
Shims need stable placement so fastening doesn't pull a cabinet out of alignment. After tightening the connections, the installer rechecks the cabinet tops and face alignment.
Islands need secure attachment appropriate to their construction. A cabinet that shifts when someone leans against it isn't ready for countertop templating, even if its position looks correct.
Address overhangs and unsupported spans
The chosen countertop material, cabinet arrangement, and overhang design determine support needs. Seating extensions, appliance openings, and some corner layouts require attention beyond the cabinet boxes themselves.
Support details should be resolved before fabrication. Brackets, supports, or other components must work with the planned edge, cabinetry, and appliance clearances.
A larger island or heavier countertop can change the support demands. Our countertop material comparison covers why cabinet strength and fabrication details belong in the same planning conversation.
Cabinet stability and countertop support are separate checks, and both matter.
Match Appliance Openings to the Selected Models
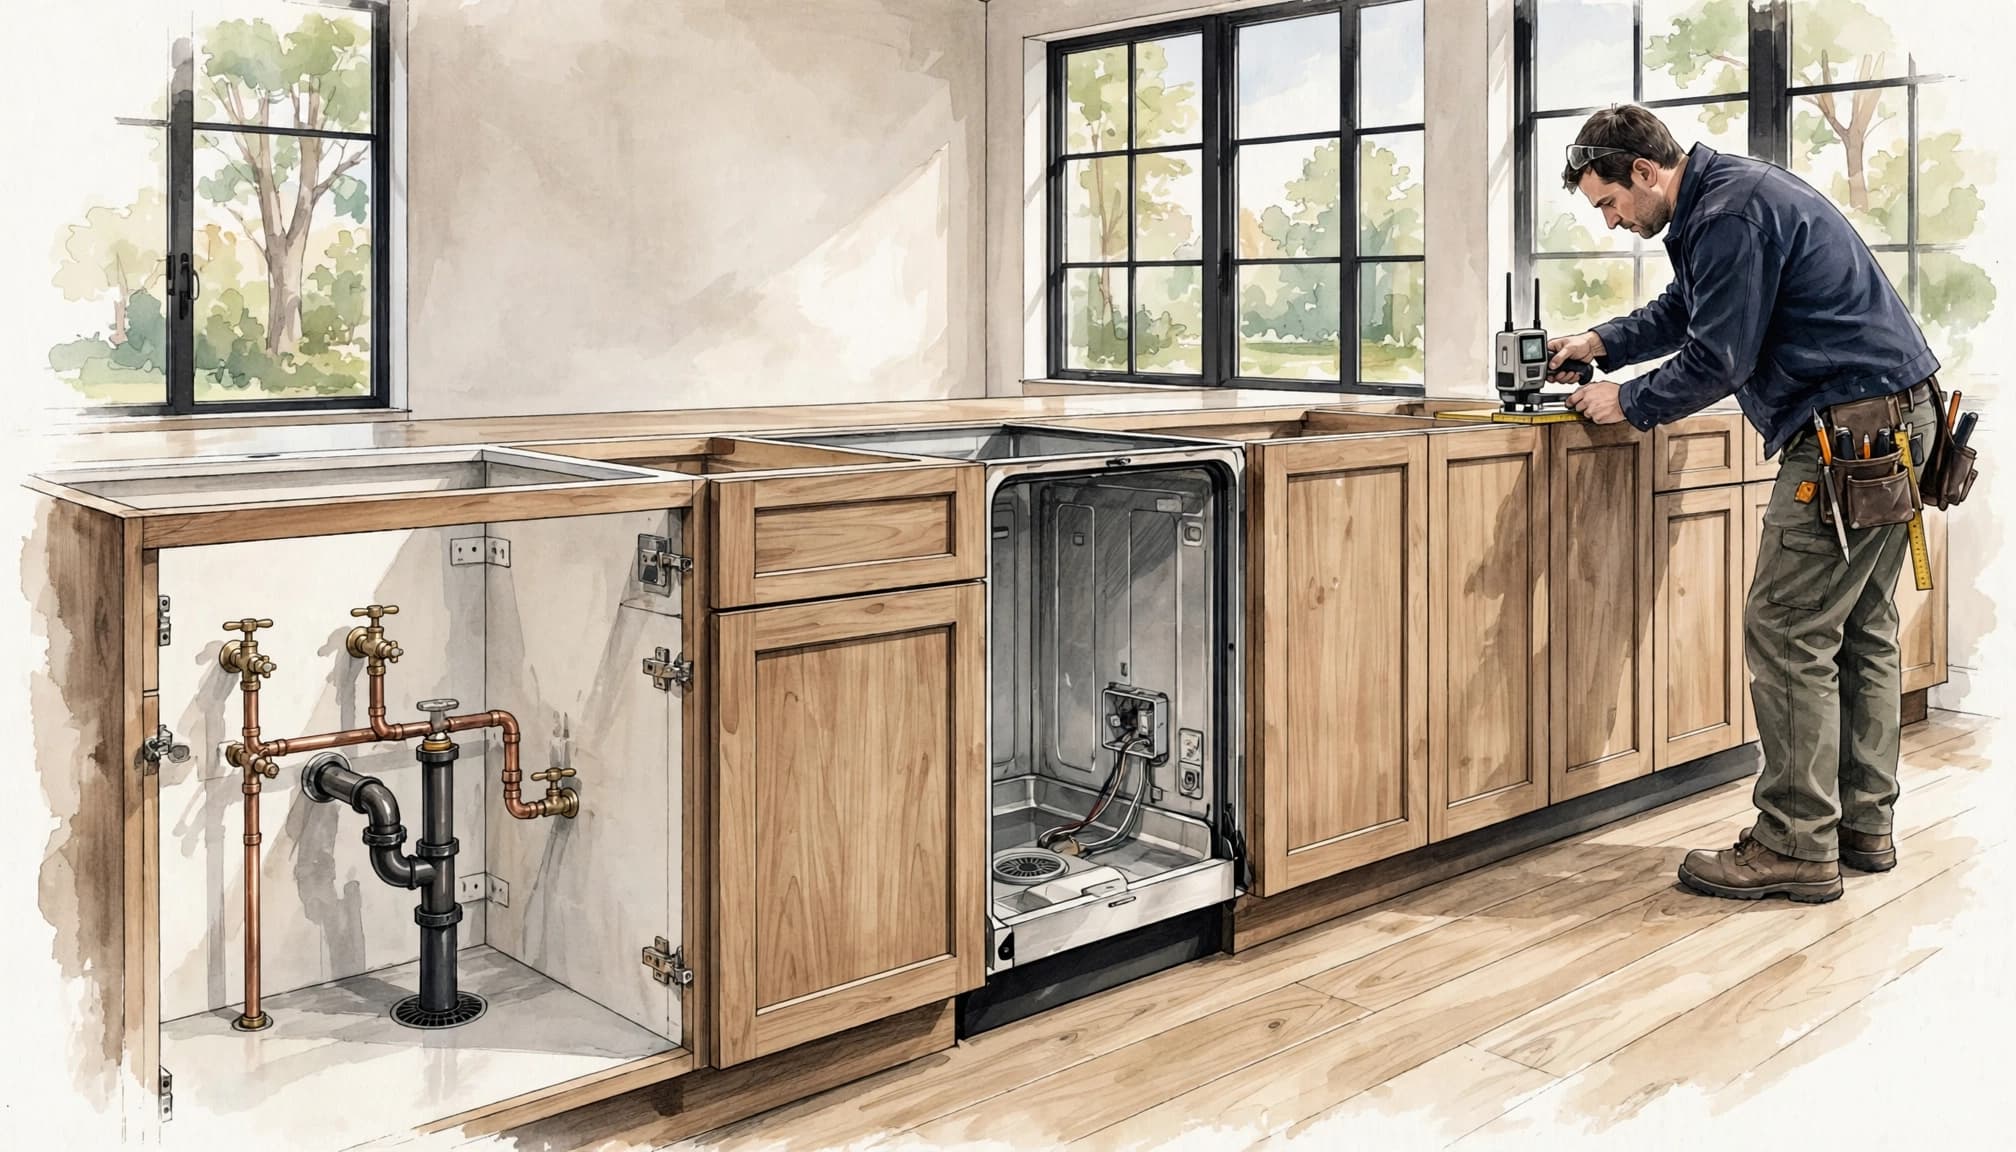
An appliance's category doesn't define its exact opening. The selected model's installation information controls the fit.
Fit ranges, cooktops, and dishwashers
A range opening affects the countertop edges beside the appliance. A cooktop requires a cutout that accounts for its exact dimensions and clearance requirements.
The dishwasher opening needs enough room for the unit, its connections, and its attachment method. The finished floor height also matters because the appliance must remain removable after the countertop is installed.
Our guide to coordinating appliances with cabinet installation explains why early appliance selections help prevent layout changes during this stage.
Preserve clearance and service access
Appliance fit includes more than width. Door swing, handle projection, ventilation, and service access all affect the surrounding cabinetry.
The installer evaluates whether a door will hit an island, nearby drawer, or wall. Appliance panels and cabinet fillers also need to match the intended installation.
Models that sit flush with cabinetry create different finish relationships than units that project beyond it. These details need to be settled before countertop measurements lock in the adjacent edges and openings.
Resolve Sink and Faucet Details Before Cutouts
The sink base must accommodate the selected sink, its mounting system, and the plumbing beneath it. A wide bowl can conflict with cabinet sides or interior components even when its overall size seems suitable.
The exact sink model and mounting style affect the countertop cutout. Undermount, drop-in, and apron-front sinks create different relationships between the sink, cabinet, and finished surface.
An apron-front sink can require cabinet modifications and support before templating. Other sinks may be mounted during countertop installation, depending on the system.
The fabricator needs the selected sink and its relevant installation information according to the project's fabrication requirements. A general product description doesn't define the cutout.
Faucet placement deserves the same attention. Hole locations must allow room for the faucet base, handle movement, backsplash, and any selected accessories.
Below the sink, the planned drain and disposal must fit without blocking drawers or other cabinet components. Final plumbing connections generally follow countertop and sink installation, as described in our cabinet-to-countertop installation sequence.
Complete the Details That Change Countertop Measurements
Countertop templating records the kitchen as installed. It accounts for wall shapes, cabinet positions, exposed ends, and the relationships between separate countertop sections.
Anything that changes those measurements needs resolution first.
Fillers and dimension-changing end panels should be in their final positions. Wall repairs that affect the countertop boundary also need completion. If removing the old countertop exposes uneven or damaged areas, those conditions belong in the preparation work.
The edge profile, overhangs, sink reveal, and backsplash approach affect fabrication decisions. Slab backsplashes, window returns, and other related pieces need a defined scope so the fabricator measures the intended work.
Seam planning also depends on the layout, slab material, and handling constraints. Those decisions should align with the final cabinet arrangement and cutout locations.
Some cosmetic work can remain. For example, a hardware adjustment that doesn't change cabinet dimensions differs from moving a filler or resizing an appliance bay.
The deciding factor is whether the remaining work changes the countertop's fit or support.
Hand Off a Stable Kitchen for Templating
Before the template visit, the installation team reviews the cabinet run as a complete system. The review covers level tops, secure attachment, final positions, support details, and the selected fixtures and appliances.
The countertop area also needs clear access. Tools, packaging, and temporary work surfaces shouldn't obscure the edges the fabricator must measure.
Templating may use physical patterns or digital measuring equipment. Either method depends on the installed cabinetry being ready.
Cabinet installation and countertop installation are separate stages. A completed cabinet run doesn't mean the slab can immediately arrive, because measurement and fabrication still come next.
Our Cape Coral kitchen remodel timeline places these steps within the broader renovation sequence. Actual scheduling depends on cabinet readiness, selected products, fabrication requirements, and other project conditions.
If a dimension-changing revision becomes necessary after templating, it needs coordination before fabrication proceeds. That prevents the countertop from following a layout the kitchen no longer has.
A Stable Cabinet Layout Comes First
Countertop templating works best when the cabinets already establish the kitchen's final dimensions. Placement, leveling, fastening, and support create the stable base the fabricator needs.
Sink and appliance details complete that preparation by defining the openings and clearances the countertop must accommodate.
Cabinets that look finished are only part of the picture. Cabinets that are stable, correctly positioned, and coordinated with the selected equipment are ready for the next stage.