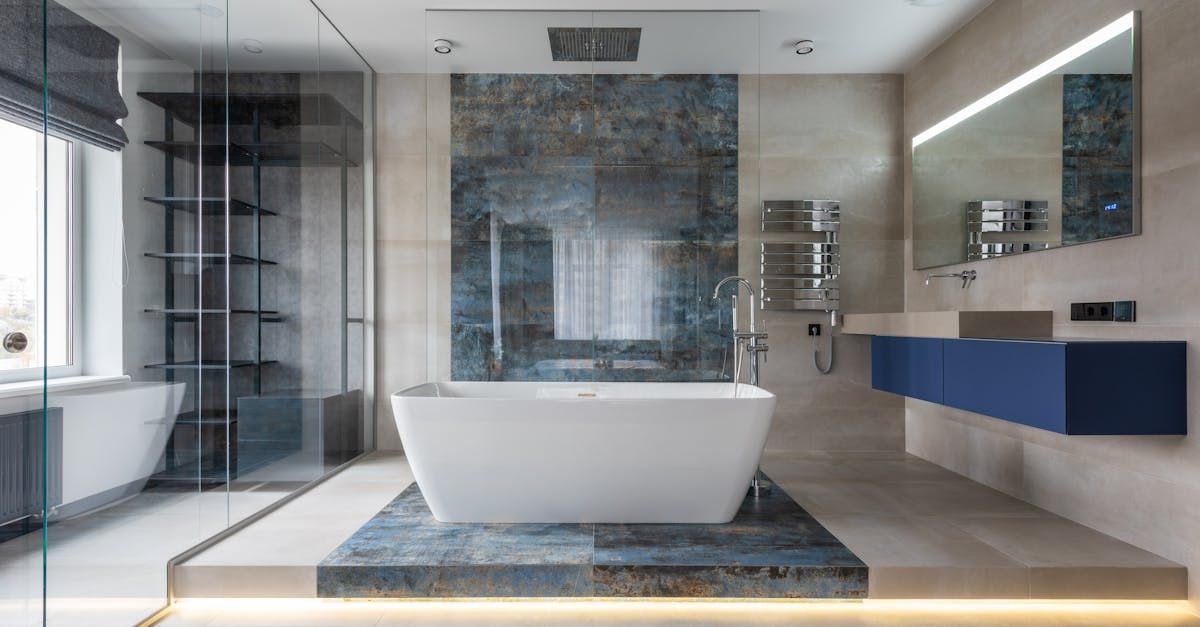

How to Choose Grout Color for Large-Format Bathroom Tile
Choose a grout color that sits close to your tile's main color for a calm, continuous look. Choose a contrasting color when you want the tile layout to stand out.
Large-format tile has fewer joints than smaller tile, but each line still affects the finished room. Undertones, lighting, and maintenance all matter, especially in a bathroom where surfaces get wet every day. Start by deciding how visible you want those lines to be.
How Grout Color Changes the Look of Large Tile
Large tiles put more of the tile surface on display. The grout lines frame those surfaces, so their color can either soften or emphasize the layout.
Choose a Close Match for Visual Continuity
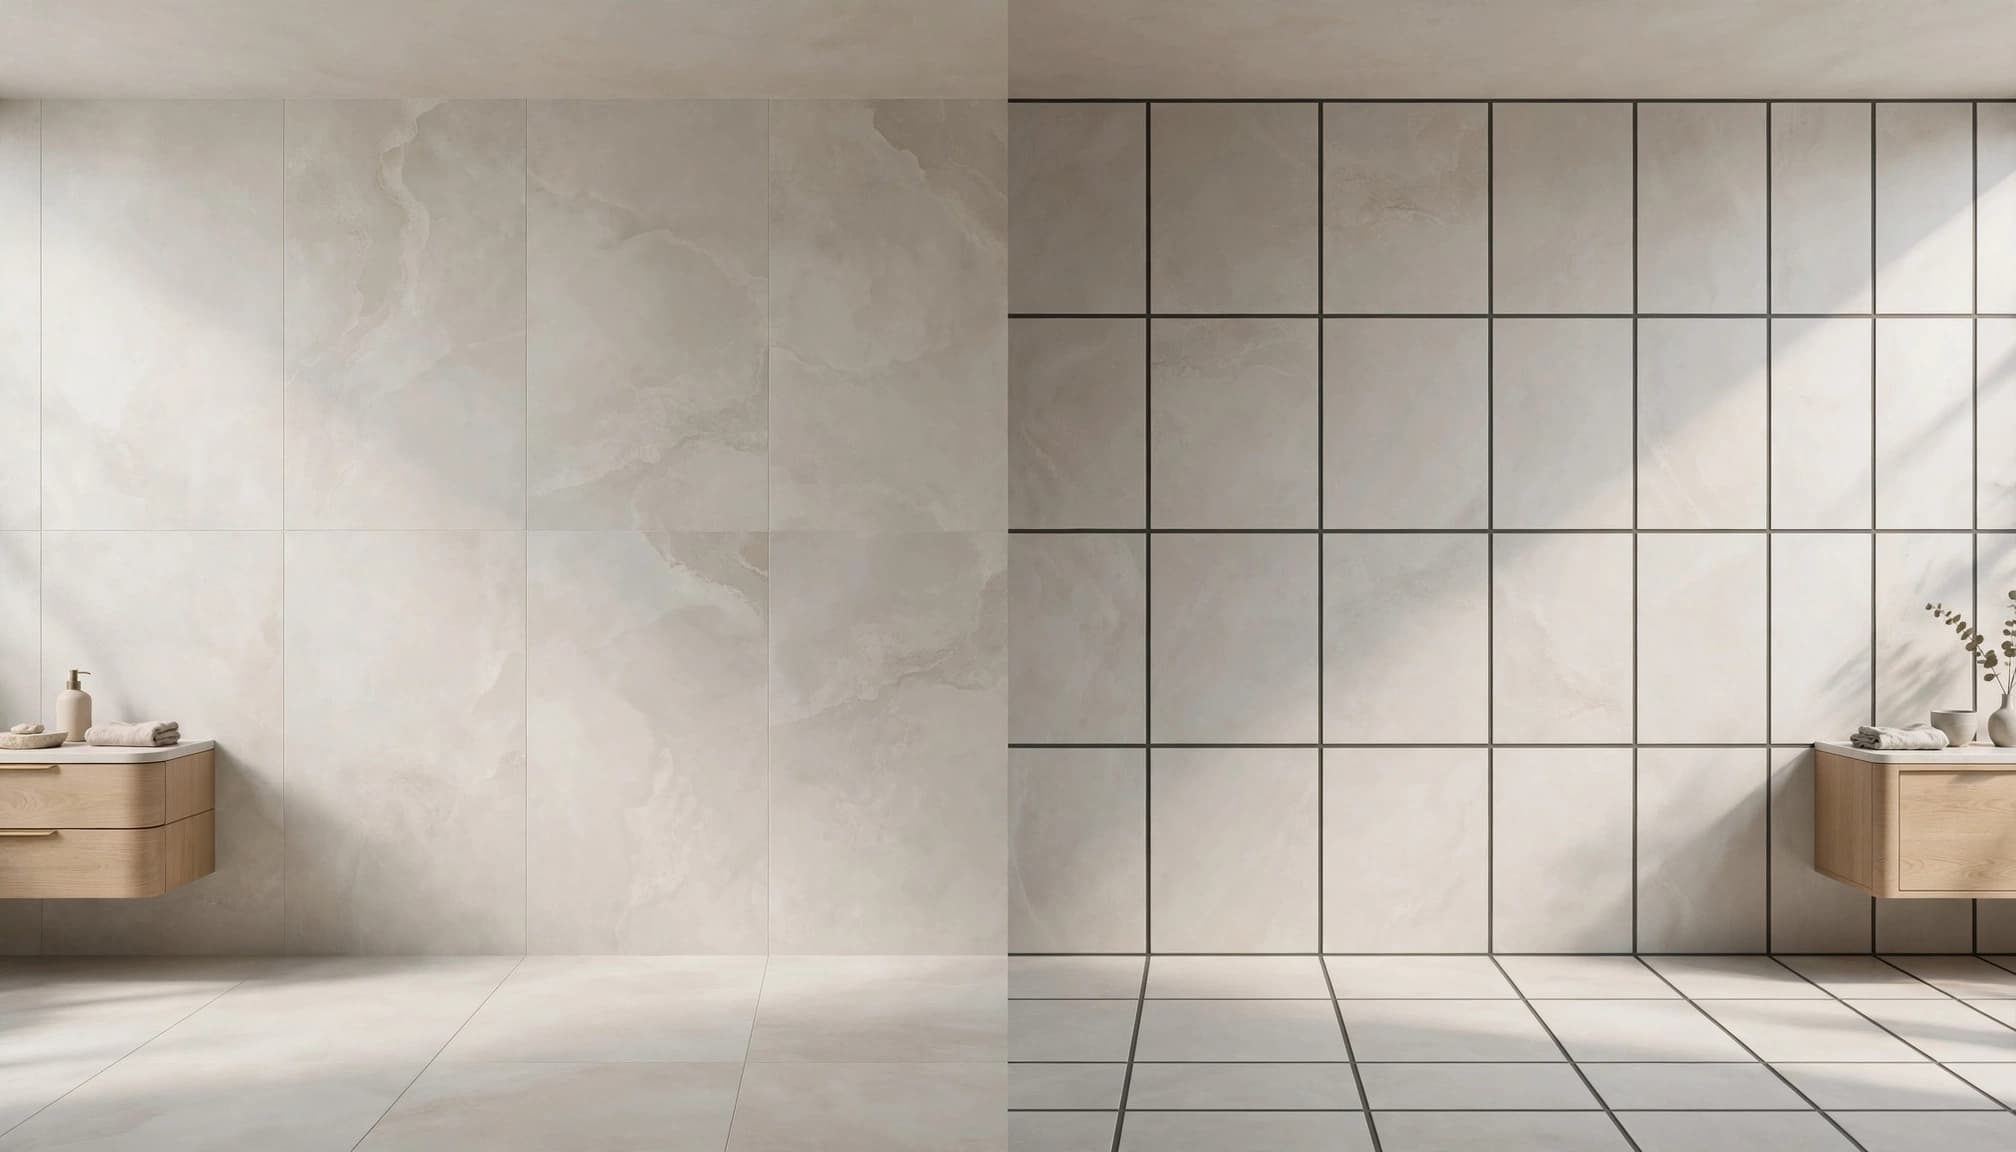
A grout color close to the tile's background helps the joints blend into the surface. This works well when you want a shower wall or bathroom floor to feel calm and uninterrupted.
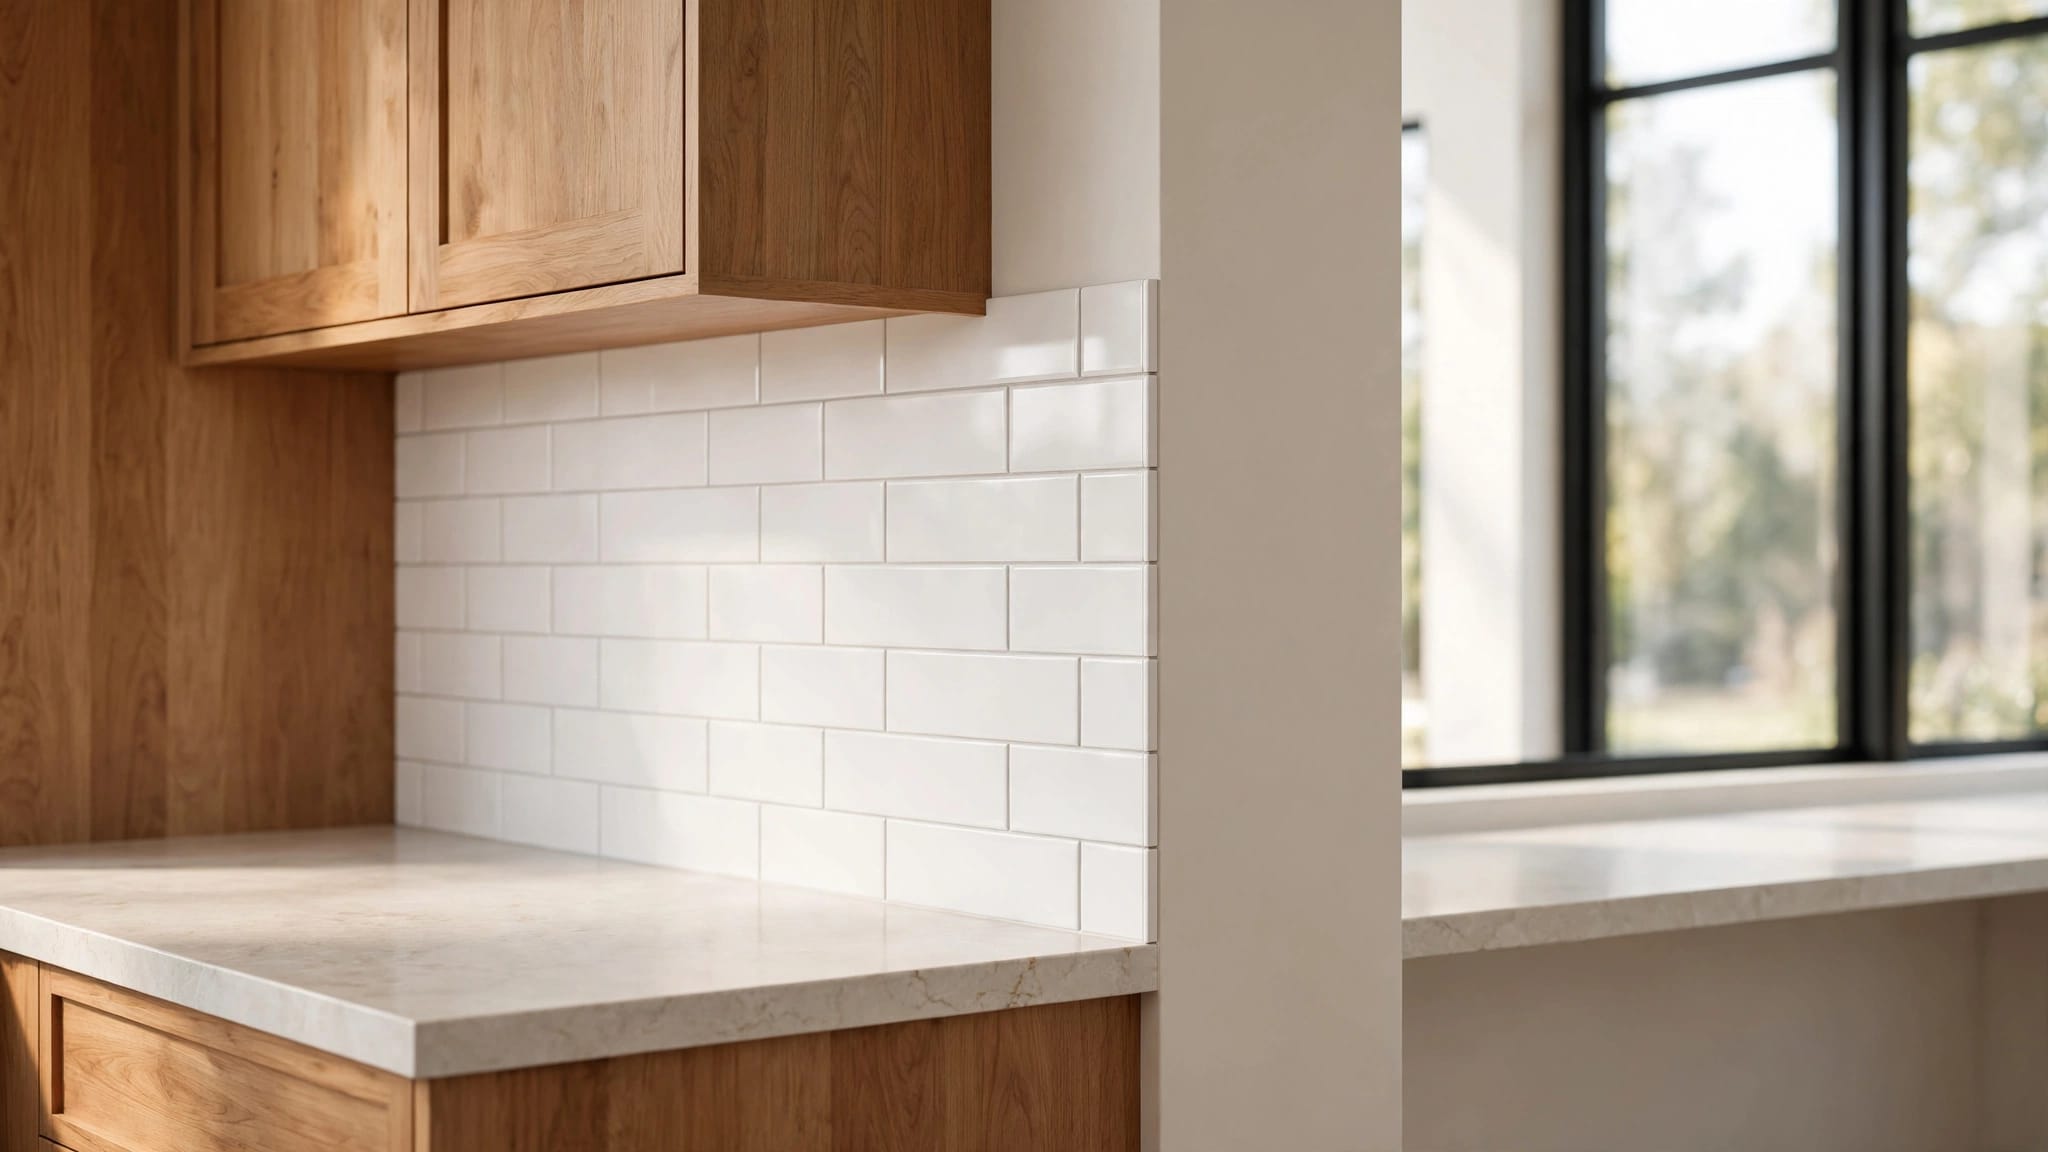
For example, a warm light-gray grout can sit comfortably beside a warm light-gray porcelain tile. The lines remain visible up close, but the tile's surface becomes the main focus.
Matching is also useful with patterned or stone-look tile. When a tile already has noticeable veining, softer grout lines allow that pattern to stand out without adding another strong visual element.
Choose Contrast to Highlight the Layout
Contrasting grout draws attention to the shape and placement of each tile. A darker joint against light tile makes a rectangular grid more prominent, while light grout against dark tile creates a similar effect.
This approach suits a bathroom where the layout is a feature you want to see. Keep in mind that contrast also makes variations in alignment and joint width easier to notice. A moderate difference in color gives the grid definition without making it dominate the room.
Match Grout to the Tile's Undertones
Two colors can look similar on a display and still clash once they're side by side. Undertone is often the reason. A tile may look gray overall but have a warm beige cast, while another gray tile has a cooler blue cast.
Look Beyond the Main Color
Place your tile next to a plain white surface to make its undertone easier to see. Warm tiles may lean toward beige, cream, or brown. Cool tiles may show hints of blue or green.
For a close match, start with grout in the same general color family. A cool gray grout beside a warm beige tile can look more pronounced than its lightness suggests. Similarly, a yellow-leaning grout can make a cool white tile look stark.
The match doesn't have to be exact. The goal is to choose a combination that looks intentional in your bathroom rather than one that works only under showroom lighting.
Work With Veining and Color Variation
Stone-look porcelain and natural stone often include several colors. Instead of matching every vein, choose a grout that relates to the tile's dominant background for a quieter surface.
If you want more definition, try a color closer to a secondary tone in the tile. View several pieces together when possible. Variation across a box of tile can change how the grout appears over a full wall or floor.
Consider Grout-Joint Width Before Choosing Contrast
The width of a joint changes how much grout you see. A narrow contrasting line can look crisp, while a wider line in the same color has more visual weight.
Large-format tiles may appear to need almost no joint at all, but tiles shouldn't be installed without the appropriate grout joints. The finished width depends on the tile's dimensions, variation between pieces, and the installation requirements. The layout and condition of the substrate matter, too.
Choose the color with the planned joint width in mind. A small color sample may look subtle on its own, yet feel much stronger when it outlines every tile across a shower wall.
For a softer look, a close match can make a necessary joint less noticeable without making the joint itself smaller. If you prefer contrast, review a sample at the intended width before committing. This is especially helpful on a prominent wall where long, straight lines will be easy to see.
See How Bathroom Lighting Affects Grout Color
Lighting changes the way tile and grout look together. A color that feels balanced in daylight can appear warmer under vanity lights or darker in a room with limited natural light.
Consider where each surface sits. A grout color on a floor may look different from the same color on a wall because the light reaches it at a different angle. Shadows beneath a vanity or inside a shower can also make joints more noticeable.
Look at the tile and grout beside the other finishes you plan to keep. A warm wood vanity, white countertop, or painted wall gives your eye another color to compare. If the grout suddenly looks pink, yellow, or blue beside those finishes, try another option.
Lighting belongs in the broader finish plan, not at the end of it. Our guide to planning a primary bathroom renovation covers lighting and other decisions to make before finishes go in.
Test Grout Samples Alongside Your Tile
A grout color chart is useful for narrowing choices, but a small printed swatch can't show you the full effect. Test the actual materials together before making your final selection.
Make a Sample With a Visible Joint
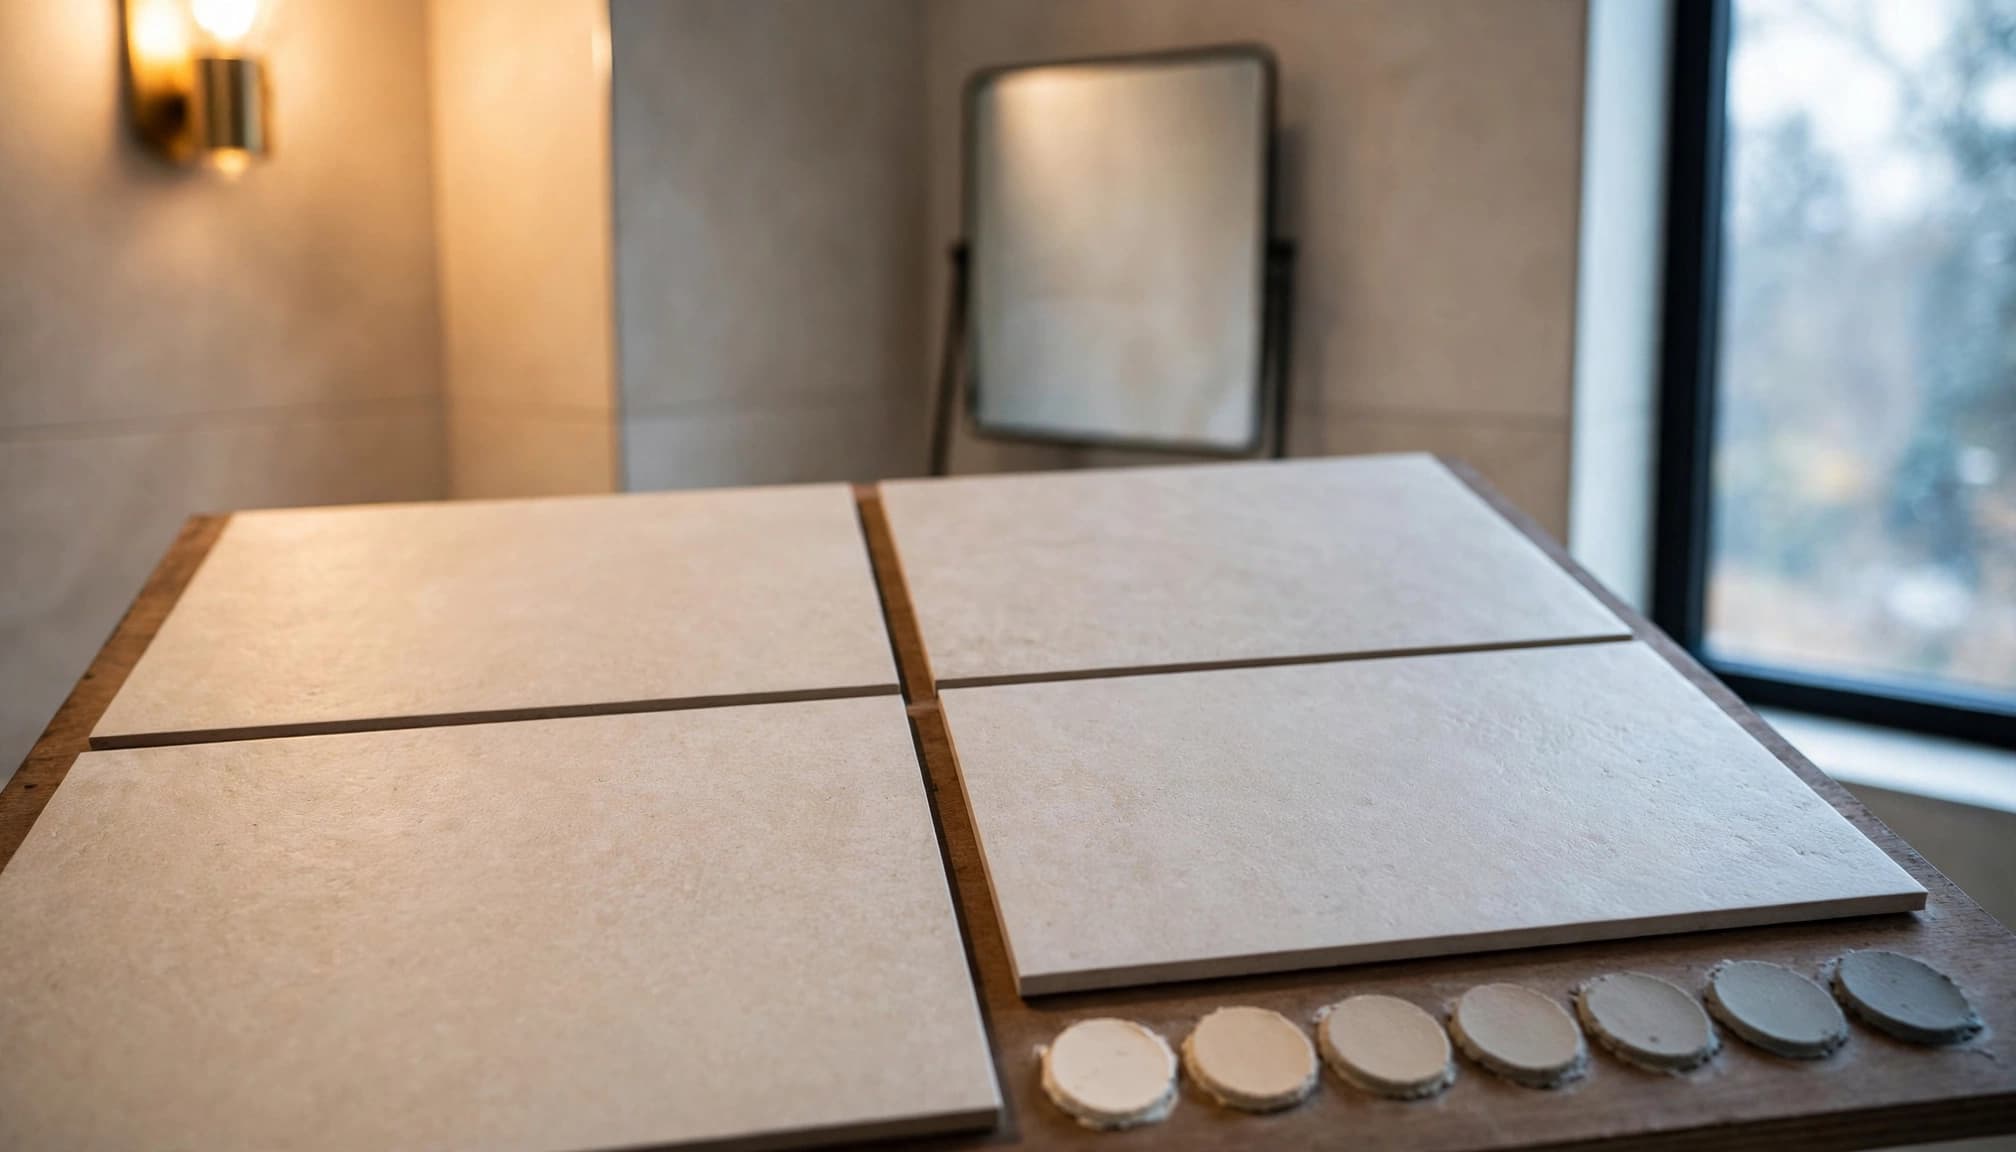
Ask your installer to prepare a sample using the selected tile and grout. A sample with two tile pieces and a joint between them gives you a better view than a grout chip resting on top of one tile.
Include the grout options you're considering and use the intended joint width. Let the samples cure before comparing them, since wet grout can look different from its finished color.
Stand close enough to judge the undertones, then step back to see how strongly the joint reads. If you can, include more than one tile piece from a varied design so the sample shows how the color works across different parts of the pattern.
View Samples Where the Tile Will Go
Take the sample into the bathroom and place it against the wall or on the floor where it will be installed. Look at it in daylight and with the bathroom lights on. If the room has no window, use the lighting planned for that space.
Compare the sample while it's dry and after it has been exposed to water. Bathroom grout won't always look the same when damp, especially in a shower. Choose the combination you like under ordinary conditions, rather than the one that looks best for a moment in a showroom.
Choose a Color You Can Maintain
Grout color affects what you notice between cleanings. It doesn't change how much moisture, soap residue, or dirt reaches the joint.
Weigh Light and Dark Grout
Light grout can show dirt, soap buildup, and discoloration more readily. On a busy bathroom floor, tracked-in sand and everyday foot traffic may make those marks easier to see than they would be on a vanity wall.
Dark grout has its own trade-off. Dried cleaner and mineral deposits can stand out against a deep color, especially in a shower. A middle-tone gray or taupe may offer more visual forgiveness, provided it also works with the tile's undertone.
Rather than choosing a color only to hide marks, consider the room's use. A lightly used powder room and a family shower place different demands on their finishes.
Keep Cleaning Compatible With the Tile
Regular cleaning matters for every grout color. Use a cleaner suited to both the grout and tile, and avoid harsh scrubbing that can damage the surface or joints.
Natural stone needs particular care. Acidic cleaners can etch materials such as marble, even when the stone has been sealed. Wiping excess water from shower surfaces and using the exhaust fan can also help reduce the damp conditions that allow residue and mildew to accumulate.
Pick the Grout Material Separately From the Color
Once you've narrowed the color, consider the grout material. Two products with a similar appearance can have different installation and maintenance needs.
Cement-Based Grout
Cement-based grout is a common choice for tile joints. Some products need a penetrating sealer after installation, while others have different protection requirements.
Sealer can reduce absorption, but it doesn't make grout waterproof or eliminate cleaning. If the selected product needs sealing, include that work in the project plan and follow its care instructions afterward.
Epoxy Grout
Epoxy grout offers stronger resistance to moisture and staining than standard cement grout. That can make it appealing in a frequently used shower or family bathroom.
The trade-off is cost and installation. Epoxy generally costs more, and the installer needs to work carefully and remove residue during installation. The choice should fit the tile and the location, not only the color sample.
Our guide to bathroom tile options for humid homes has more detail on materials, grout, and movement joints.
Plan the Tile Layout and Waterproofing Together
A beautiful grout color can't make up for a poorly prepared tile surface. Large-format tile needs a suitable, flat substrate so the finished pieces sit well together. Preparation also helps the installer achieve consistent joints, which matters even more when you've chosen a contrasting color.
In showers, grout and tile aren't substitutes for a waterproofing system. Waterproofing must protect the assembly behind the tile, including corners and connections. Read about bathroom waterproofing before tile installation when you're planning that part of the remodel.
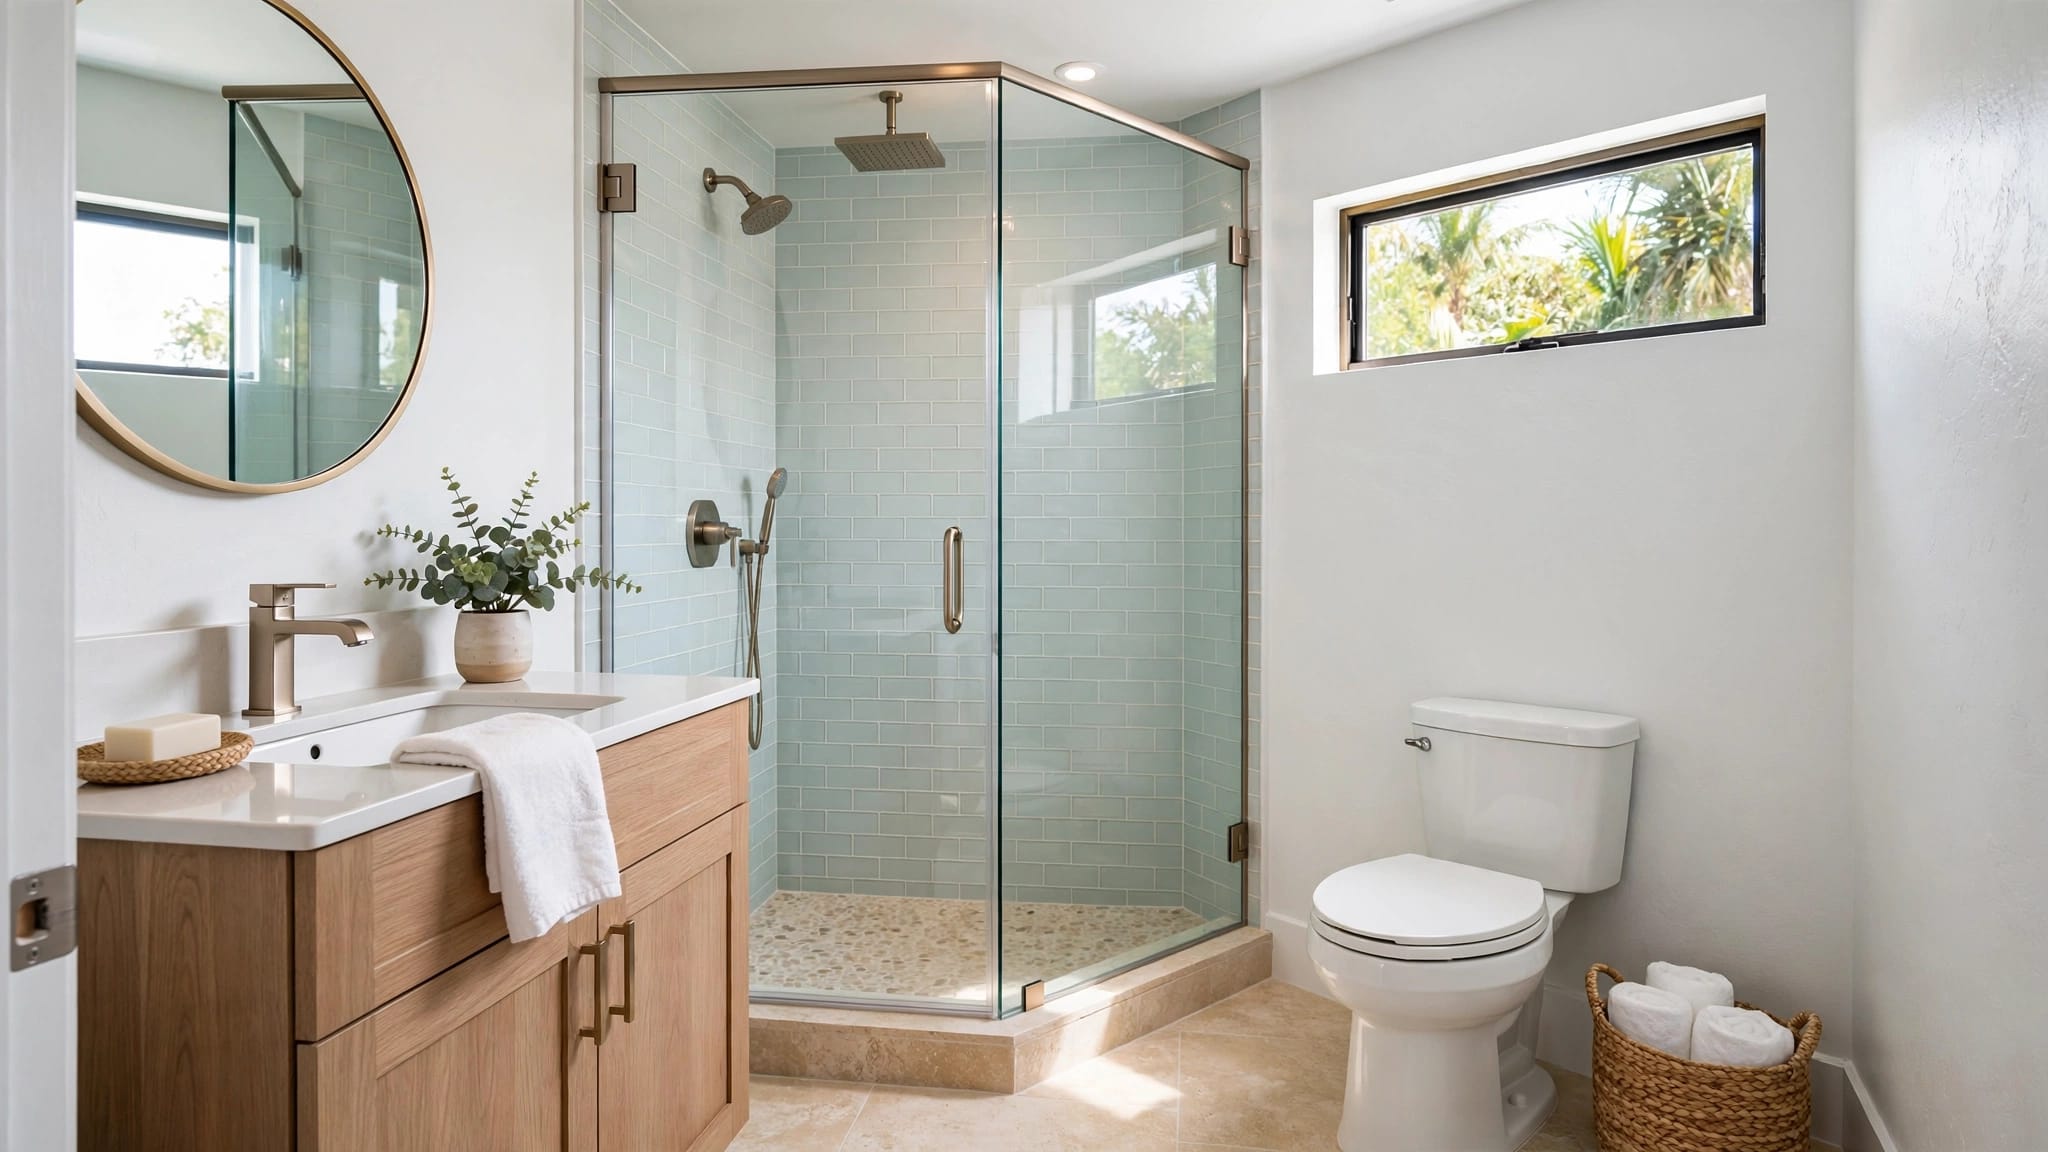
Also consider where large tile makes sense. Shower floors often use smaller tiles or mosaics because they follow the slope toward the drain more easily. If the shower floor uses a different tile, its grout can coordinate with the wall without being an exact match.
At inside corners and changes in plane, flexible sealant accommodates movement where rigid grout could crack. A sealant that coordinates with the grout helps those transitions fit the design.
Make Your Final Grout Choice
The right grout color supports the look you want and fits the way you use the bathroom. A close match keeps large tile visually continuous, while contrast gives the layout more definition.
Before deciding, compare cured samples against the tile in your bathroom's lighting. That side-by-side view gives you a clearer picture of both the finished surface and the joints you'll maintain.