

Cape Coral Countertop Seam Placement Before Fabrication
Set countertop seam placement on the fabrication drawing before cutting begins, using the final cabinet layout and fixture specifications. For your Cape Coral kitchen, the approval should connect the selected slab to the room where it will be installed.
A showroom sample can't show where a vein will cross a joint or how countertop sections relate to an island. Those decisions need a documented layout , not a verbal understanding.
Start with the kitchen plan, then bring the slab selection, template, and fabrication drawing into agreement.
Key Takeaways
- Show proposed countertop joints on the fabrication drawing before authorizing cutting.
- Review the full slab and its planned orientation, because a small sample doesn't show the complete pattern.
- Use the selected sink, faucet, and appliance specifications when preparing countertop openings.
- Keep the approved drawing, material selection, and written changes together so everyone works from the same information.
These decisions belong alongside cabinet and appliance planning. Treating the countertop as a separate purchase leaves important relationships unresolved until late in the remodel.
Plan Countertop Seam Placement Around the Kitchen Layout
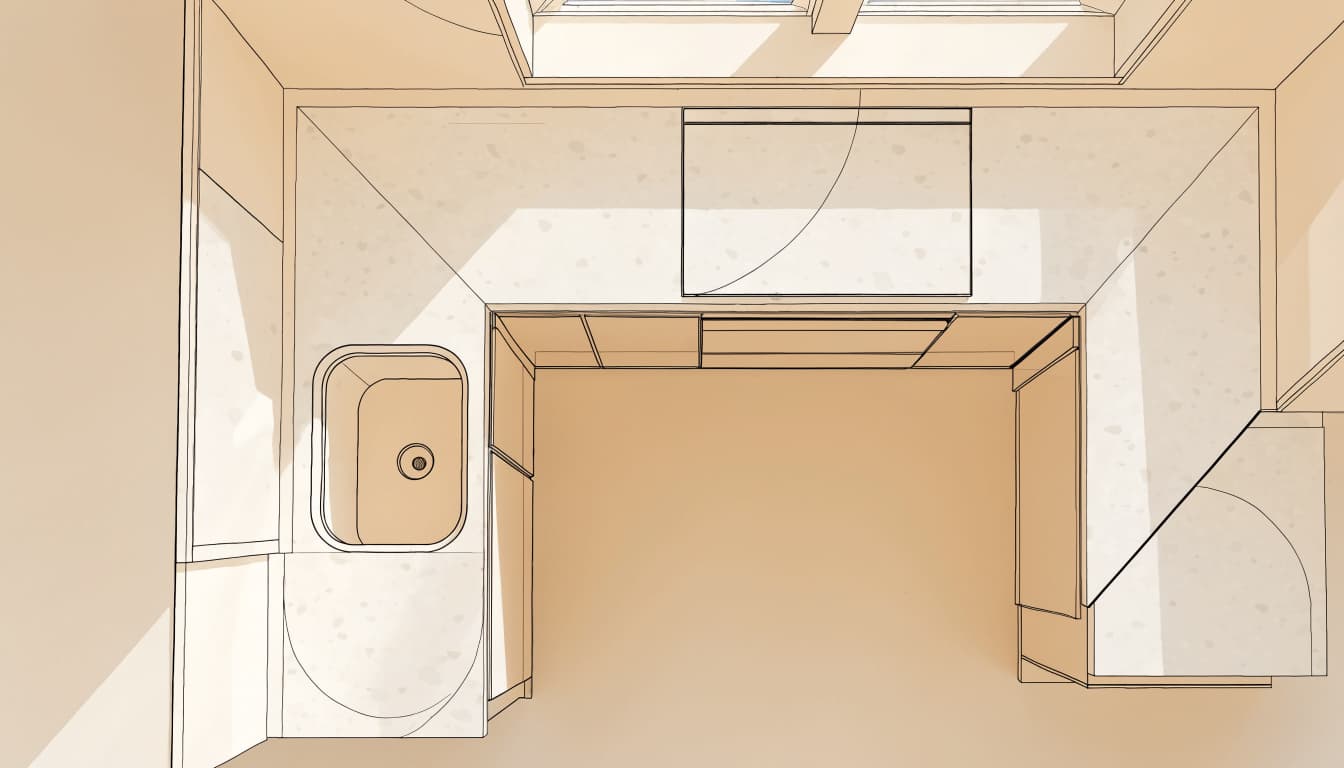
A seam location needs context. A line drawn on a countertop outline means little without the cabinets, fixtures, and adjoining surfaces beneath and beside it.
Start with the approved cabinet arrangement
Use the cabinet plan that will guide installation, including filler panels, finished ends, appliance openings, and island dimensions. An earlier concept drawing may show a different countertop footprint.
The plan should also distinguish countertop edges from cabinet edges. Overhangs, wall returns, and seating areas belong on the countertop drawing rather than remaining implied.
Our guide to planning a functional kitchen layout addresses the room-level decisions that come first. Once those relationships are settled, the countertop plan can describe the finished surface accurately.
Include the fixtures that interrupt the surface
Show the sink and cooktop openings, faucet holes, and countertop-mounted accessories in their intended positions. Use the actual selections rather than generic symbols wherever dimensions affect fabrication.
An undermount sink also needs a defined reveal, meaning the relationship between the countertop opening and the sink edge.
Together, these details let you review the proposed joints against the complete design. Keep the cabinet layout and countertop drawing side by side during approval so discrepancies don't remain hidden in separate documents.
Review the Actual Slab, Not Only the Sample
A sample helps narrow colors and finishes. The full slab provides the broader view needed to understand pattern movement and the areas assigned to different countertop sections.
Follow the pattern across planned cuts
Natural stone varies across its surface. A small piece may omit a broad vein, color change, or contrasting area that appears elsewhere in the slab.
Review the proposed countertop sections against the selected slab image. Pay attention to how the pattern continues, changes direction, or meets at a joint.
For a veined surface, the layout should communicate the intended relationship between adjoining pieces. It shouldn't leave pattern direction to assumption.
Keep the slab image with the drawing so the approved orientation remains clear after the selection appointment.
Include edges and adjoining surfaces
The countertop's appearance includes more than its horizontal face. Edge profiles, backsplash pieces, and island ends also belong in the material review.
If the design includes a waterfall end, show its relationship to the island top. Likewise, a slab backsplash needs its own planned orientation rather than an assumption that it will follow the countertop pattern.
Record the material name, finish, and thickness with the layout. For manufactured surfaces, include the manufacturer and product name. Those identifiers connect the design approval to the material selected for fabrication without relying on a color description alone.
Make the Template Match the Finished Kitchen
Templating translates the installed kitchen into fabrication information. It needs the conditions and selections that will exist when the countertop arrives.
Set the cabinet and wall conditions first
Cabinet positions, finished panels, and adjoining walls affect the final countertop shape. So does the relationship between cabinet height and the finished floor.
Resolve those relationships before final templating. A later cabinet adjustment can leave the fabrication drawing describing an earlier version of the room.
In a remodel, removing the old countertop may also reveal wall conditions that weren't apparent during initial planning. Address changes that affect the countertop boundary before releasing the final drawing.
For new construction, apply the same principle: design dimensions guide planning, while the final template records the installation conditions.
Use exact sink and appliance information
A nominal appliance size isn't a complete cutout specification. The selected cooktop model and sink configuration need to match the fabrication information.
Faucets, soap dispensers, filtered-water taps, and other accessories also require coordinated positions. Above the counter, they occupy space near the backsplash. Below it, their components share space with the sink and cabinet interior.
Keep those selections together rather than sending disconnected product details at different stages. If an appliance or sink changes, update the affected countertop information before fabrication proceeds.
This keeps the template, fixture schedule, and approved drawing aligned with the kitchen you intend to build.
Put the Complete Fabrication Plan in Writing
The approval drawing should describe the countertop clearly enough that a homeowner, contractor, and fabricator can identify the same locations.
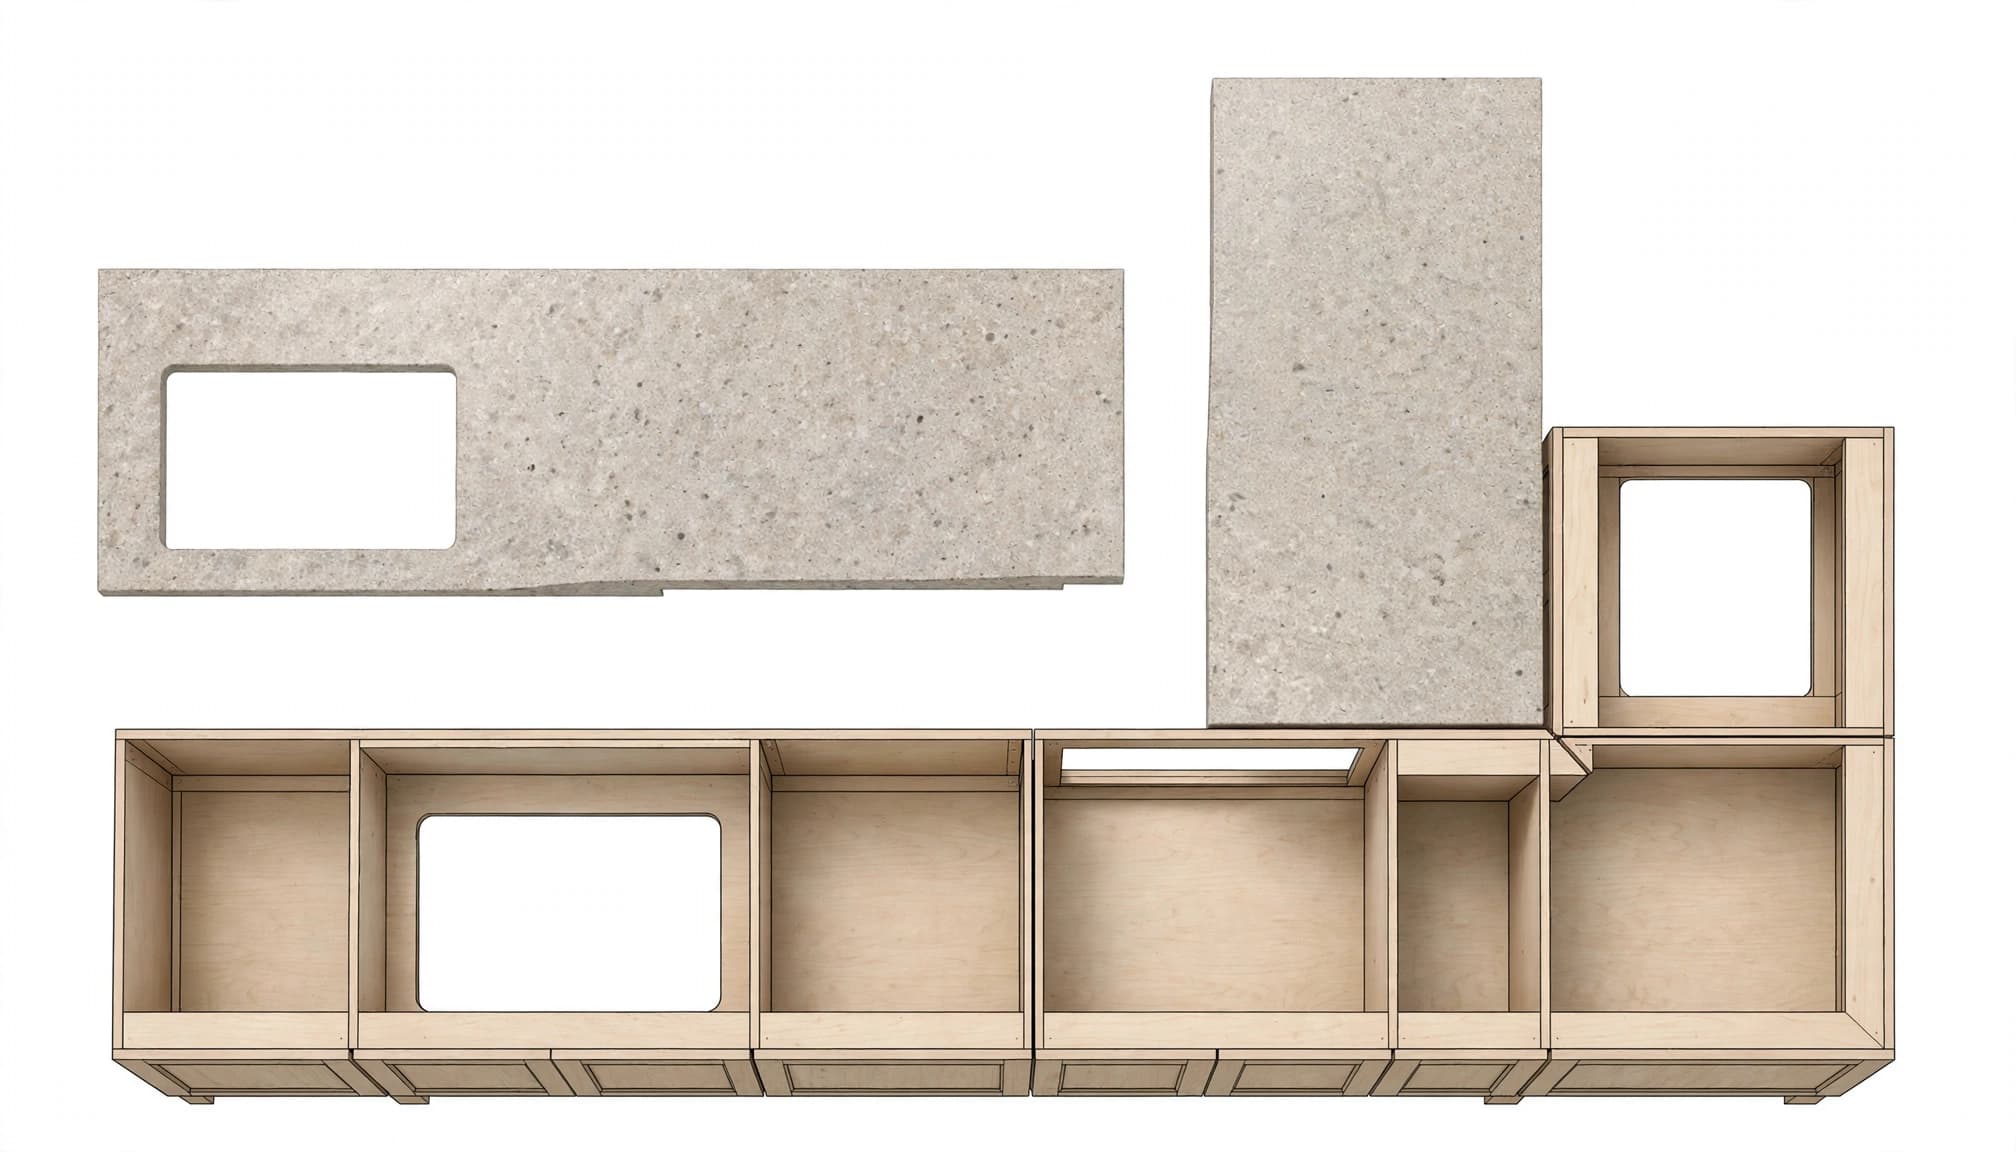
Use a single drawing set to capture these connected decisions.
| Drawing detail | What belongs in the record |
|---|---|
| Proposed joints | Marked locations on the countertop plan |
| Slab layout | Selected material and orientation of countertop sections |
| Openings | Sink, cooktop, faucet, and accessory locations |
| Finished boundaries | Edge profile, overhangs, wall returns, and backsplash |
| Approval status | Drawing date, revision, and written authorization |
The drawing should also distinguish separate countertop areas. An island, perimeter run, and beverage station shouldn't depend on a vague note such as "same as discussed."
Use dimensioned references where a location needs precision. A sketch or photograph can support the drawing, but it shouldn't replace measurements needed for fabrication.
Before approving countertop seam placement, compare the plan with the slab layout and fixture schedule as one package. Resolve conflicting labels or outdated selections in that package.
Keep the approved revision accessible throughout the project. If a decision changes, record both the change and the revised drawing. A message describing a different location doesn't provide the same clarity as an updated plan that shows it.
Coordinate Fabrication With the Remodel Schedule
Countertop planning starts early, but final fabrication information depends on earlier work. Cabinet installation, fixture selections, and templating need a coordinated sequence.
Our Cape Coral kitchen remodel timeline explains how countertops fit between major renovation phases. Use that sequence to separate early design decisions from final fabrication approval.
During planning, settle the cabinet arrangement, material selection, edge treatment, and appliance models. Then make the selected sink and relevant installation specifications available for templating.
After templating, review the fabrication drawing before authorizing cutting. This is the point to resolve differences between the design intent and the measured kitchen.
A late substitution deserves a written revision. Changing a cooktop, adding a dispenser, or altering an island end can affect information already assigned to fabrication.
Also separate the countertop scope from adjoining work. Backsplash pieces, window returns, fixture installation, and removal of the existing countertop should have clear responsibilities in the remodeling documents.
That coordination gives each trade a defined task. It also gives you a record of what was approved and what remains outside the countertop installation scope.
Frequently Asked Questions
When should countertop seam placement be approved?
Approve the proposed locations on the final fabrication drawing before cutting starts. Early design discussions can establish preferences, but final approval needs the selected slab, measured layout, and fixture information. Keep that approval with the drawing revision it applies to, rather than treating a separate conversation as the final record.
Can a showroom sample replace a full-slab review?
A sample helps you select a color or finish, but it doesn't show the full pattern. Review the selected slab alongside the proposed cutting layout to understand which areas become countertop sections. For veined material, include the orientation of adjoining pieces and any slab backsplash or waterfall end in that review.
What happens if the sink or cooktop changes afterward?
The affected opening and surrounding layout need review before fabrication continues. A replacement model can have different installation requirements even when its advertised size sounds similar. Update the product information and drawing together, then retain the revised approval. The fabrication record should describe the final selection rather than the item it replaced.
Approve the Layout Before the Slab Is Cut
A clear countertop plan connects the selected material to the cabinets and fixtures in your kitchen. Written approval keeps those decisions together before fabrication begins.
For our kitchen remodeling in Cape Coral, bring your cabinet plan, slab selection, and fixture specifications into the same planning conversation.
Approve a drawing that describes the kitchen you're building, including the proposed joints, openings, edges, and material orientation.