

Cabinet Filler Strips for a Clean Fit Against Uneven Walls
Cabinet filler strips close the space between a straight cabinet run and an uneven wall. A fitted strip keeps the cabinet-facing edge straight while its wall-facing edge follows the wall's contour.
That creates a finished transition without forcing the cabinets against every bump in the room. However, the surrounding cabinetry must already be level, properly aligned, and securely installed.
The difference between a clean fit and a visible patch starts with understanding the gap.
Key Takeaways
- Filler strips bridge gaps beside cabinets and can provide room for doors, drawers, and handles to operate.
- Measurements at the top, middle, and bottom reveal changes that a single measurement misses.
- Scribing transfers the wall's profile to the filler so its fitted edge follows the contour.
- A filler cannot correct an out-of-level cabinet run, damaged cabinet boxes, or a severely uneven wall.
- Careful handling, secure attachment, and coordinated finishing protect the cabinets and create a built-in appearance.
How Cabinet Filler Strips Bridge Uneven Walls
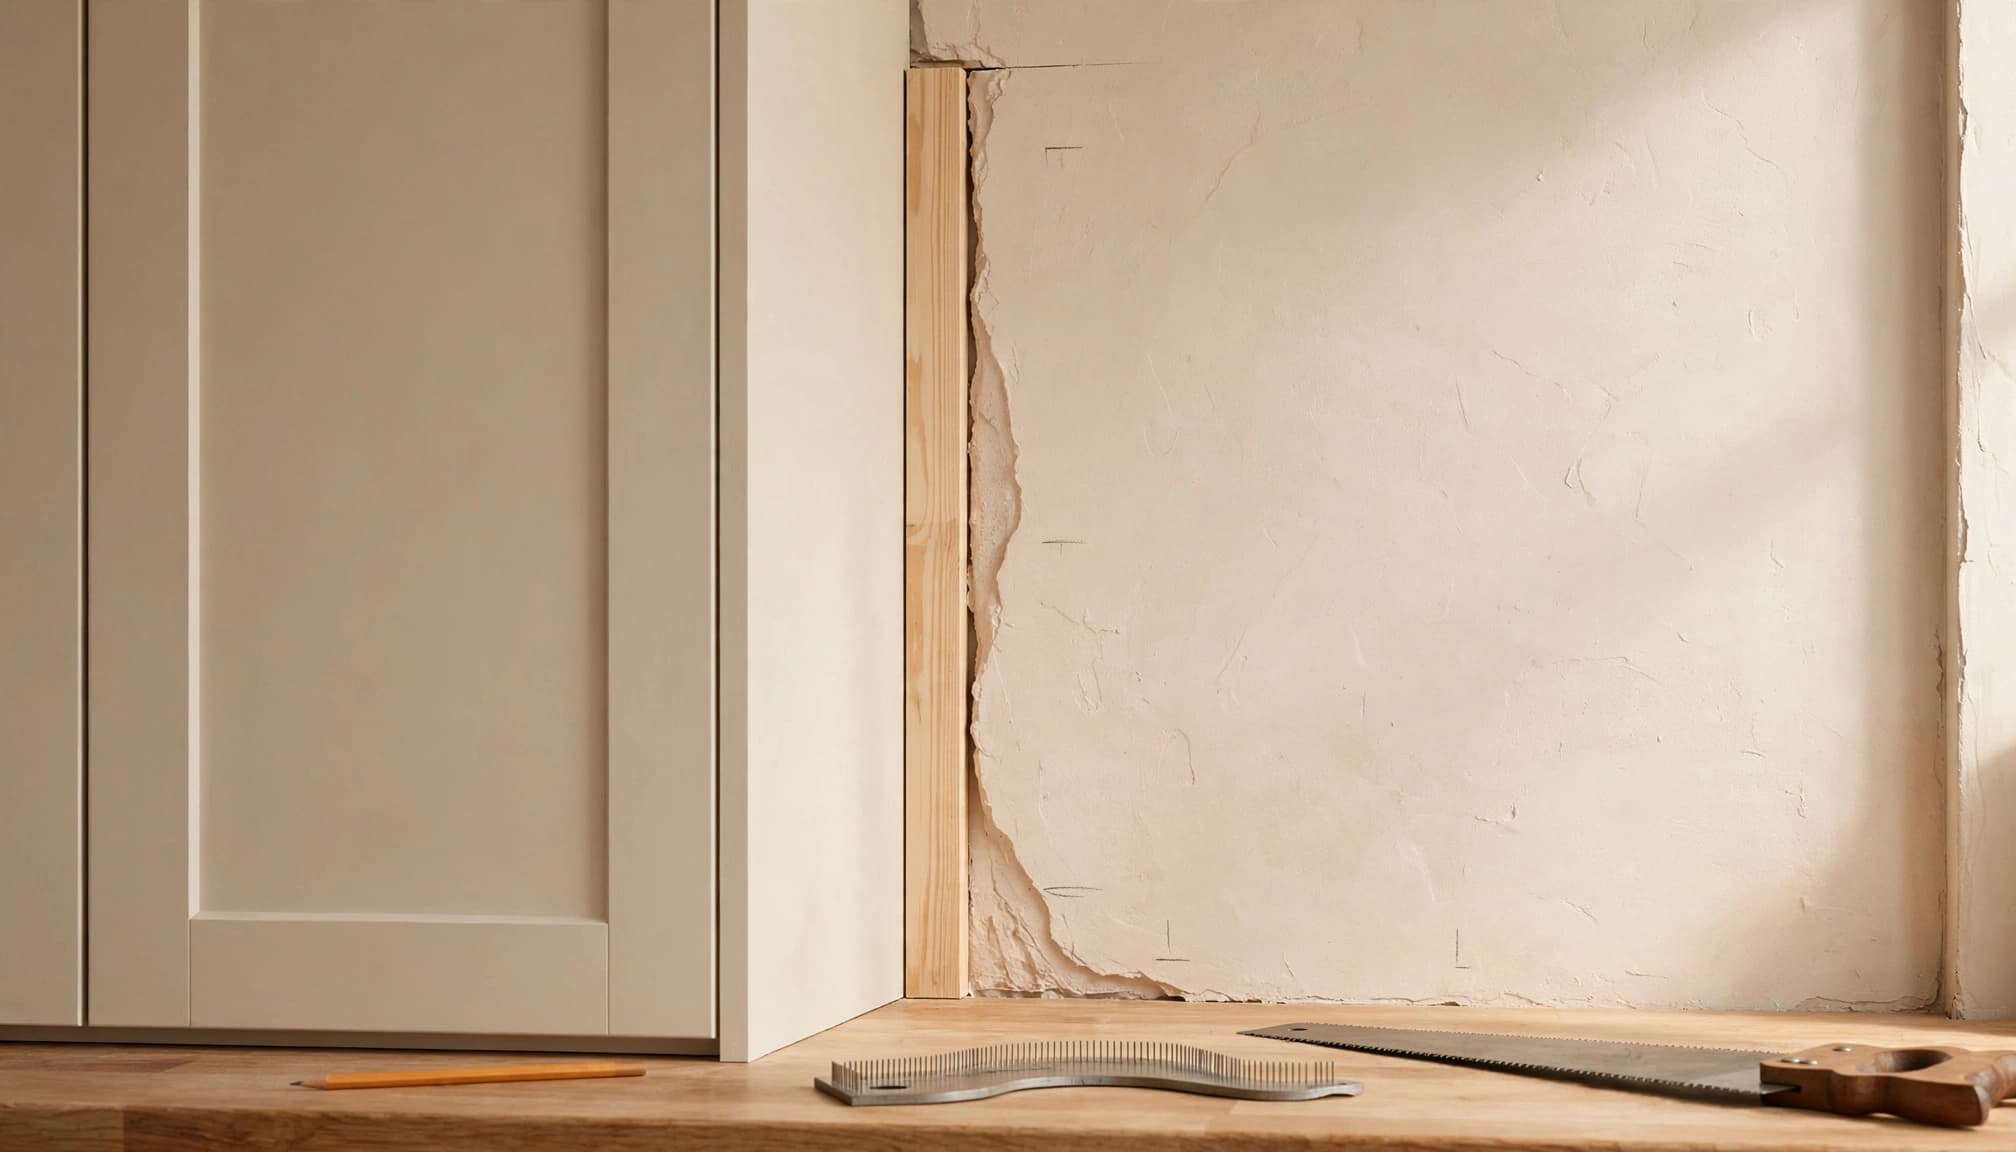
A straight cabinet needs a fitted transition
Cabinets have straight edges, but finished walls don't always follow a perfectly straight line. A wall may lean slightly, curve inward, or have a raised area near a corner.
Pushing the cabinet against that surface can leave a wedge-shaped opening or disrupt the alignment of the entire run. A filler occupies the space while allowing the cabinets to maintain their intended position.
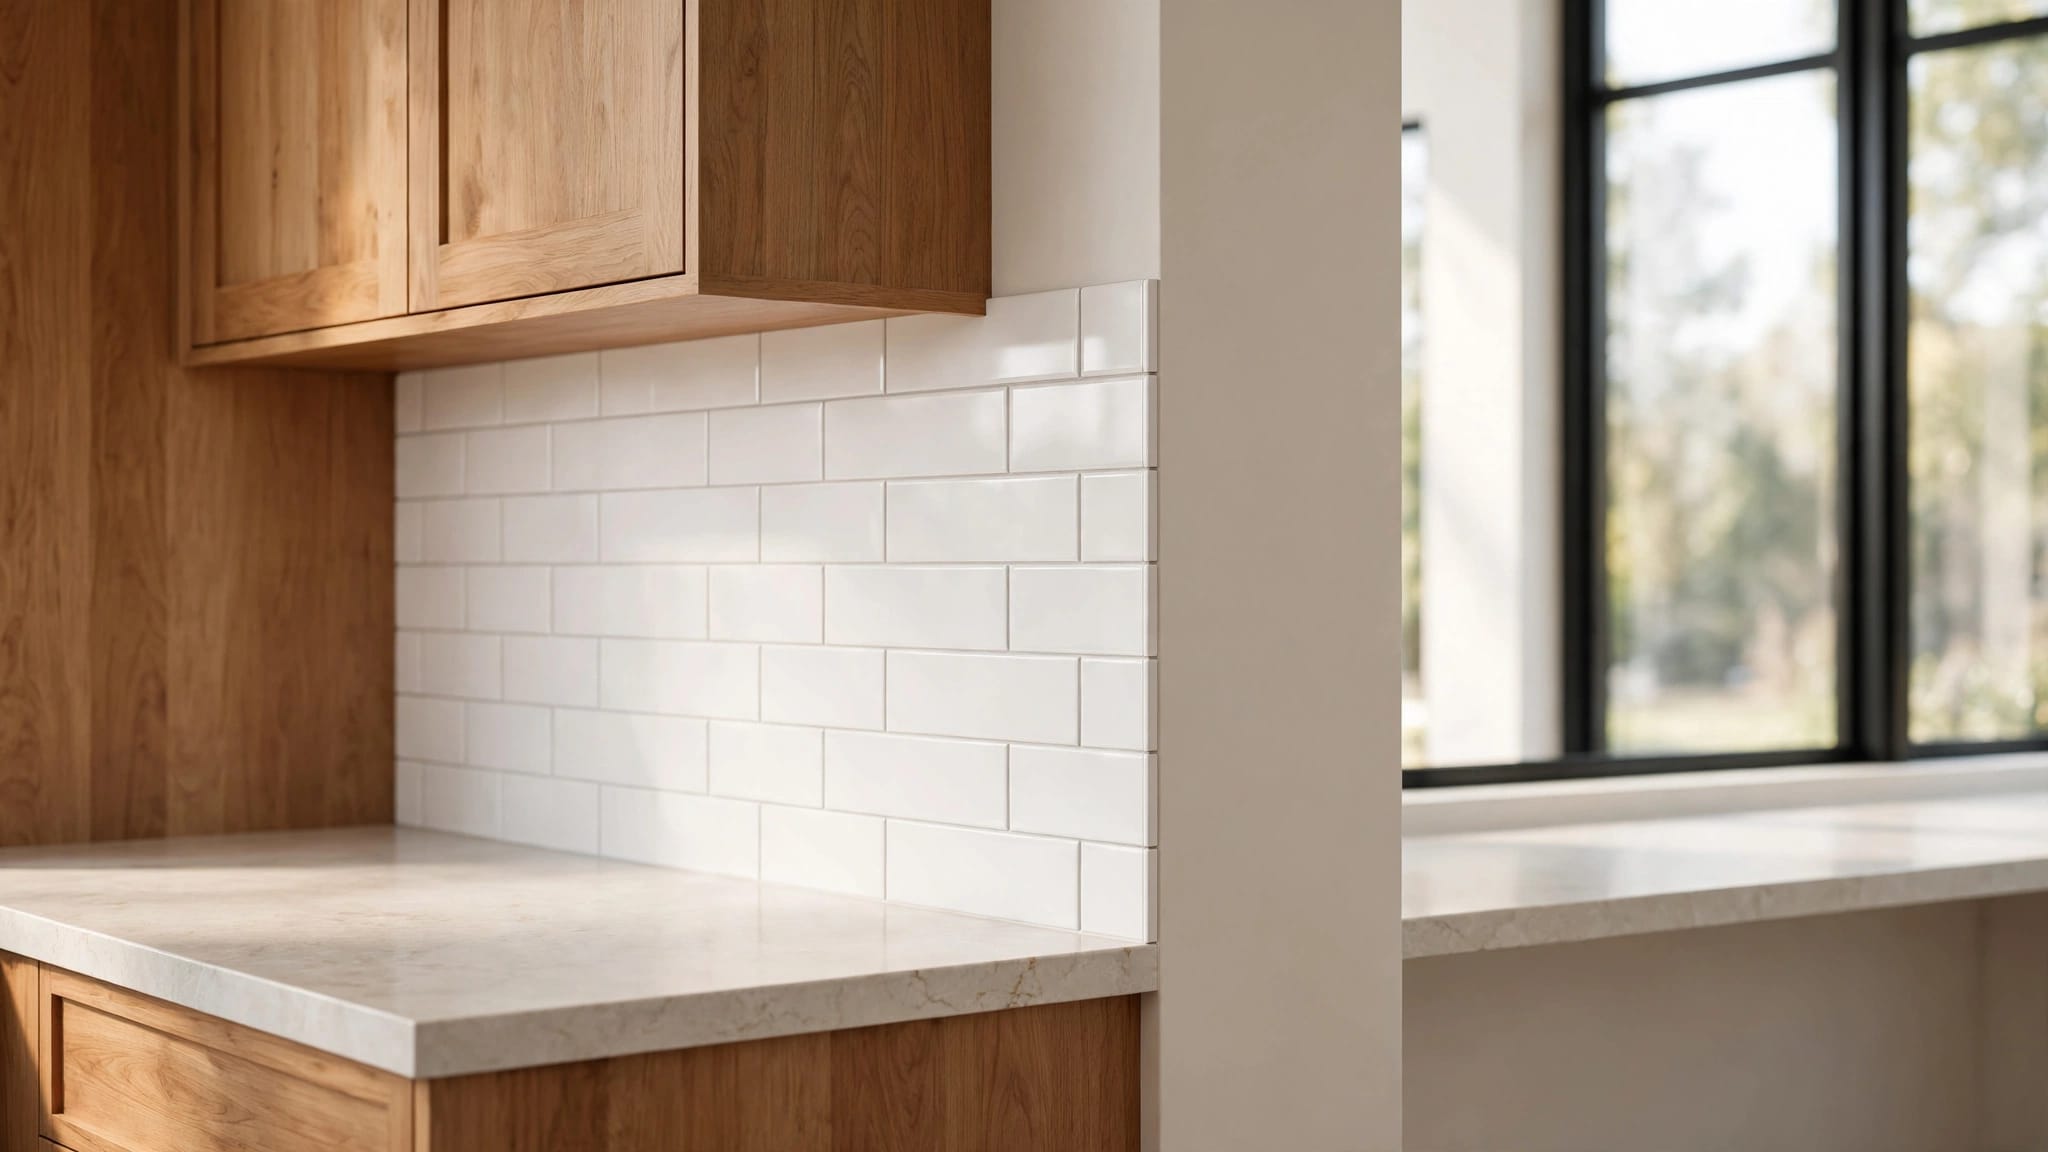
Its visible face should look consistent with the surrounding cabinetry. Meanwhile, the wall-side edge accommodates the irregular surface.
Fillers have a different job than end panels
A filler closes the space beside a cabinet. An end panel covers an exposed cabinet side, while toe-kick trim finishes the recessed area below base cabinets.
These parts can appear together, but they aren't interchangeable. Covering an exposed side doesn't necessarily close the wall gap.
Likewise, a filler shouldn't become a broad patch for a poorly planned layout. Its width needs to make sense beside the doors and drawers, especially where upper and lower cabinets meet the same wall.
Separate a Wall Gap From a Cabinet Problem
The cabinet run must already be sound
Before treating an opening as a cosmetic detail, assess the cabinets themselves. Their tops should align as intended, their faces should form a consistent plane, and their boxes should remain stable during normal use.
A filler can conceal space beside a properly installed cabinet. It cannot lift a low cabinet, straighten a twisted box, or strengthen a loose wall connection.
Doors that rub or reveal inconsistent spacing may point to alignment or hinge issues. Adding trim around those problems leaves the underlying condition in place.
A neatly fitted filler can hide a wall gap while an installation problem remains unresolved.
Severe wall problems need their own repair
A modest change in the wall profile is different from substantial bowing, loose wall finishes, or moisture damage. Those conditions need attention before decorative finishing.
A very wide or sharply tapered opening may also indicate that the layout or wall needs adjustment. Forcing a filler into that space can make the defect more noticeable.
The same distinction matters when comparing cabinet replacement and refacing. Updating visible surfaces won't correct unstable boxes, moisture damage, or a cabinet run that needs resetting.
Measure the Gap at Multiple Points
Record the whole opening
One measurement won't describe a changing wall profile. Measure the gap at the top, middle, and bottom, with additional measurements wherever the wall changes direction.
Record each measurement against its location. A rough sketch helps distinguish the narrowest part of the opening from the widest.
Also note whether the cabinet-facing edge is straight and whether the gap changes behind the visible front. The finished appearance depends on the exposed joint, but the filler still needs enough space to fit without pressure.
Measurements should reflect finished surfaces. Additional wall finishes can reduce an opening that looked adequate earlier in the renovation.
Preserve usable door and handle clearance
The smallest possible filler isn't always the right choice. A cabinet beside a wall may need extra clearance so the door opens and the handle doesn't strike the adjacent surface.
Drawer fronts and tall pantry pulls deserve the same attention. Consider their full movement, including nearby trim and countertop overhangs.
For appliance-adjacent cabinetry, appliance planning and cabinet dimensions belong in the same discussion. A filler shouldn't take space needed for an appliance opening or service access.
These relationships are also part of avoiding kitchen layout mistakes. A tidy wall joint won't compensate for doors that collide during everyday use.
Why Scribing Creates a Closer Wall Fit
Scribing means transferring the wall's shape onto the filler. That profile guides the shaping of the wall-facing edge while preserving the straight edge beside the cabinet.
A simple taper can address a consistently leaning wall. However, it won't follow a surface with several shallow rises and dips. Scribing captures those smaller changes.
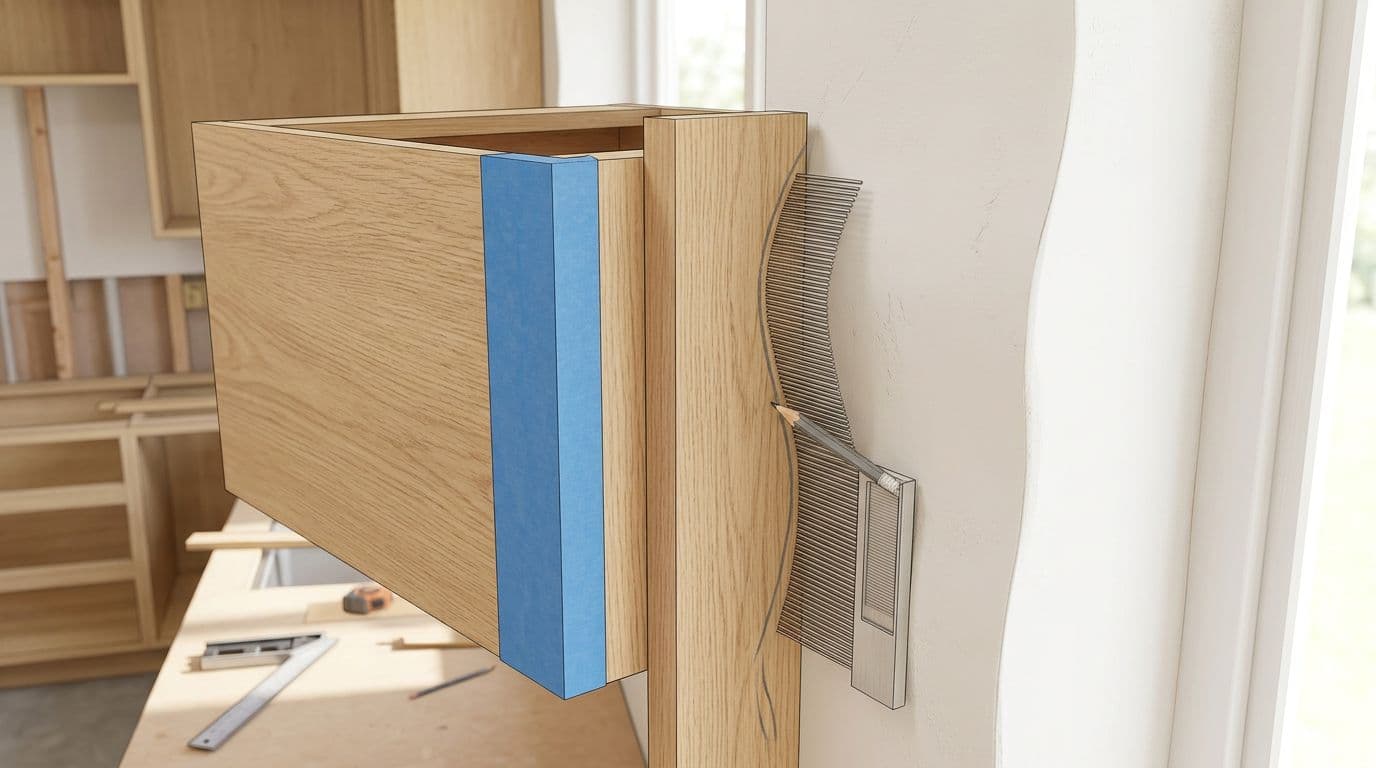
The filler must relate to its intended final position while the contour is transferred. Otherwise, an accurate wall profile can still produce a poor fit when the piece moves into place.
The shaped edge should sit comfortably against the wall without pushing the cabinet out of alignment. A tight-looking joint achieved through force can stress the filler or damage the surrounding finish.
A paper or cardboard representation of the opening can help communicate an unusual profile during planning. It doesn't replace final measurements, but it makes a changing gap easier to understand.
The goal is a controlled transition that looks intentional across the full height.
Secure the Filler Without Damaging Finished Surfaces
A filler needs secure attachment so it doesn't shift when nearby doors and drawers operate. It shouldn't depend on pressure against the wall to stay in position.
The attachment must suit the cabinet's construction and avoid interfering with hinges, drawer slides, or other moving parts. Decorative surfaces alone don't necessarily provide reliable support.
Protecting the finish deserves equal attention. Factory-finished cabinet faces can scratch, chip, or develop pressure marks during fitting.
Keep the work area free of grit, and don't drag the filler across a cabinet door or countertop. Protective coverings should be clean and nonabrasive. Any adhesive protection must be compatible with the finish, since strong tape can leave residue or lift a delicate coating.
Excess pressure can dent an edge or leave a permanent mark. Similarly, repeated repositioning against an unprotected cabinet face can create scratches that remain visible after installation.
For homeowners, useful signs of a sound installation include a stable filler, an undamaged cabinet edge, and doors that move freely. Movement, rattling, or fresh surface damage calls for correction before the detail is considered complete.
Finish the Seam for a Built-In Look
The filler should belong visually to the cabinet run. Color, sheen, and the relationship between adjoining faces all affect that result.
A close color match can still look wrong when one surface reflects much more light than the other. Natural daylight and under-cabinet lighting often make those differences easier to see.
The wall-side seam should remain restrained and consistent. A heavy line of seam treatment can draw attention to the gap, especially beside a dark cabinet or a brightly lit wall.
Finish work should preserve any intentional cabinet reveal rather than burying every joint. An expected joint between cabinet components can look cleaner than an overfilled, uneven surface.
Freshly exposed edges also need appropriate finish protection. In a kitchen, moisture can reach vulnerable edges through cleaning, splashes, and nearby leaks. A neat appearance doesn't replace that protection.
The surrounding room matters, too. Drywall work, paint, and other moisture-producing work need suitable drying conditions before finish components arrive.
Countertop templating depends on firmly installed cabinetry and the final surrounding geometry. Wall transitions and filler locations belong in that coordinated plan, rather than becoming an afterthought once other finished surfaces limit access.
Frequently Asked Questions
Can filler strips be added to existing cabinets?
Yes, when the cabinet run is sound and the opening allows a suitable fit. Existing kitchens introduce matching challenges because finishes can change with age, sunlight, and cleaning.
The surrounding components also matter. Countertops, backsplash returns, and nearby trim may limit access or affect how the filler meets the wall. A retrofit needs to respect those finished surfaces rather than treating the gap as an isolated opening.
Should every cabinet-to-wall gap be filled?
A visible gap at the end of a cabinet run often benefits from a fitted filler. However, the opening's purpose matters.
Appliance ventilation, service access, and required operating clearances must remain available. A filler also shouldn't close space that another building component needs for movement.
For ordinary wall gaps, the decision comes down to appearance and function together. The finished detail should conceal the unwanted opening without restricting doors, drawers, appliances, or access needed for future repairs.
A Clean Fit Starts With Proper Alignment
Cabinet filler strips create a polished transition when straight cabinetry meets an irregular wall. Their success depends on sound cabinet installation , accurate measurements, and a wall profile that the fitted edge can follow.
Secure attachment and careful finishing complete the detail without sacrificing the surrounding surfaces. Addressing alignment or wall damage first keeps a small finishing piece from concealing a larger problem.