

Punta Gorda Bathroom Plumbing Rough-In Checklist
A bathroom can look simple after the tile and fixtures are installed, but the plumbing decisions happen long before that finish work begins. This bathroom rough-in checklist helps Punta Gorda homeowners, contractors, and remodelers coordinate pipe locations, permits, measurements, materials, and inspections.
Florida homes also bring special concerns, including concrete slabs, flood-zone reviews, high humidity, storm-related requirements, and corrosion exposure. Start with the project scope and site conditions, then confirm each plumbing detail with a qualified, licensed plumbing professional.
What the bathroom rough-in checklist should cover
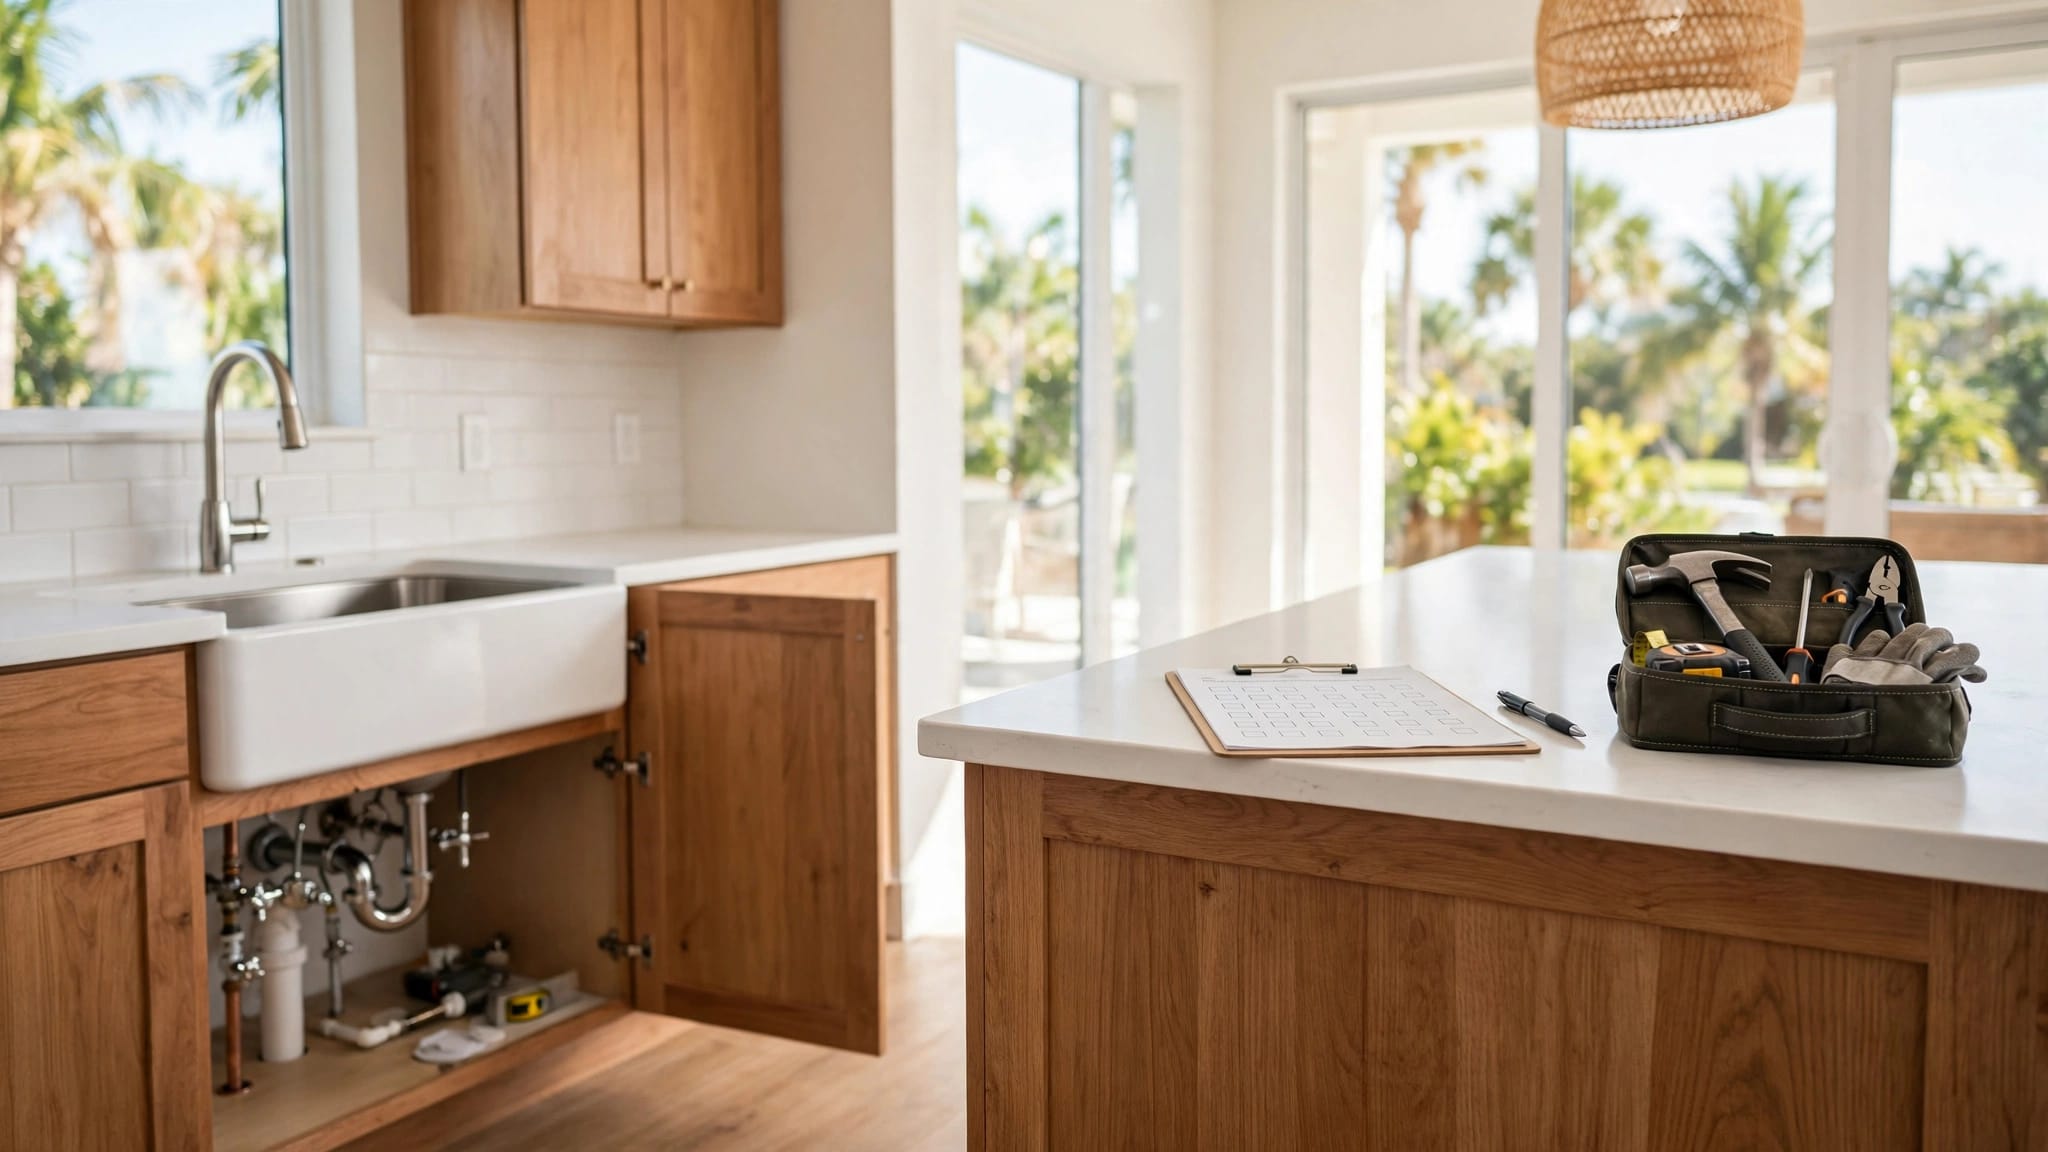
A plumbing rough-in includes the concealed work behind the walls or beneath the floor. It typically covers hot and cold supply lines, drain lines, vent piping, fixture connections, shutoff locations, and the toilet flange.
The rough-in must match the finished bathroom, not only the current framing. Wall thickness, waterproofing, tile, cabinets, trim, fixture specifications, and floor height all affect the final locations.
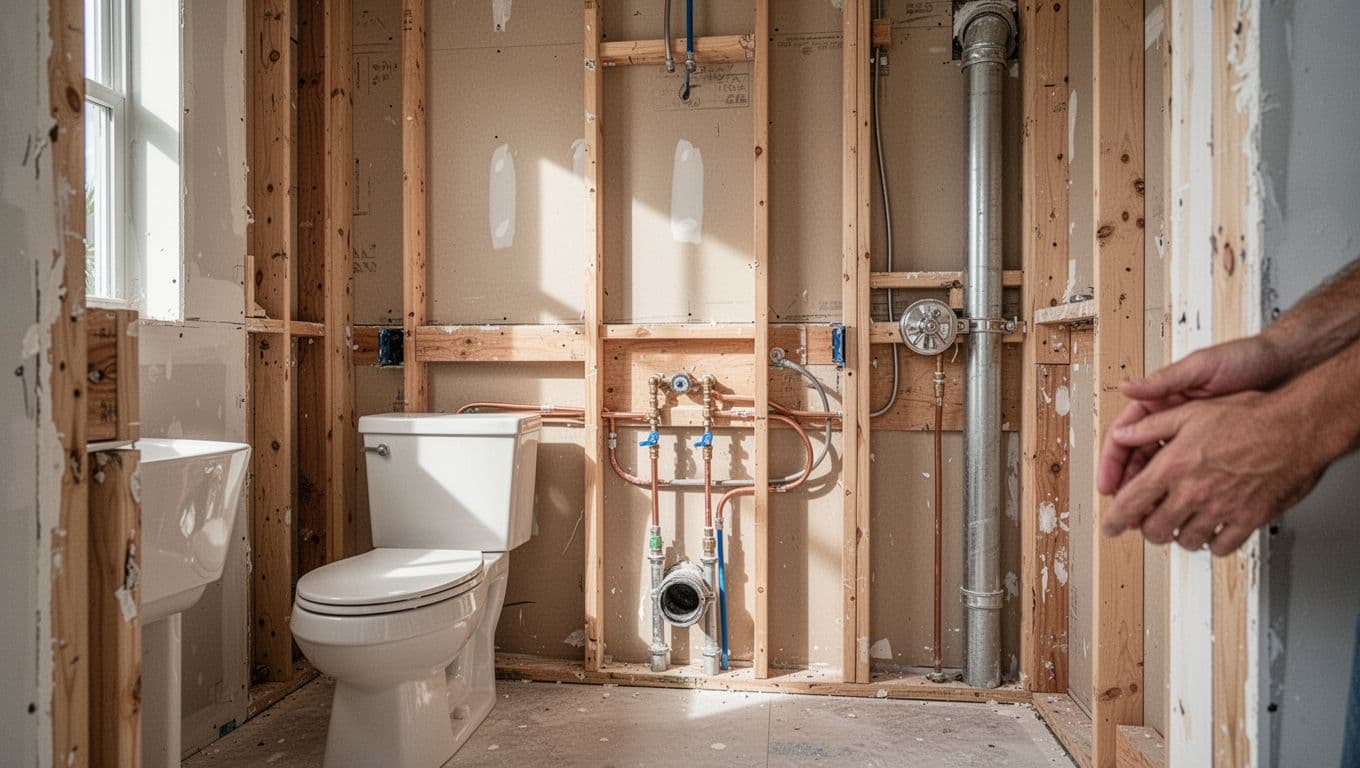
Map each fixture before opening walls
Mark every fixture on the plan and on the framing before installation begins.
- Locate the toilet centerline, flange, supply line, and finished wall.
- Mark the vanity drain, hot and cold supplies, and cabinet boundaries.
- Confirm the shower or tub drain, valve, head, hand shower, and controls.
- Identify any bidet, freestanding tub, utility sink, or secondary fixture.
- Show pipe routes, cleanouts, access panels, and shutoff valves.
Record dimensions from finished surfaces
Measure fixture locations from the finished wall or floor reference, not blindly from the studs. Write down every approved dimension and compare it with the manufacturer's installation instructions.
- Account for drywall, cement board, waterproofing, tile, and mortar.
- Confirm the toilet flange elevation against the finished flooring.
- Check vanity depth, drawer clearance, and sink location.
- Verify shower valve depth before the wall assembly closes.
1. Confirm Punta Gorda permits and site conditions
The property's exact location determines which local building department handles the work. A project inside city limits may go through the City of Punta Gorda Building department. Work in unincorporated areas generally goes through Charlotte County Community Development and Building Construction .
Identify the correct authority
Charlotte County's permit guidance quotes Florida Building Code Section 105.1, which generally requires a permit before repairing, altering, or replacing a plumbing system. The county's residential plumbing permit information covers new or replacement plumbing in an existing home.
A like-for-like fixture replacement outside a designated flood zone may qualify for a limited exception under county guidance. However, that exception has conditions, and plumbing alterations or fixture relocations can require permits.
- Confirm the property's jurisdiction before preparing the application.
- Ask whether the work needs a plumbing permit, remodel permit, or both.
- Confirm whether an owner-builder application changes the process.
- Check whether the contractor must submit a subcontractor worksheet.
Charlotte County requires a Notice of Commencement for certain remodel contracts over $5,000 before the first inspection is scheduled. Verify the current threshold and filing process with the building department.
Review flood-zone and slab conditions
If the property is in a flood hazard zone, Charlotte County may require an elevation certificate or a 50 Percent Improvement or Damage Review Application. The county also reviews applicable structural requirements involving wind and flood loads.
An existing concrete slab creates a separate planning issue. Moving a toilet or shower may require under-slab work, sawcutting, trenching, or a new sleeve through the foundation edge. Have the plumbing professional review the route before anyone cuts concrete.
- Confirm whether the property has flood-zone requirements.
- Identify existing under-slab plumbing before relocating fixtures.
- Check the location of structural elements and existing utilities.
- Confirm how the repair will preserve approved slab and vapor-barrier details.
The 2026 Florida code materials include specific provisions for suspended plumbing, corrosion protection, and flexible expansion joints in certain foundation and soil conditions. Those provisions don't apply identically to every bathroom, so the licensed plumber and building official must determine what governs the project.
2. Lock the layout before plumbing starts
A strong bathroom rough-in checklist connects plumbing measurements to the entire room. Plumbing should follow the approved layout, not determine the layout after walls are opened.
Measure against the finished room
Tape the finished wall lines onto the floor before setting drain locations. Include tile build-up, shower backer board, waterproofing, baseboards, cabinet faces, and any planned wall panels.
Check the fixture cut sheets before installation. Toilets, shower valves, tubs, vessel sinks, and wall-hung fixtures can have different connection requirements. A small difference in rough-in depth can create a visible problem after installation.
- Set fixture centerlines from the approved plan.
- Confirm rough-in heights and depths with each product specification.
- Mark the finished floor elevation, including tile and underlayment.
- Check that the toilet, vanity, shower, and tub fit without conflicts.
- Leave access to required valves, cleanouts, and service points.
Coordinate clearances and door swings
A drain can be technically correct and still create a poor bathroom if it lands behind a cabinet drawer or conflicts with a door. Review the plumbing plan beside the framing plan and finish schedule.
Also mark grab-bar blocking, medicine cabinets, recessed shelves, shower benches, and glass door locations. These items affect wall space and can change the best route for water and drain lines.
For a remodeling project, compare the new layout with the existing bathroom before demolition. Keeping fixtures near their original locations can reduce slab work and lower the chance of unexpected structural repairs.
3. Install water, drain, and vent lines
The plumbing system must perform as one connected layout. A supply line may fit one fixture while the drain or vent route creates a conflict elsewhere.
Check supply lines and shutoffs
Confirm hot and cold water routes, pipe support, sleeve locations, and shutoff access. Use materials approved for the application and current Florida Plumbing Code. The licensed plumber should choose pipe sizes based on the complete fixture load and the approved design.
Punta Gorda's coastal climate makes material selection and protection important. Where piping, supports, fasteners, or valves are exposed to damp or salt-air conditions, use suitable corrosion-resistant products or approved protection.
- Separate hot and cold supplies according to the approved layout.
- Support piping at the spacing required for its material and location.
- Protect lines where framing, fasteners, or concrete could damage them.
- Install accessible fixture shutoffs where the plan requires them.
- Confirm hose connections, tub supplies, and shower valve depth.
Don't bury unapproved materials or leave corrosion-prone supports unprotected. The current Florida code materials restrict organic materials subject to decay in certain support applications and require protection for corrosion-prone materials.
Verify drains and venting
Drain and vent work needs a complete plan. The plumber must confirm pipe sizing, slope, connection methods, cleanouts, trap locations, and vent routing under the current Florida Plumbing Code.
Bathroom exhaust ventilation is separate from plumbing venting, but both systems need wall and ceiling space. Coordinate the plumbing vent with the electrical plan, HVAC ducts, recessed lights, insulation, and framing.
- Confirm the toilet drain and flange location.
- Check shower and tub trap placement before the slab or floor closes.
- Verify vent routes and connection points with the licensed plumber.
- Keep drains clear of beams, posts, ducts, and electrical pathways.
- Photograph concealed piping before insulation and drywall.
Never rely on a generic online diagram for a specific Punta Gorda bathroom. The approved plan, fixture instructions, current code, and local inspection requirements control the installation.
4. Coordinate framing, electrical, waterproofing, and HVAC
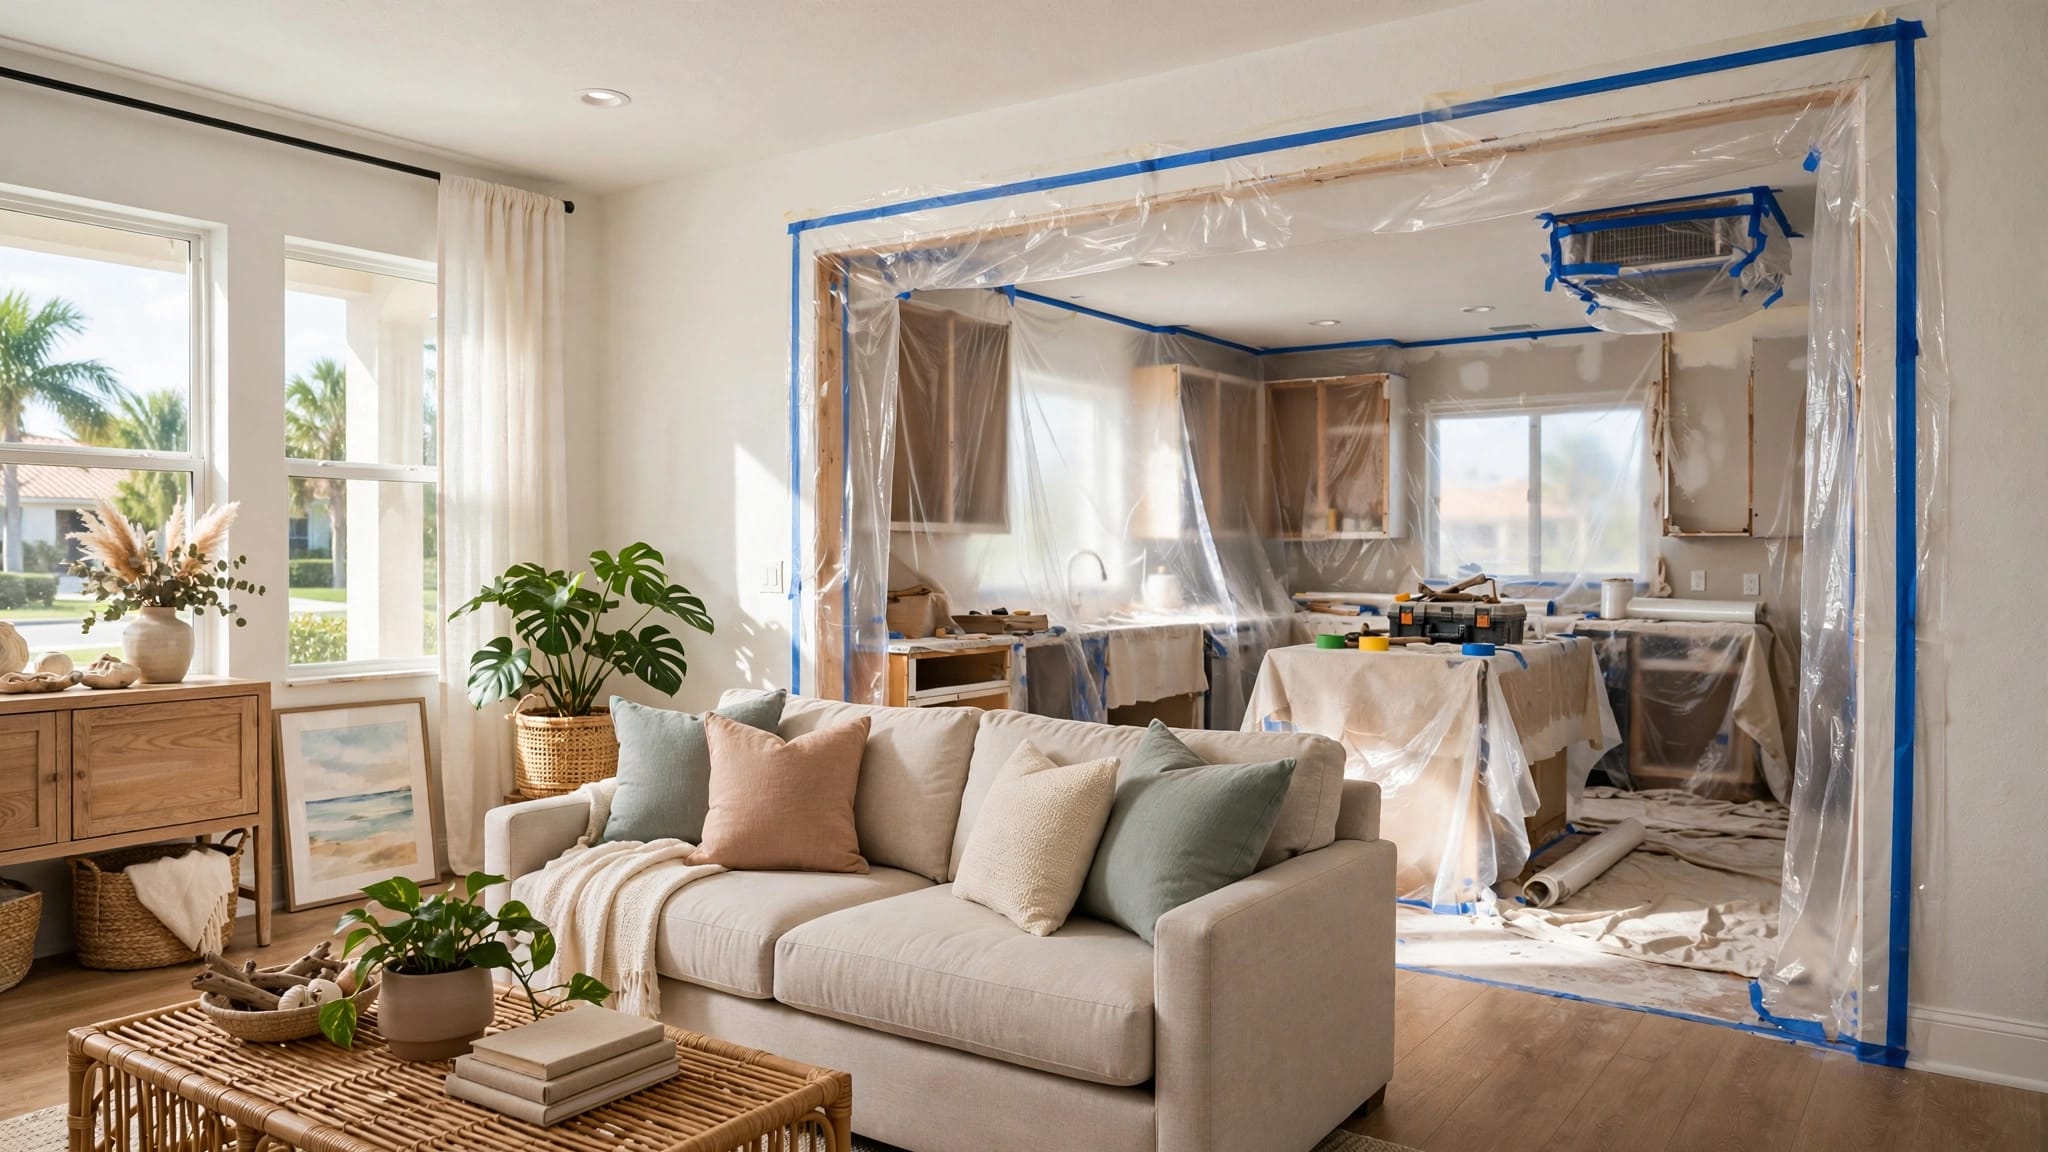
Plumbing rough-in is one part of a larger pre-drywall sequence. Conflicts become expensive when each trade works from a separate plan.
Resolve trade conflicts early
The framing contractor needs to know where pipes pass through studs, plates, and joists. The electrician needs clear paths for wiring and space for receptacles, switches, lighting, and GFCI protection. The HVAC contractor needs room for bathroom exhaust ductwork and any nearby supply or return ducts.
Schedule a coordination review before closing the walls.
- Confirm bored holes, notches, and protective nail plates with the framer.
- Keep plumbing clear of electrical boxes and wire routes.
- Coordinate exhaust fan housing and duct discharge location.
- Mark recessed niches, benches, and grab-bar blocking.
- Confirm waterproofing transitions around valves and penetrations.
Homeowners planning a broader renovation can also review custom bathroom remodeling services when the plumbing, framing, tile, and finish work need one coordinated construction plan.
Protect the finished waterproofing system
The rough-in must support the shower waterproofing details. Valve depth, pipe penetrations, bench drains, niches, and tub edges should match the selected waterproofing system.
Don't close the wall until the plumber, framer, waterproofing installer, and project supervisor agree that the assembly works together. A pipe placed too close to the finished surface can interfere with backer board or leave an unreliable seal.
5. Prepare for the rough-in inspection
Charlotte County lists Plumbing Rough as a distinct inspection type. Required inspections depend on the project's location and scope, so follow the job card and current instructions for the specific permit.
Use this final bathroom rough-in checklist
Before requesting the inspection, complete a room-by-room review.
- The permit is posted, and the approved plans are available on site.
- The correct jurisdiction and inspection sequence are confirmed.
- Drain, waste, and vent piping is installed according to the approved plan.
- Supply lines, supports, sleeves, and shutoffs are complete.
- The toilet flange and fixture connection points match finished dimensions.
- Pipes are protected where framing or fasteners could cause damage.
- Shower and tub valves are set to the manufacturer's depth.
- Required pressure or leak tests are complete and documented.
- Framing, electrical, HVAC, and waterproofing conflicts are resolved.
- Photos show concealed plumbing before insulation or drywall.
Charlotte County allows inspection scheduling through its portal, by phone at 941.833.4086, and through SelecTXT. The county also lists general inspection inquiries at 941.743.1201, option 3. Confirm current scheduling methods before calling because procedures can change.
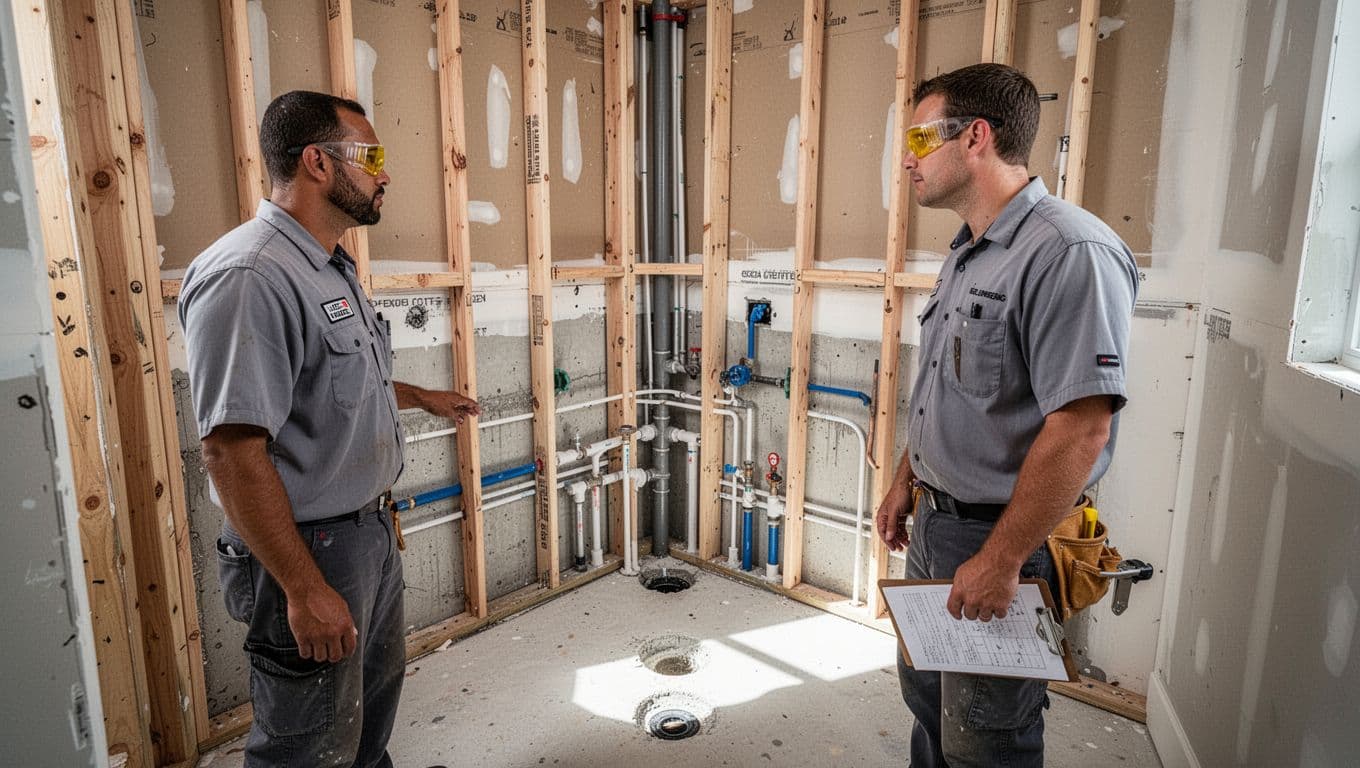
Wait for approval before closing walls
Keep the plumbing visible until the required rough inspection is approved. If the inspector identifies a problem, correct it before insulation, drywall, tile backer, or waterproofing covers the work.
After approval, save the inspection record, approved plans, fixture specifications, and photographs with the project documents. These records help future repairs and can clarify what changed during the remodel.
Conclusion
A Punta Gorda bathroom rough-in depends on more than placing pipes near the right fixtures. The work must match finished measurements, slab conditions, flood-zone requirements, material limits, and the plans for framing, electrical, HVAC, and waterproofing.
Use this bathroom rough-in checklist to organize the work, then have a qualified licensed plumber confirm the final sizing, venting, materials, permits, testing, and inspection steps. Careful coordination before the walls close is the simplest way to prevent expensive bathroom repairs later.