

Fort Myers Remodel Punch List: Before Final Payment
A new kitchen can look finished while a drawer still sticks and a drain leaks beneath the sink. Your Fort Myers remodel punch list should capture those problems before project closeout, with written follow-up tied to your contract.
The goal is documented completion , including working systems, agreed finishes, and the records you'll need afterward. Start with the approved scope, then walk each room with your contractor.
Key Takeaways
- Test fixtures, appliances, and moving parts instead of relying on appearance alone.
- Record each unfinished item with its location, photos, responsible party, and target correction date.
- Confirm required approvals and warranty documents, then handle final payment and any agreed holdback according to your contract.
Start Your Fort Myers Remodel Punch List With the Contract
Schedule the walkthrough when the work is substantially complete and the contractor can demonstrate the installed systems. Allow enough time to inspect without rushing.
Bring your contract, approved plans, finish selections, and signed change orders. Compare the completed work with those documents, including fixture models, cabinet layouts, and any agreed substitutions.
Keep your phone, a flashlight, and a room-by-room note handy. Use normal daylight for finishes, then switch on installed lighting to check operation.
Separate incomplete or defective work from newly requested upgrades. An omitted contracted shelf belongs on the punch list; adding storage beyond the approved design requires a separate conversation.
Kitchen: Check Cabinets, Counters, and Appliances
Open Every Cabinet and Inspect the Finishes
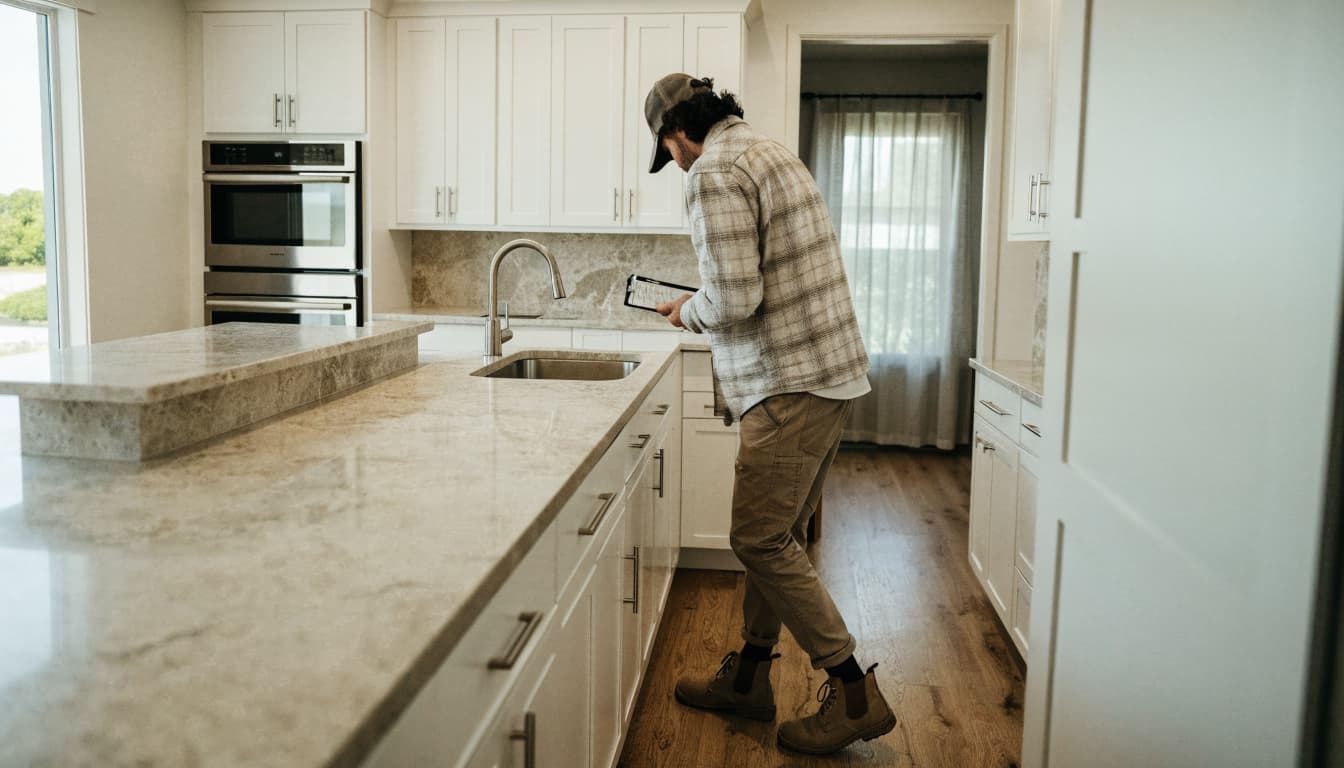
Open every cabinet door and drawer. Check alignment, smooth travel, secure handles, and whether adjacent doors collide. Soft-close hardware should work without binding.
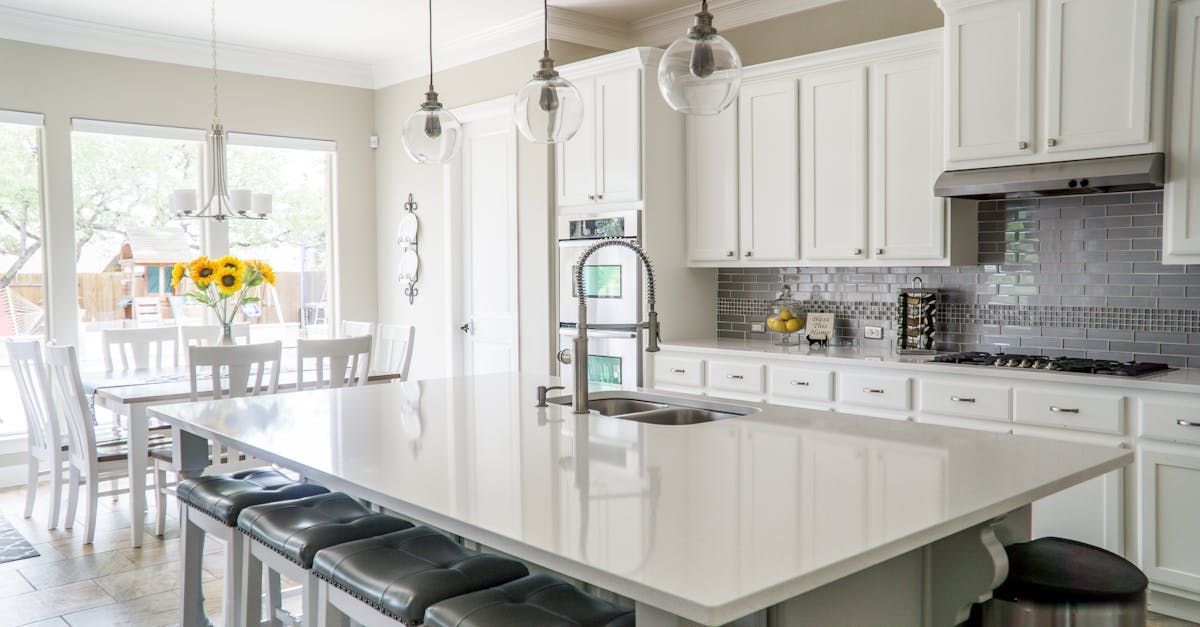
Inspect countertops for chips, damaged edges, and unfinished seams. Look beneath overhangs and around sink openings. Check backsplash grout, exposed tile edges, caulk lines, and gaps beside appliances.
Compare the finished layout with the approved plans for your custom kitchen remodeling project. Confirm shelves, fillers, and accessories match the selections.
Run Appliances and Check the Sink
Have the contractor demonstrate the range, hood, dishwasher, and disposal if included. Check hood controls and lighting, then confirm appliances sit securely and doors open without hitting cabinetry.
Run hot and cold water. Watch beneath the sink while water flows and drains, looking for moisture at visible connections. Confirm the faucet and sink are secure.
Ask the contractor to demonstrate accessible shutoffs. Also check appliance clearances and installation details against the manufacturer's instructions. Stop using equipment that leaks or appears unsafe until the appropriate professional checks it.
Bathrooms: Test Water Flow and Wet-Area Details
Run Fixtures and Watch Drainage
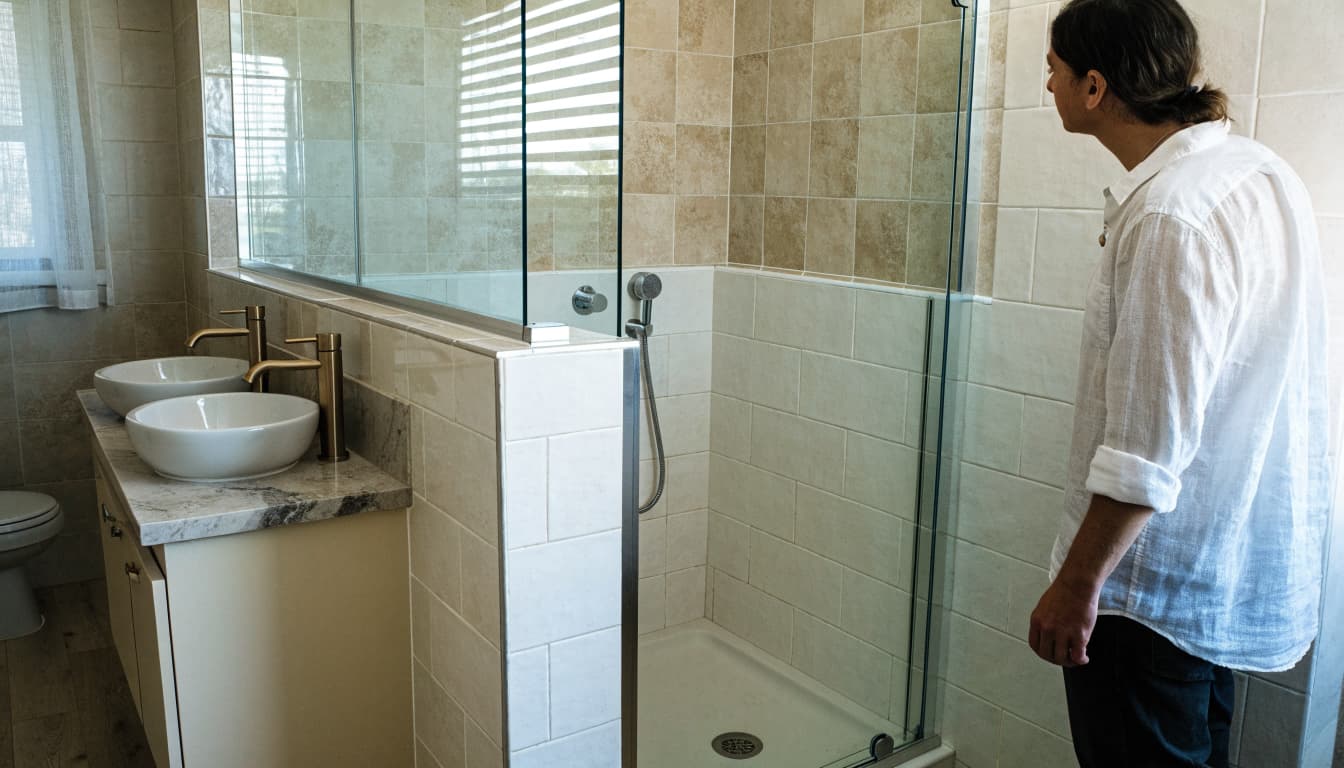
Run every faucet and shower outlet, including handheld fixtures. Confirm hot and cold operation, usable flow, and smooth controls. Flush toilets and inspect around their bases and visible supply connections.
Watch shower drainage during use. Report persistent pooling, water escaping the enclosure, or leakage at the shower-to-floor transition. Have the contractor evaluate the cause rather than assuming fresh caulk will solve it.
Ask for available waterproofing and shower-pan test records. A final shower demonstration can't verify concealed waterproofing. Review waterproofing steps before tile to understand why those earlier records matter.
Inspect Tile, Glass, and Accessories
Check for cracked tile, raised edges, missing grout, and unfinished corners. Examine sealant around fixtures and transitions. Open and close the shower door, checking its seal and clearance.
Ask the installer to demonstrate that glass hardware, grab bars, and accessories are secure. Don't stress-test glass or support hardware yourself.
Run the exhaust fan and ask where it discharges. Check mirrors, vanity drawers, lighting, towel bars, and shelving against your selections. Record adjustment requests while the installation team is still involved.
Bedrooms, Living Areas, and Laundry: Follow the Same Route
Inspect Walls, Floors, and Trim
Walk each room clockwise so you don't overlook a wall or corner. Look at paint coverage, patched areas, ceiling lines, baseboards, and trim joints.
Check flooring for damaged boards, cracked tile, unfinished edges, and uneven transitions. Note locations where flooring moves or makes unexpected noise so the installer can investigate.
Operate closet doors and inspect shelving. Compare remaining finish issues with the approved materials and agreed workmanship standards. Photograph concerns in ordinary lighting, including a wider view showing their location.
Check Laundry Connections and Storage
If laundry work was included, have the contractor demonstrate the washer and dryer. Check visible water connections during operation and look for leakage after draining.
Ask the installer to confirm the dryer exhaust connection meets the equipment instructions. Don't pull heavy appliances out yourself.
Check laundry cabinets, utility sinks, shelving, and access to shutoffs. Appliances shouldn't prevent normal use of doors or block service points. Confirm countertop and trim edges are finished wherever they're visible.
Doors, Windows, Exterior Work, and Cleanup
Open and close every affected entry door, interior door, window, and sliding door. Check latches, locks, screens, weatherstripping, and smooth operation. Ask for all keys and remotes.
For replaced windows or exterior doors, match product documentation to the approved selections and permitted scope. Appearance alone doesn't establish impact performance.
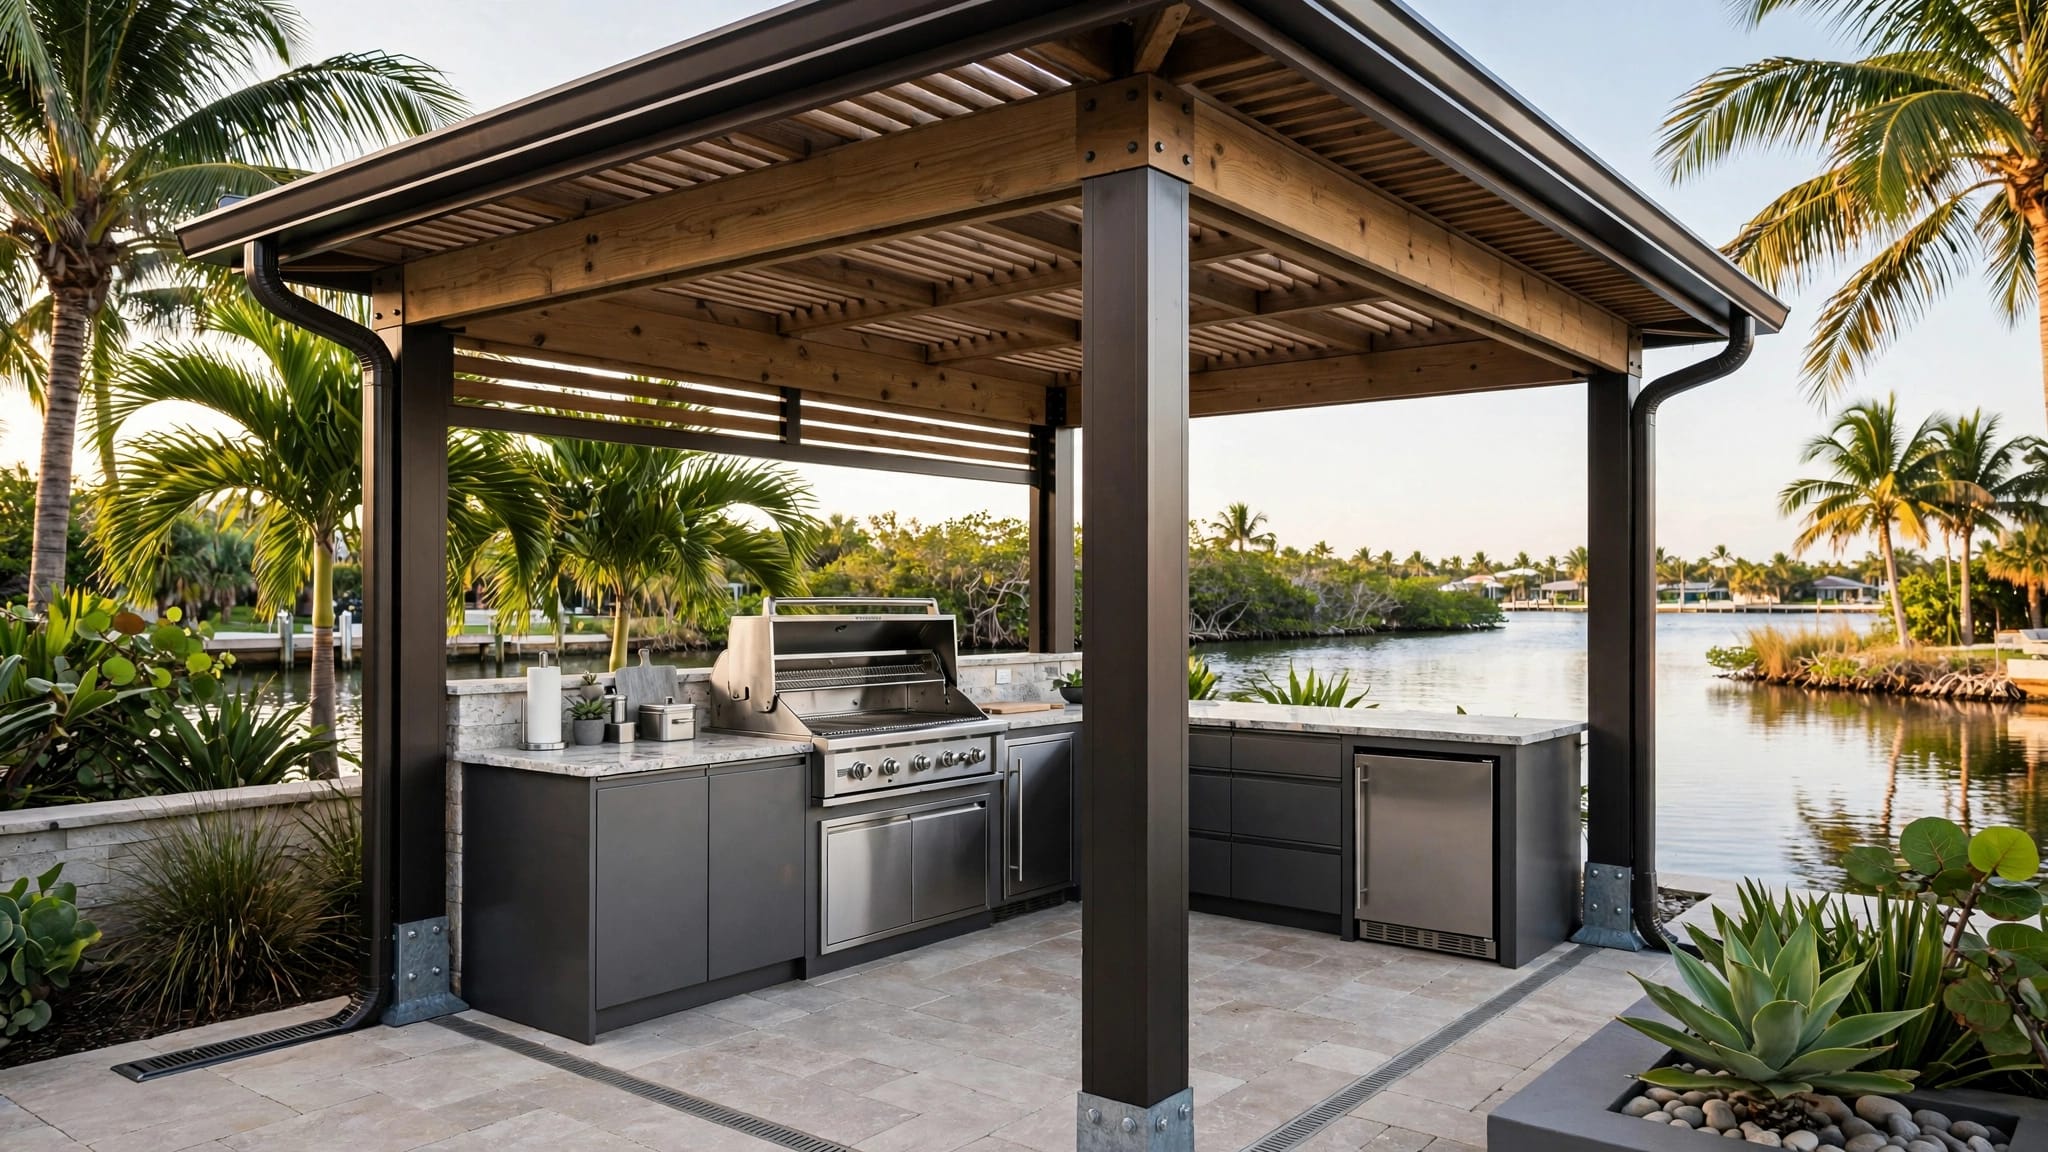
Outside, inspect areas included in the contract, such as the lanai, stucco repairs, driveway surfaces, irrigation, and drainage changes. Report standing water or drainage directed toward the house for contractor review.
Confirm cleanup matches the contract. Check cabinets, window tracks, floors, and the yard for construction debris. Identify leftover materials to keep, then agree on removal of waste and temporary protection.
Also inspect existing areas outside the remodel footprint. Record damage to landscaping, furniture, or adjacent finishes that occurred during construction.
Electrical and HVAC: Request a Working Demonstration
Test Accessible Electrical Features Safely
Operate switches, lights, dimmers, ceiling fans, and installed controls. Check fixture security and intact cover plates.
Have the contractor demonstrate accessible GFCI receptacles using their TEST and RESET buttons. Confirm outlet operation safely, without opening boxes or removing panel covers.
Ask which panel labels changed and where new circuits are identified. Have the contractor demonstrate smoke or carbon monoxide alarms included in the scope. Report flickering, repeated tripping, burning odors, or exposed wiring immediately.
Confirm Cooling, Airflow, and Controls
Run the HVAC system with the contractor present. Check thermostat operation and airflow at affected supply registers. Listen for unusual noise and report rooms that remain noticeably uncomfortable.
Ask the HVAC professional to verify any modified condensate drainage and return-air paths. Fort Myers humidity makes moisture-related concerns worth addressing promptly.
Locate the filter and ask about its size, replacement schedule, and maintenance requirements. Don't accept a quick thermostat response as proof that every HVAC adjustment is complete.
Verify Permits, Inspection Records, and Warranties
A Fort Myers mailing address doesn't necessarily place your property under the City of Fort Myers permitting authority. Confirm the actual jurisdiction and permit numbers.
For permitted work, request inspection results and confirmation of required final approvals. Ask whether scope changes needed revised plans or permit amendments. The Fort Myers bathroom permit checklist explains why jurisdiction and scope matter.
Keep approvals separate from your workmanship checklist. A passed inspection doesn't resolve every finish concern or confirm every contract item.
Collect contractor warranty terms, manufacturer warranties, model and serial numbers, manuals, and maintenance instructions. Confirm warranty start dates, exclusions, registration requirements, and the contact for service requests.
Save paint colors and sheen, flooring information, and care directions for stone or specialty finishes. Request available photos of concealed utilities for future repairs. Store everything with selections, invoices, and change orders.
Document Incomplete or Defective Work Clearly
Use one shared punch list rather than scattered texts. Give each item a unique number and exact location.
Record the observed problem, the agreed correction, the responsible party, and the target date. Take a close-up photo and a wider photo for context. Short videos can show sticking doors or intermittent noises.
Describe observable conditions without guessing at causes. For a leaking connection, identify where water appears rather than diagnosing the plumbing failure.
Send the list after the walkthrough and request written confirmation. Keep disputed items visible, along with each party's position.
After repairs, retest the item before marking it complete. Preserve the original entry and add the completion date and verification photo.
A repair visit isn't proof of completion. Verify that the original problem is resolved.
Handle Final Payment and Any Holdback According to the Contract
Review the payment schedule and the contract's definitions of completion, acceptance, and closeout. Check how it addresses punch-list work, required documents, and outstanding change orders.
Reconcile the final invoice with approved changes, allowances, credits, and previous payments. Ask for clarification when amounts don't match your records.
A punch list doesn't automatically create a right to delay payment. Likewise, there's no universal percentage homeowners should retain.
If your contract includes a holdback, follow its amount and release conditions. If both parties agree to a new arrangement, put the amount, remaining work, deadline, and release trigger in writing.
Read any completion or acceptance form before signing. Make sure it accurately identifies unresolved items and any agreed follow-up.
For disputed payment obligations or unclear acceptance language, consult a Florida construction attorney before changing payment terms. Keep the walkthrough focused on facts you can document.
Frequently Asked Questions
Should Every Small Touch-Up Delay Final Payment?
Your contract controls payment timing and how remaining work is handled. Record small corrections, but don't assume they automatically postpone a payment milestone or authorize a deduction.
What If a Problem Appears After the Walkthrough?
Photograph it, note when it appeared, and contact the contractor through the stated warranty process. Avoid using unsafe equipment. Keep service correspondence and repair records with the original project documents.
Close Out With Verified Work and Clear Records
A polished room deserves the same attention beneath the sink and behind each cabinet door. Verified completion means testing the work, documenting corrections, and collecting the records that support future maintenance.
Use your contract to guide payment, then keep the completed punch list with your project file.