

Planning a Curbless Shower in Cape Coral
A curbless shower can make a Cape Coral bathroom feel larger, easier to clean, and more comfortable to use. However, a flush entry requires more than removing the shower curb. The floor structure, drain location, waterproofing system, and finished elevations all need to work together.
Florida's humidity adds another planning concern. Poor ventilation or hidden moisture can damage framing and encourage mold. Before choosing tile or glass, have a qualified remodeling contractor inspect the bathroom and develop a plan for the structure, plumbing, waterproofing, ventilation, and permits.
Key Takeaways
- Check the floor first. Concrete slabs and framed floors require different curbless shower solutions.
- Plan drainage before finishes. The drain and shower slope control how water stays inside the wet area.
- Use a complete waterproofing system. Tile and grout alone cannot protect the walls or floor.
- Account for Cape Coral's humidity. Outdoor-vented exhaust fans and moisture-resistant materials support long-term performance.
- Confirm permits early. Plumbing, electrical, structural, and layout changes may require local approval and inspections.
Check the Floor Before Choosing Fixtures
The first step in planning a curbless shower in Cape Coral is a site inspection. Your contractor needs to know how much vertical space exists between the bathroom floor, shower drain, and plumbing below.
Many Florida homes have concrete slab foundations, while some bathrooms sit over framed floors. Those conditions create different installation options. On a slab, the contractor may need to recess part of the shower area or adjust the drain assembly. Cutting or chipping concrete requires care because reinforcing steel, embedded utilities, or post-tension cables may be present.
A professional must locate those elements before altering the slab. A structural engineer may also need to review the proposed work if the modification affects the foundation or nearby framing.
Framed floors require a different review. Lowering or cutting floor joists can weaken the structure, so the contractor may use engineered framing, a low-profile shower system, or a carefully designed recessed pan. Joists, subfloor thickness, plumbing depth, and the height of the finished tile all affect the final design.
The inspection should also include the bathroom door, toilet, vanity, and nearby hallway. A curbless shower floor must align with the surrounding finished floor without creating a raised lip or an unexpected low spot. Small elevation differences can affect water flow and create a tripping hazard.
A curbless shower is a floor-and-drain project first. Tile, glass, and fixtures come after the elevations are solved.
Ask for a drawing or written plan that shows the existing floor height, shower slope, drain position, and finished tile height. This information helps you compare design options before demolition begins.
Design Drainage Around the Shower Layout
Water needs a controlled path into the drain. In a curbless shower, the floor usually slopes within the shower area while the entry remains flush with the bathroom floor. That slope must be planned alongside the drain, shower size, door, and glass enclosure.
A centered point drain requires the floor to slope toward it on multiple sides. This approach works well with smaller tiles because the extra grout joints help the tile follow the slope. A linear drain can sit along a back or side wall and allow a single-plane slope. It may work well with larger-format tile, but the drain still needs correct sizing, waterproofing connections, and access for cleaning.
The existing drain location can affect the entire project. Moving it may require work below the slab or between floor joists. It can also involve changes to the trap, vent, and branch drain. A plumber should confirm that the new layout meets applicable plumbing requirements and can handle the shower's expected water flow.
Shower size matters, especially when you want a doorless design. A compact opening may allow spray to reach the vanity or bathroom floor. A longer wet area, a fixed glass panel, or a door can provide better splash control. The contractor should review the showerhead direction and the location of the entry before setting the drain.
Place controls where you can reach them without standing directly under cold water. A handheld shower on a slide bar can improve access and simplify cleaning. If you want a bench, niche, or grab bars, plan their backing and waterproofing before the walls close.
For a Cape Coral bathroom, slip resistance also deserves attention. Choose tile that the manufacturer approves for wet floors, and ask how its surface performs when wet. Very polished tile can become hazardous, while small-format porcelain or textured tile often provides better traction.
Build a Waterproof System for Florida Humidity
A curbless shower has no raised barrier to stop water at the entry. The waterproofing system must protect the shower floor, walls, corners, drain connection, niches, bench, and plumbing penetrations as one continuous assembly.
Your contractor may recommend a sheet membrane, a liquid-applied membrane, or a prefabricated shower pan. The right choice depends on the floor structure, drain type, wall material, and manufacturer's installation requirements. Components from different systems shouldn't be mixed unless the manufacturers approve the combination.
Cement backer board can provide a stable tile surface, but it isn't waterproof by itself. Tile and grout also allow some moisture to pass through. The membrane behind or over the backer board must connect correctly to the drain and cover every vulnerable transition.
A flood test is an important quality check before tile installation. The installer fills the shower pan to test the waterproofing, then checks the area below and around the shower for leaks. Local inspection requirements and the waterproofing manufacturer's instructions determine the proper testing procedure.
Florida's warm, humid air makes ventilation part of the shower design. Install an exhaust fan rated for the bathroom's size, and vent it outdoors rather than into the attic. A timer switch or humidity-sensing control can help the fan run long enough after a shower. The home's air-conditioning and dehumidification also affect how quickly wet surfaces dry.
Select materials that tolerate repeated moisture. Porcelain tile, approved waterproof wall panels, solid-surface surrounds, and moisture-resistant trim can work well when installed correctly. In areas outside the direct wet zone, mold-resistant drywall may add protection, but it doesn't replace waterproofing inside the shower.
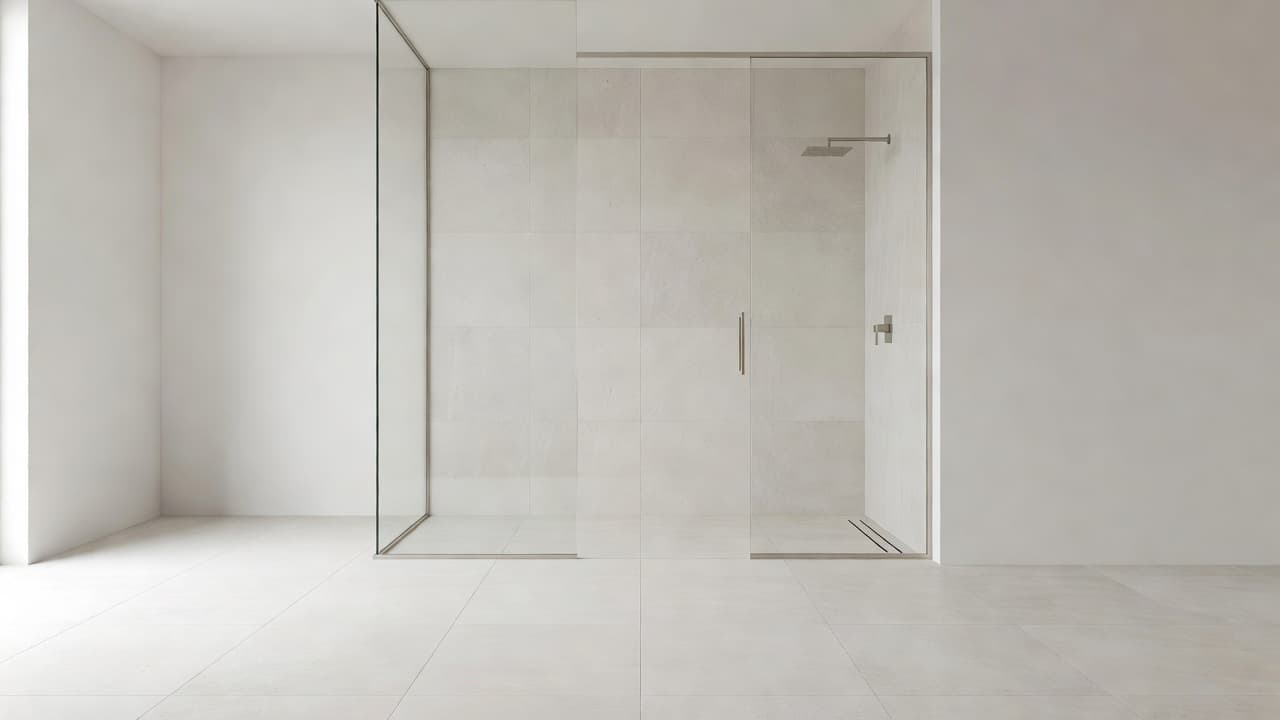
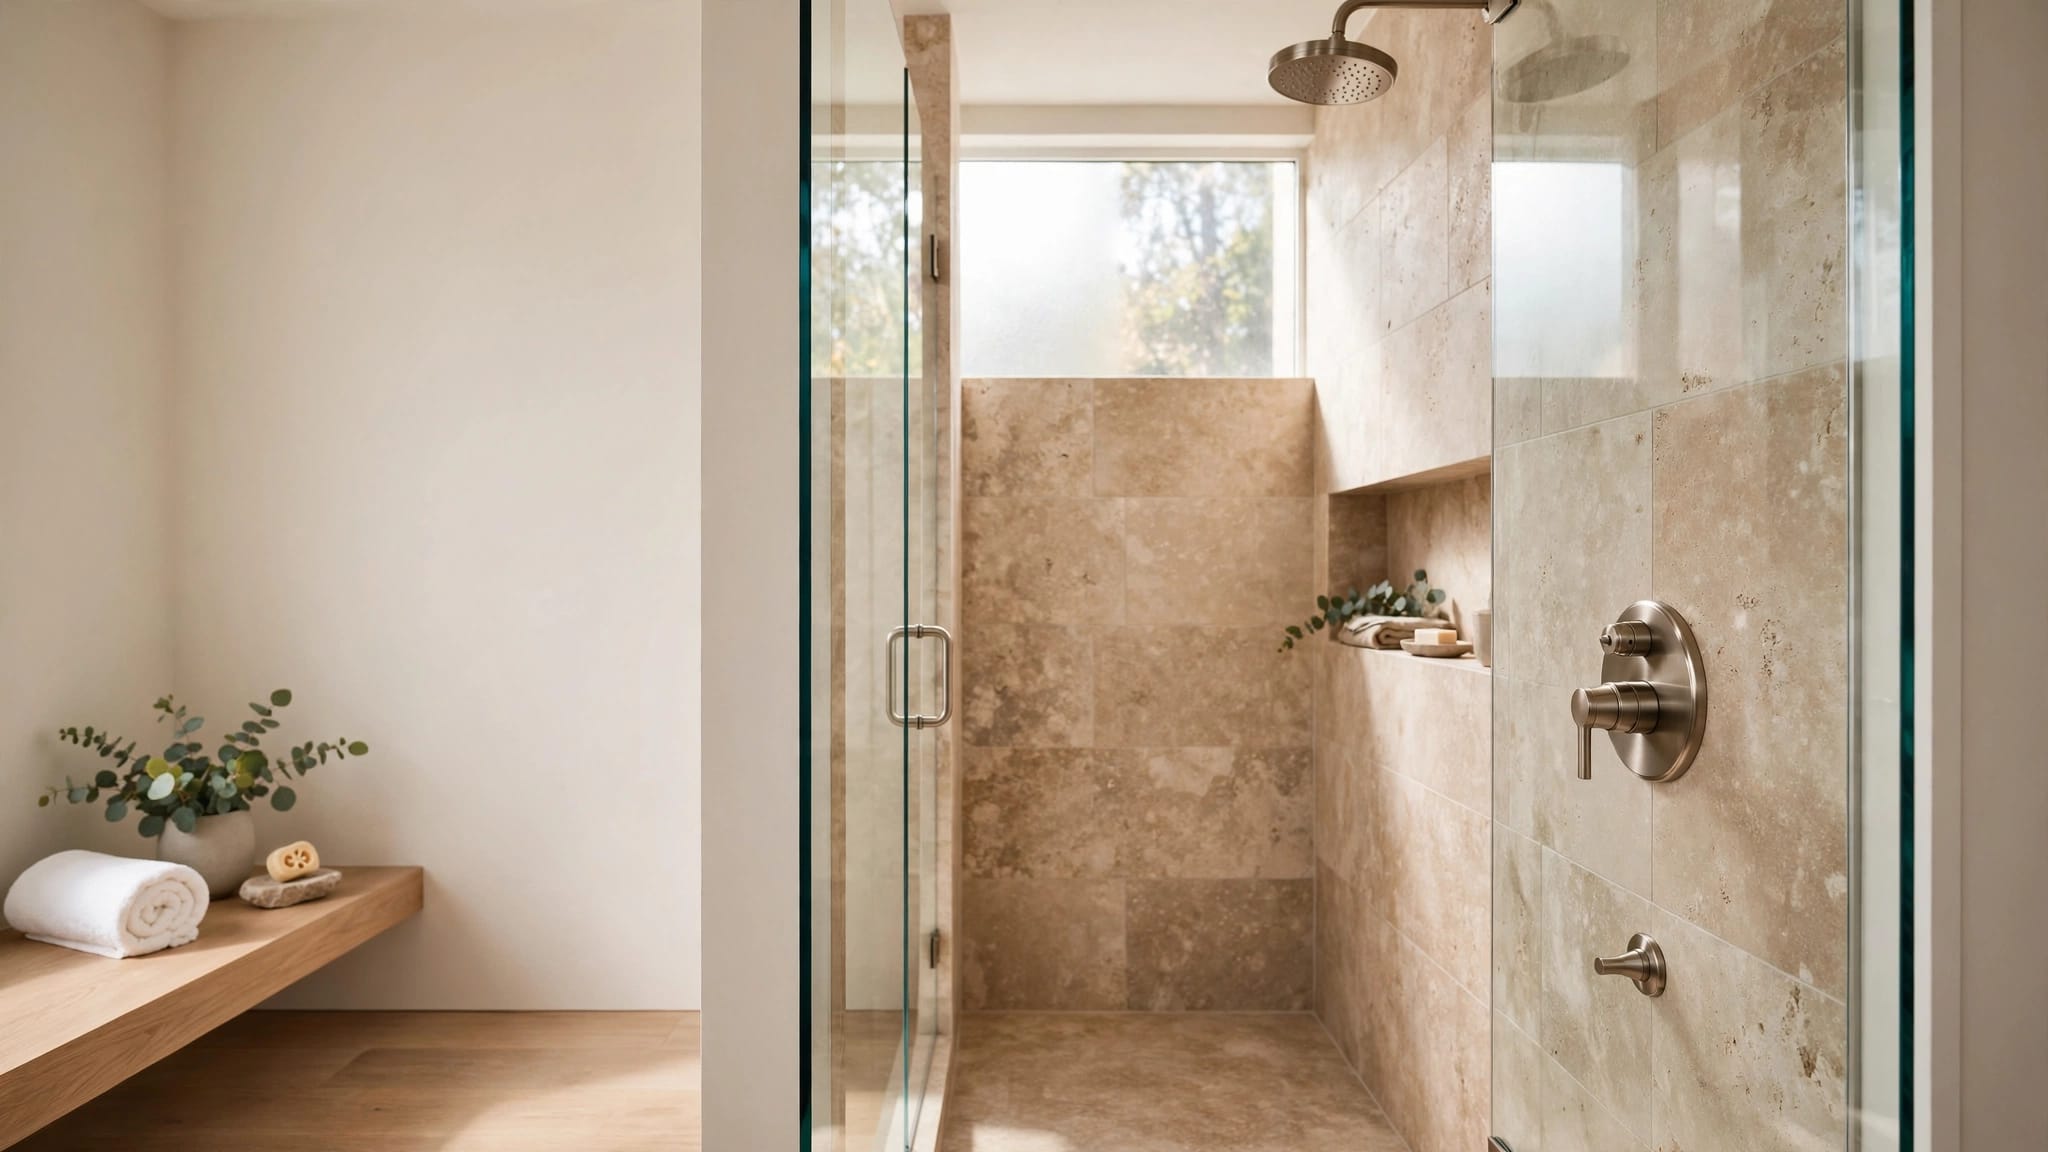
A continuous floor surface and fixed glass panel can create a clean entry, but the drain slope and waterproofing remain hidden behind the finished design.
Use a grout and sealant system suited to wet areas. Keep in mind that mold-resistant grout can reduce staining, but it can't correct standing water, failed caulk joints, or a fan that doesn't remove moisture.
Set Permits, Inspections, and Construction Steps Early
Permit requirements depend on the work included in your bathroom remodel. Changes to plumbing, electrical wiring, structural framing, ventilation, or the building layout may require permits and inspections. Cape Coral requirements can also depend on the property's existing conditions and the scope shown in the plans.
Ask your contractor to confirm the current requirements with the City of Cape Coral's permitting office before work starts. The applicable Florida Building Code, plumbing rules, electrical requirements, and local procedures should guide the project. A qualified professional can identify when a structural engineer, licensed plumber, or electrical contractor needs to review the work.
A typical planning sequence looks like this:
- Inspect the floor, framing, slab, plumbing, and ventilation.
- Draw the shower layout, elevations, drain plan, glass position, and fixture locations.
- Confirm the structural and permit requirements.
- Complete demolition and rough plumbing or electrical work.
- Install the floor system, waterproofing, and shower drain.
- Test the waterproofing before tile or wall panels are installed.
- Finish tile, glass, fixtures, sealants, and ventilation controls.
The exact order can change when the bathroom has hidden damage or unusual framing. Still, the waterproofing test should happen before finishes conceal the shower pan.
For help coordinating the design and construction details, review professional bathroom remodeling in Cape Coral. A remodeling company familiar with local homes can bring the structural, plumbing, and finish decisions into one project plan.
When comparing estimates, look beyond the tile allowance. Ask whether the proposal includes slab or subfloor work, drain relocation, waterproofing, flood testing, permits, inspections, exhaust fan installation, glass, and final sealing. These items can change the project cost more than the visible tile selection.
Also ask who pulls each permit and who schedules inspections. A low estimate that excludes structural review or waterproofing preparation may create expensive changes after demolition.
Avoid Common Curbless Shower Problems
The most common mistake is treating a curbless shower as a finish upgrade. If the contractor doesn't confirm floor depth and drainage first, the finished entry may sit higher than the bathroom or fail to contain water.
Another problem occurs when the shower slope is too shallow or inconsistent. Water can collect near the entry, around the drain, or beneath a bench. A professional tile installer should check the substrate and slope before laying tile, not attempt to hide uneven areas with grout.
Avoid placing a niche or bench on a wall without planning its waterproofing. Every penetration and change in plane needs the correct membrane treatment. The same applies to grab bars. Install solid backing before the walls are finished, even if you don't plan to add bars immediately.
Glass placement also affects performance. A fixed panel that looks attractive on a drawing may leave an opening that allows spray to escape. Review the showerhead angle, bathroom door swing, vanity location, and cleaning access together.
Finally, don't rely on daily cleaning to solve a moisture problem. Use the exhaust fan during showers and afterward, wipe excess water from glass and tile, and report musty odors or soft trim before damage spreads.
Conclusion
Planning a curbless shower in Cape Coral starts below the tile. A qualified professional should evaluate the slab or framing, create a workable drain slope, select a compatible waterproofing system, and confirm current permit requirements before construction begins.
Humidity makes ventilation and material selection just as important as appearance. When the floor structure, drainage, waterproofing, and drying plan all receive attention, a flush shower entry can provide the clean look and easy access you want without sacrificing the bathroom's long-term performance.