
Matching Stucco on a Room Addition to Your Home
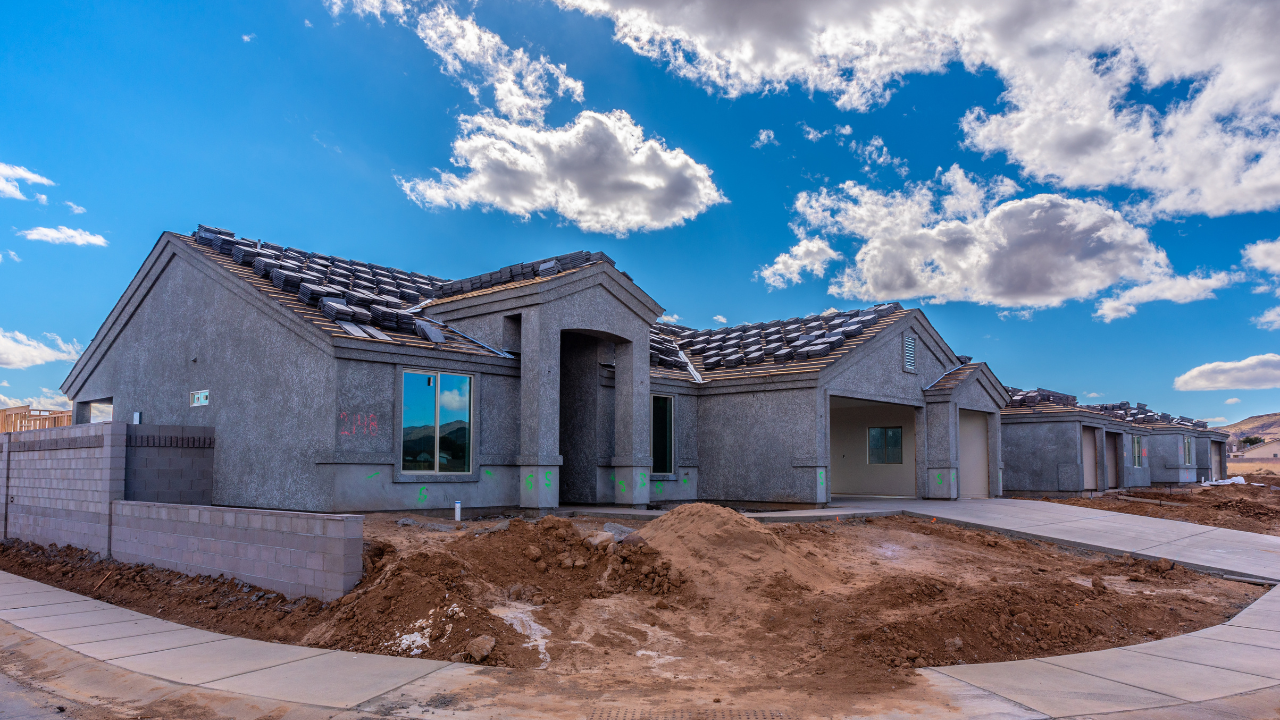
Matching stucco on a room addition starts with the finish you can see today, not necessarily the one installed when your home was built. Texture, color, sunlight, and the location of the new wall all affect how well the addition blends in.
A close match takes more than choosing a similar paint chip. Your contractor also needs to plan a weather-resistant connection between the old and new walls. Start by looking at the existing exterior and deciding where the transition will be most visible.
Plan the Stucco Match Before Construction Starts
The best time to discuss the exterior finish is during addition planning. By then, you can consider where the new walls meet the house and how that connection will look from the yard, street, or lanai.
Walk around your home and look at each side separately. The stucco may appear consistent at first, but closer inspection can reveal differences in texture, color, and previous repairs. Areas sheltered by a porch may look different from walls that receive afternoon sun.
Your starting point matters because the addition needs to fit the wall beside it. A sample that looks right on the front of the house may look too bright against an older wall at the rear.
Also consider how much of the existing exterior is included in the project. Matching a small connection point calls for a different finish plan than updating an entire elevation. Set that scope early so your contractor can include the appropriate work in the proposal.
Inspect the Existing Wall Before Choosing a Finish
A good visual match depends on the condition of the wall underneath it. Before selecting samples, have your contractor look at the proposed connection and any nearby areas with cracks, staining, or past repairs.
Look for signs of damage
Some cracks are cosmetic, while others can point to movement or moisture concerns. Staining near a window or a roof-to-wall intersection can also indicate a problem that needs attention before new work covers it.
If the home has a history of water intrusion, a written repair recommendation helps define the scope. Photos of exposed damage can also make it easier to understand what needs repair and why.
Include the layers behind the finish
Stucco is a layered wall cladding system. Its appearance matters, but so do reinforcement, joints, flashing, and the way the wall manages water.
The connection around windows, doors, roof edges, and other openings deserves particular attention. Sealant is part of some exterior joints, but it doesn't replace flashing. A clean-looking seam won't compensate for water entering behind the wall.
Choose a Texture and Finish That Fit the House
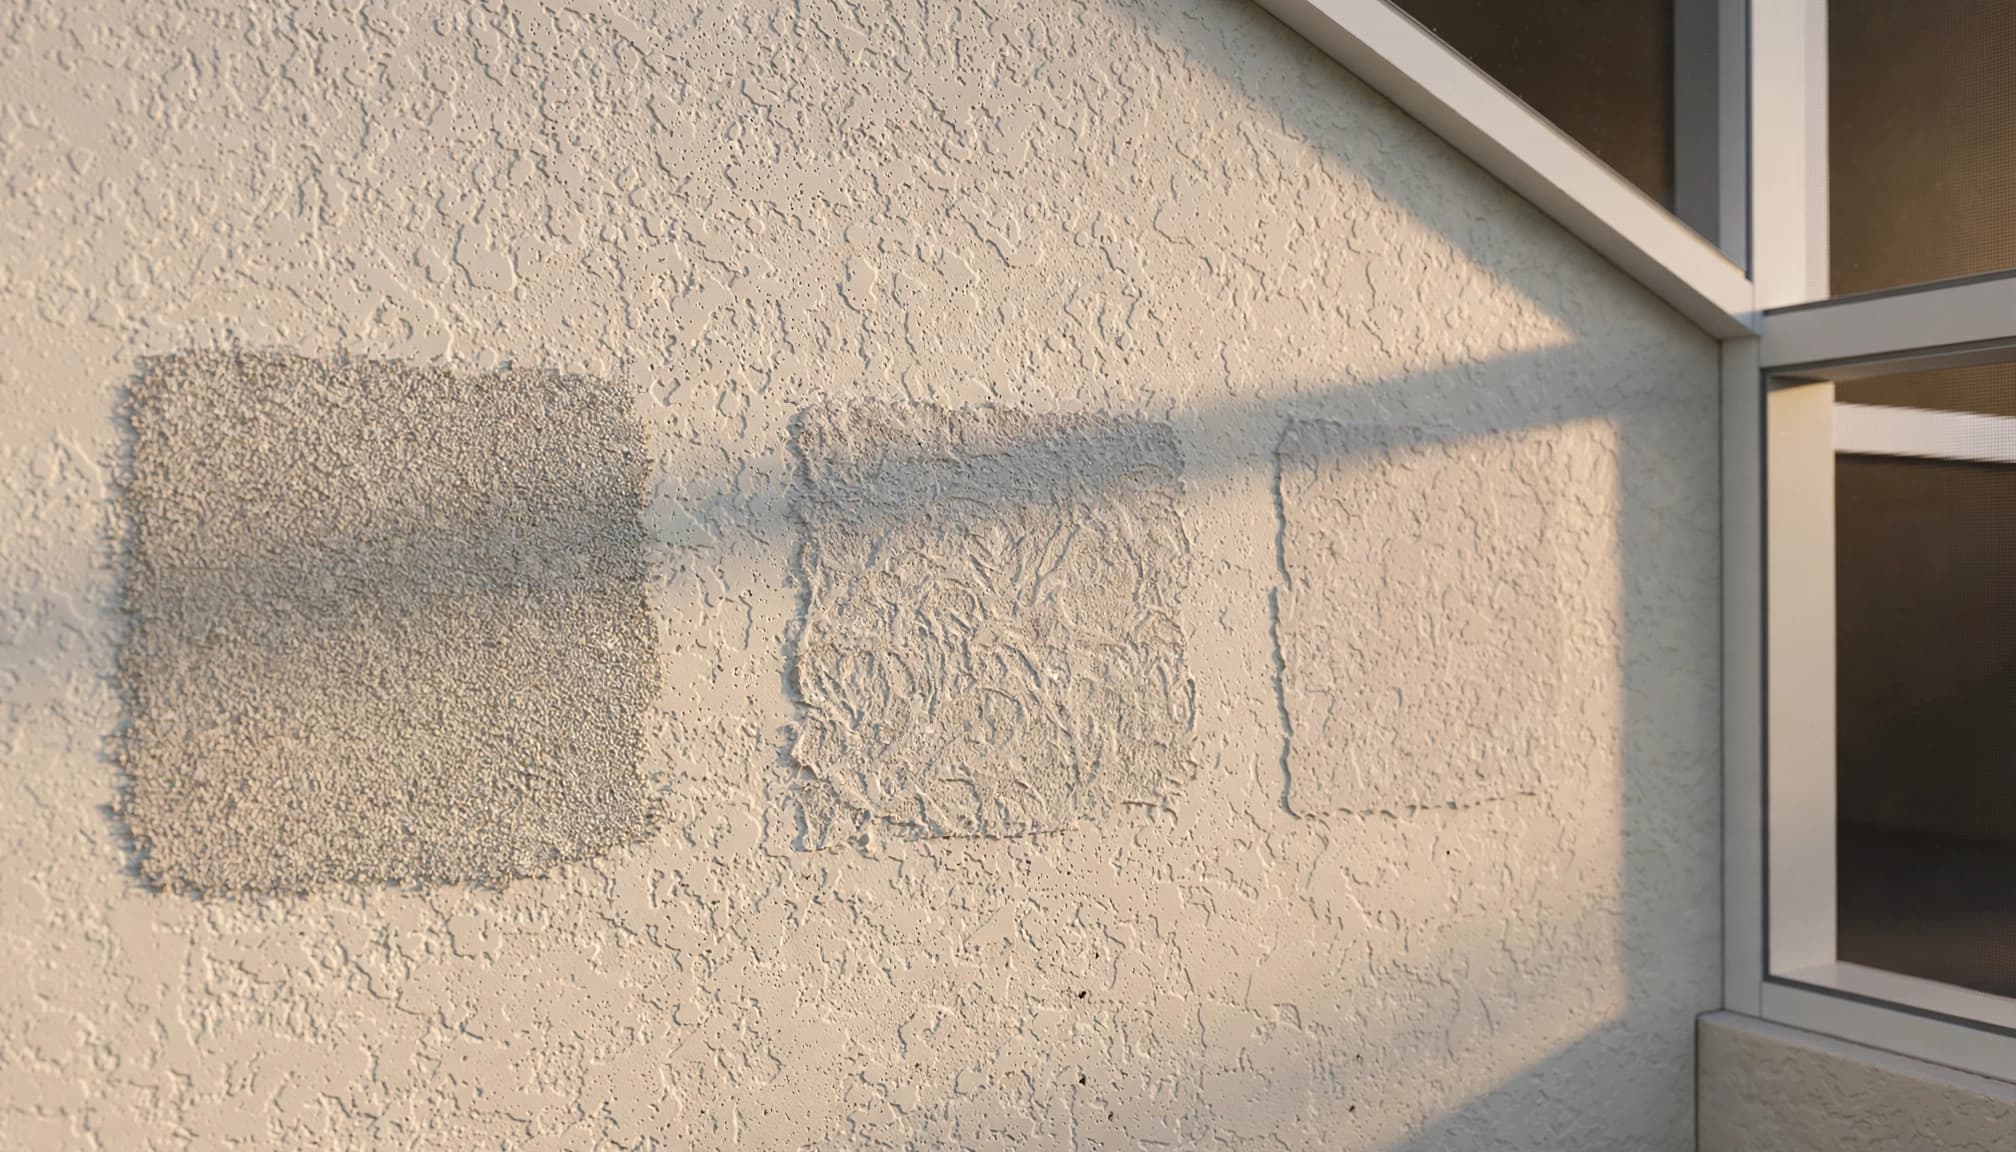
Texture can make two walls look different even when their colors are close. Raised areas cast small shadows, while flatter surfaces reflect light more evenly. That difference becomes easier to see when sunlight falls across a wall at an angle.
Compare the surface up close
Look at the size and spacing of the existing texture. A fine sand finish has a different appearance from a more pronounced lace or knockdown finish. Even within a broad texture style, the depth and distribution of the pattern can vary.
Point out the areas you want the new finish to resemble. If the house has an older repair that already looks different, use a more representative section as the reference.
Judge texture at normal viewing distance
Stand close enough to see the texture, then step back to the places where you'll usually view the addition. A pattern that looks convincing from a few feet away may stand out across a long wall.
Small finish samples can help you compare options on the exterior. View them in the light that reaches the existing wall, and look at the shadows as well as the color. The goal is a surface that belongs with the house rather than a finish chosen by name alone.
Account for Age and Sun Exposure
An older exterior rarely looks exactly as it did when it was first finished. Sun, rain, humidity, salt air, and ordinary weathering can change its appearance over time. Previous painting or repairs may have changed it as well.
That means an original color name or an old container isn't always the best guide to the wall you see now. The color on a sheltered wall may also differ from the same color on a sun-exposed elevation.
In Cape Coral, bright sunlight can make a light color appear warmer or paler than it does indoors. Shade can make the same surface look cooler or darker. Texture adds another variable because its small shadows change as the light moves.
For that reason, compare the new finish with the existing wall next to the addition . If the walls face different directions, some visual variation may remain even with a carefully selected color. The aim is a comfortable match in the conditions where you normally see the house.
Sample Color in the Same Light as the Existing Wall
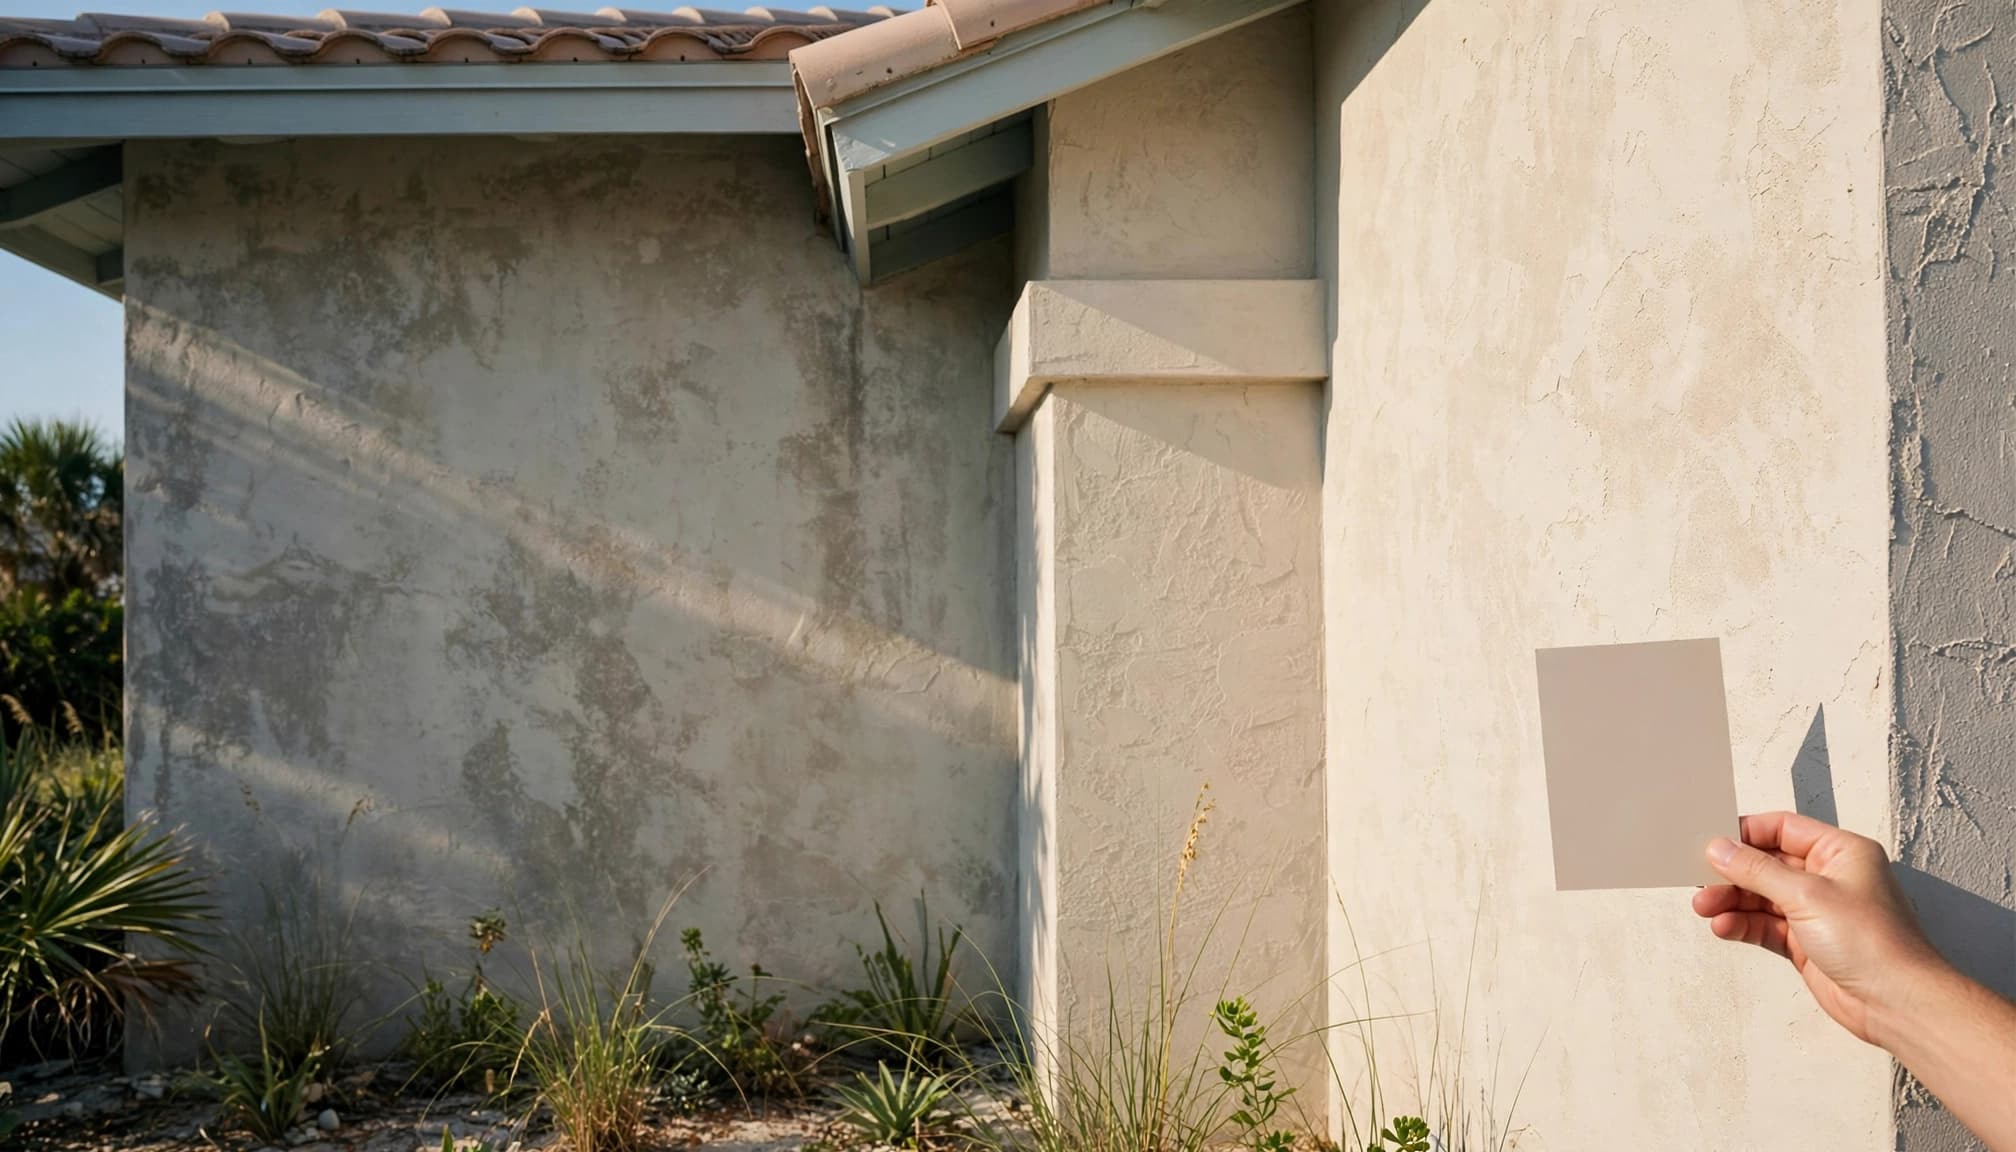
A showroom chip is a starting point, not a final decision. Bring the comparison outdoors, where you can see how the proposed color relates to the actual stucco, trim, and roof.
Compare samples beside the addition
Place samples near the wall the new room will meet. Look at them in direct sun and shade, then return at another time of day. A warm white that looks close in morning light may stand out against the house later in the afternoon.
Look at the sample beside trim and windows, too. A color can seem right against the stucco but look noticeably different once it's next to a white window frame or darker roofline.
Consider the existing coating
An existing wall may have been painted or repaired since the home was built. Those changes affect the surface you're trying to match, so tell your contractor about any work you know was done.
Use finish samples as well as color references when comparing the final appearance. A smooth sample can look different from a textured wall even when the color seems close. Agree on the sample that best fits before the finish work begins.
Blend the Transition Between Old and New Stucco
Where the two sections meet can influence the result as much as the finish itself. A transition in the middle of a long, uninterrupted wall draws more attention than one incorporated into the home's design.
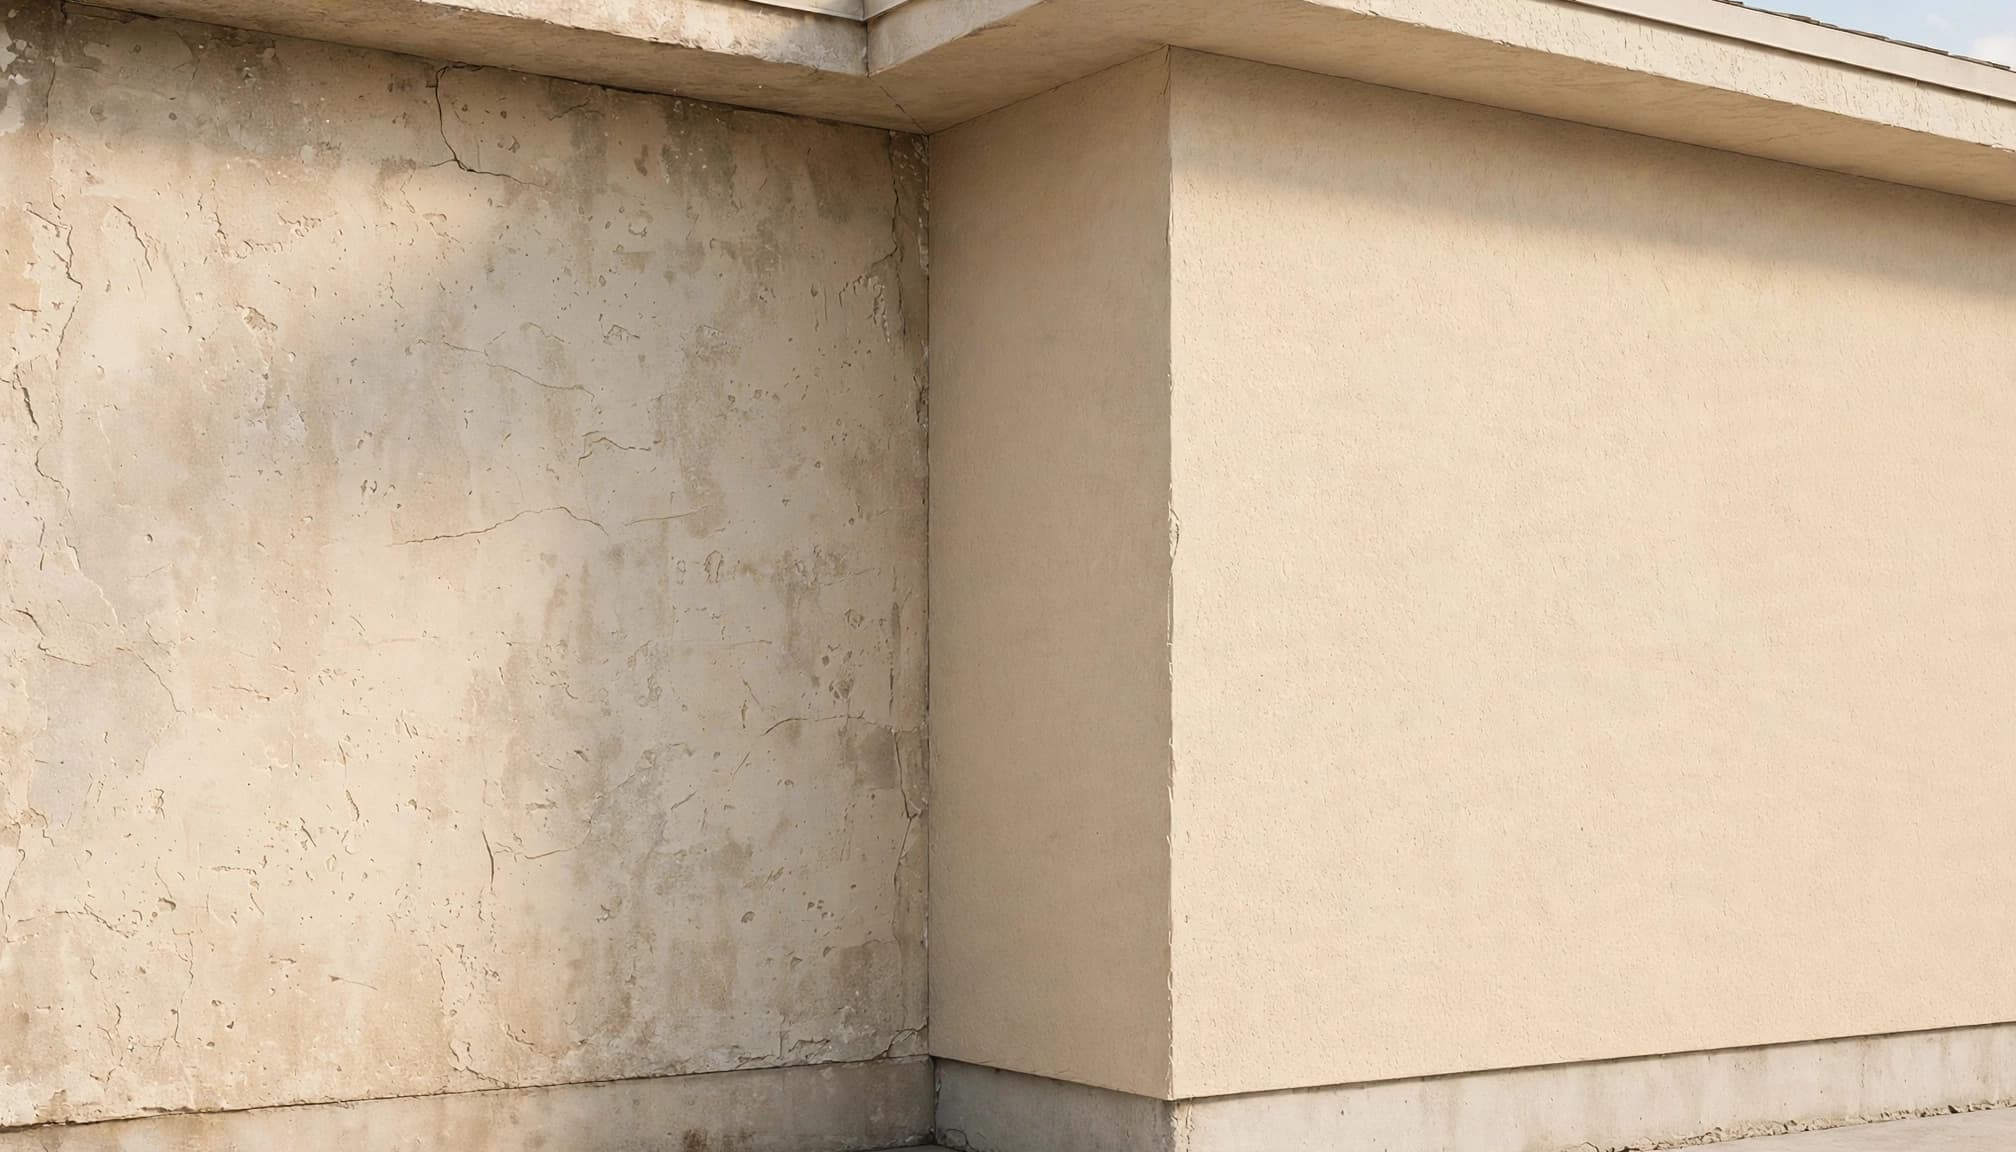
Use natural breaks in the exterior
A corner can provide a logical place for the old and new surfaces to meet. Changes in wall direction already create differences in light and shadow, so a small variation in appearance may be less noticeable there.
Window and door trim can also help organize a transition visually. The right location depends on the addition's design and the existing wall. Discuss it before construction so the connection doesn't become an afterthought.
Keep the connection weather-resistant
A visual break still needs proper water management. Corners, openings, and adjoining roof areas are places where flashing and other wall details matter.
The finished appearance should work alongside the wall assembly rather than hide unresolved damage. If the existing stucco needs repair at the connection, include that work in the plan before focusing on the final color.
Coordinate the Addition With the Rest of the Exterior
Stucco is only one part of a convincing addition. Even a close finish match can look out of place if the new roofline, windows, or trim have very different proportions.
Look at the addition as part of the whole house. Aligning exterior details where practical can help the new room feel connected to the original structure. For example, window proportions and trim can influence how your eye reads the stucco around them.
The same planning applies when designing a home office addition or another room. Roof connections, foundation details, and the exterior finish all need to work together.
If other exterior work is planned, coordinate it before the finish goes on. Changing windows, doors, or roof details afterward can disturb completed surfaces and add unnecessary work.
Put the Finish Work in the Project Scope
A written scope helps you understand what the stucco work includes. It should identify the areas receiving new finish, the existing areas included in repairs, and how the visible transition will be handled.
It should also describe the samples you'll review and whether the exterior work includes painting. If damaged material is uncovered, photos and a written repair recommendation can help explain any change to the planned work.
For coastal homes, the scope should address flashing and suitable corrosion-resistant accessories where needed. These details may not be visible when the addition is complete, but they help protect the wall behind the finish.
Stucco is one part of the overall addition budget. Foundation work, roof connections, plumbing, HVAC, and permitting can also affect Cape Coral room addition costs. Including the exterior finish plan early gives you a clearer picture of the full project.
Make the Addition Look at Home
A successful stucco match begins with the wall that's there today. Compare texture and color outdoors, account for weathering, and plan the transition where it fits the home's design.
At Blue Heron Construction, our Cape Coral home addition services bring the exterior and the rest of the remodel into one plan. Contact us to discuss how a new room can fit your home.