

Concrete Slab Preparation for Sanibel Flooring
A flooring failure in Sanibel can begin beneath a surface that looks perfectly dry. Concrete slab preparation matters because humidity, coastal moisture, storm exposure, and slab movement can affect flooring long after installation.
Waterproof planks still need a suitable slab. Tile still needs a clean, stable surface. Wood flooring demands even tighter moisture control. Before choosing materials or scheduling installation, inspect the concrete, test its moisture, repair defects, and follow the flooring manufacturer's requirements.
Why Sanibel Slabs Need Careful Preparation
Sanibel homes face conditions that can keep concrete damp longer than expected. Warm temperatures and high humidity slow evaporation, while rain, groundwater, plumbing leaks, and storm-related water exposure can introduce moisture into the slab or surrounding structure.
A concrete floor may feel dry at the surface while moisture remains below. As that moisture moves upward, it can affect adhesives, wood products, resilient flooring, grout, and leveling compounds.
Humidity Affects Drying Time
Concrete releases moisture as it cures and dries. In a humid coastal climate, the air may hold enough moisture to slow that process. Air conditioning helps, but the home needs stable indoor conditions before testing and installation.
Keep windows and doors closed during final preparation when possible. Run the home's normal HVAC system, and avoid testing immediately after a major rain event, flood cleanup, or prolonged power outage. The readings should reflect the conditions the floor will experience after installation.
A newer slab can have adequate strength but still contain too much moisture for the selected flooring. Concrete strength and flooring readiness are different measurements.
Water Intrusion and Salt Air Require Attention
Sanibel properties may experience water exposure from wind-driven rain, storm surge, plumbing failures, or poor drainage near exterior walls. If water has entered the home, remove damaged materials and identify the source before preparing the slab.
Salt air doesn't automatically mean the concrete is wet. However, salt residue, sand, and other coastal contaminants can interfere with adhesives and coatings. Exposed reinforcing steel, metal fixtures, or nearby concrete damage also deserve inspection because corrosion can contribute to cracking and spalling.
A waterproof flooring product doesn't make a wet slab acceptable. The concrete and the flooring system still need to meet the product's moisture limits.
Start With Inspection and Moisture Testing
Before any adhesive, underlayment, or flooring reaches the room, inspect the entire slab. Look for cracks, hollow areas, spalling, stains, efflorescence, old adhesive, and differences in color that may indicate past moisture movement.
Moisture testing should match the flooring system. The installation crew should record the results and compare them with the current product instructions, not with a general number found online.
Use the Right Moisture Tests
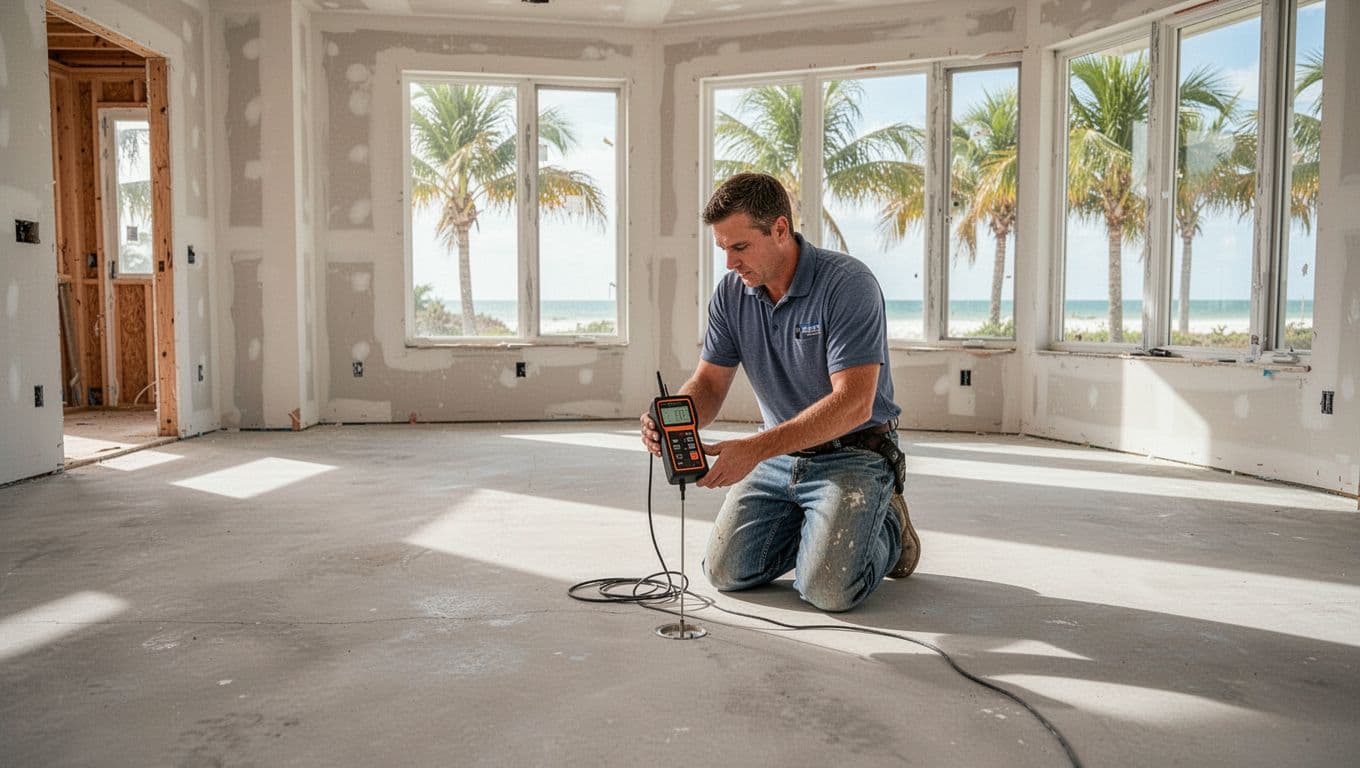
Several tests may apply during concrete slab preparation:
- An in-situ relative humidity test, commonly associated with ASTM F2170, measures conditions inside the slab.
- A calcium chloride test, commonly associated with ASTM F1869, measures moisture vapor emission at the surface.
- A surface pH test, often required for resilient flooring installations, checks whether alkalinity could affect adhesives.
- A moisture meter can help locate areas that need closer investigation, but it shouldn't replace the testing method required by the flooring manufacturer.
The acceptable result depends on the flooring, adhesive, underlayment, slab age, and installation system. Tile, luxury vinyl, engineered wood, and solid wood may have different limits.
Find the Source of Excess Moisture
A high reading is a condition to investigate, not a reason to cover the floor quickly. Check plumbing lines, exterior drainage, doors, windows, wall penetrations, and areas near bathrooms or kitchens.
Older slabs may have limited or damaged vapor protection below the concrete. If moisture is entering from below, surface cleaning alone won't solve the problem. A qualified flooring professional can determine whether additional drying, a moisture mitigation system, or a different flooring system is appropriate.
Repair Cracks and Correct Uneven Areas
Flooring needs a slab that is stable and flat enough for the product. Repairs should happen after the inspection and before final cleaning or primer application.
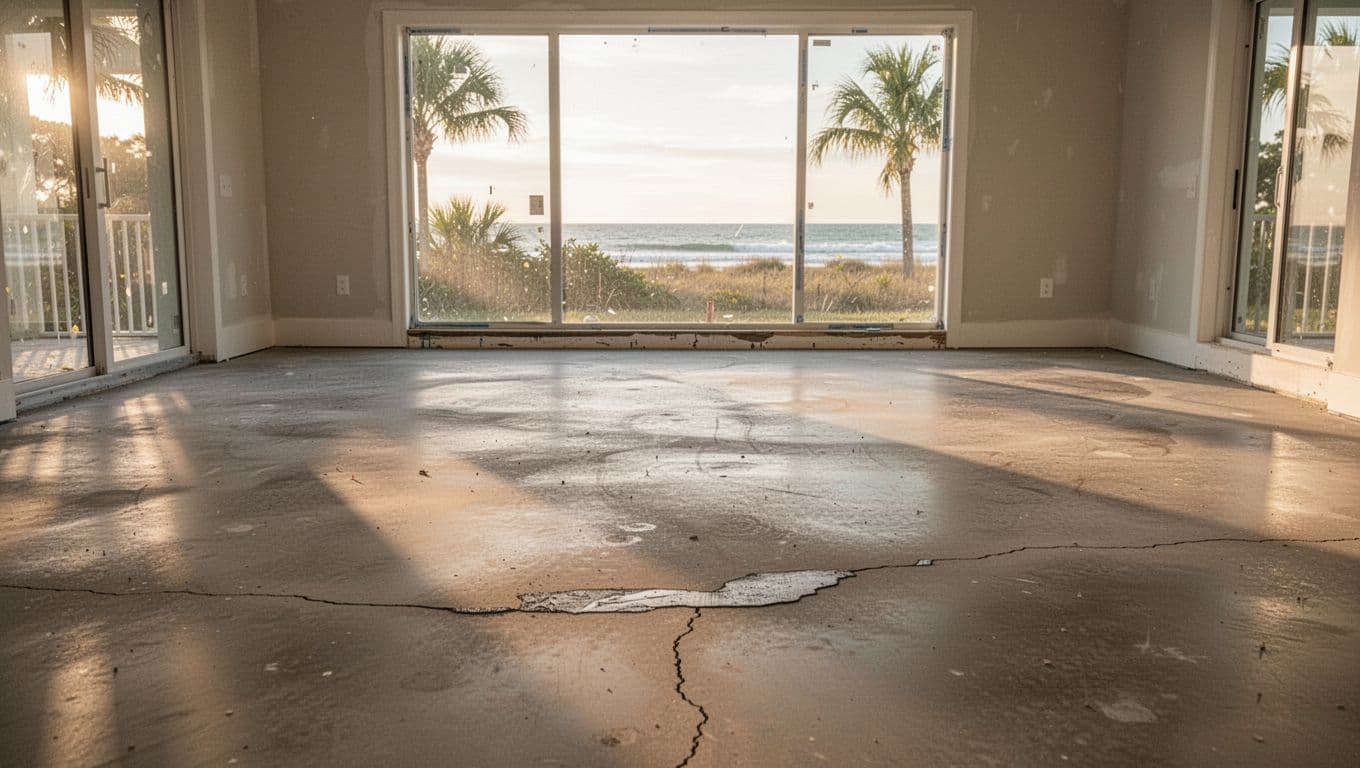
Separate Surface Cracks From Structural Movement
Small shrinkage cracks are common in concrete. Even so, they shouldn't be ignored beneath tile or rigid flooring. A crack may telegraph through tile, grout, adhesive, or a brittle leveling layer.
Cracks that widen, show vertical displacement, return after repair, or run through walls and structural areas need professional evaluation. Heaving, sloping, sticking doors, and new wall cracks can also indicate movement beyond a simple surface defect.
A crack isolation membrane may help protect tile from limited in-plane movement. It won't correct settlement or structural movement. The repair system must match the crack and the flooring manufacturer's instructions.
Control joints and construction joints also need proper treatment. Tile installations may require movement joints that continue through the tile assembly. Covering a joint with rigid material can create a predictable failure line.
Correct Low Spots and High Spots
Luxury vinyl and wood flooring can show dips, ridges, and trowel marks through the finished surface. Tile can bridge some minor variation, but excessive unevenness can cause lippage, hollow spots, broken grout, or poor drainage in wet areas.
Use a straightedge to locate high and low areas. Grind high spots only with proper dust control, then fill low areas with a compatible cementitious patch or self-leveling product. Follow the product's thickness limits and primer requirements.
Repairs must bond to sound concrete. Dusty, weak, or contaminated areas can cause the patch to release from the slab.
Match Preparation to the Flooring Material
The finished floor determines how much flatness, moisture control, and movement protection the slab needs. A preparation method that works for ceramic tile may not work for wood or luxury vinyl.
Tile Needs Stability and Movement Planning
Tile is durable, but it doesn't tolerate uncontrolled slab movement. The concrete must be clean, sound, and flat enough for the tile size and installation method. Large-format tile usually requires tighter flatness than small tile because even small changes can create lippage.
Installers should use the mortar specified for the tile and substrate. They may also need a crack isolation or uncoupling system when the project conditions call for one.
Plan movement joints at the room perimeter, changes in plane, and existing concrete joints. In bathrooms, entries, and other wet areas, the tile assembly also needs the specified waterproofing details. Surface moisture still matters because damp concrete can interfere with some membranes, mortars, and sealers.
Luxury Vinyl Needs a Smooth, Dry Surface
Luxury vinyl plank and tile can tolerate normal household moisture after installation, but the slab beneath them must meet the product's requirements. Waterproof planks don't stop vapor from reaching an adhesive or causing problems below the floor.
LVP shows surface imperfections easily, especially with thin rigid-core products. Remove old adhesive, patch small defects, grind ridges, and verify flatness with a straightedge. Follow the manufacturer's instructions for moisture testing, adhesive selection, primer, and expansion gaps.
Sheet vinyl has similar preparation needs. Seams and thin materials can reveal texture, dust, and low spots that a thicker floor might hide.
Wood, Engineered Wood, and Laminate Need Tighter Control
Wood reacts to moisture changes by expanding, shrinking, cupping, or gapping. Solid wood usually has stricter site conditions than engineered wood, but both require the slab and indoor environment to meet the flooring manufacturer's limits.
An approved moisture barrier or adhesive system may be required over concrete. The installer should also check the moisture content of the flooring and any subfloor materials before bringing the product into the room.
Laminate and floating floors still need a flat, dry substrate. An underlayment can address minor sound or comfort concerns, but it cannot correct a sloped slab or stop abnormal moisture.
Clean the Slab and Allow Repairs to Cure
Final surface preparation is more than sweeping. Concrete dust, drywall compound, paint, oil, wax, old adhesive, curing compounds, and salt residue can prevent primers and adhesives from bonding.
Remove Contaminants Without Hiding Problems
Mechanical preparation, such as grinding or shot blasting, may be needed when the slab has coatings, adhesive residue, or a weak surface layer. The method should create the profile required by the adhesive or leveling product.
After preparation, remove dust with commercial equipment suited to fine concrete particles. Don't apply a primer over visible powder or use a household cleaner that leaves a film.
Inspect again after cleaning. A slab can look smooth while still carrying bond-breaking residue in pores or along edges.
Let Concrete and Repair Products Cure
Concrete curing and concrete drying aren't the same process. A slab may have cured enough for construction work while still releasing moisture that exceeds flooring limits.
Patching compounds, self-leveling underlayments, crack treatments, membranes, and primers also need their stated cure time. Temperature, humidity, thickness, airflow, and water content can change how long a product takes to become ready.
Don't rush installation because the room is otherwise finished. Covering an uncured repair can trap moisture and weaken the floor assembly. The installer should confirm that each layer is ready for the next one.
A Practical Sanibel Flooring Preparation Sequence
Use this order when planning concrete slab preparation:
- Inspect the room and slab. Document cracks, stains, joints, damaged concrete, past leaks, and areas near exterior openings.
- Control the source of moisture. Repair plumbing leaks, drainage problems, wall penetrations, and water damage before testing.
- Condition the home. Operate the HVAC system under normal living conditions before moisture testing and installation.
- Test the concrete. Use the methods required for the selected flooring and adhesive, then record the results.
- Repair and level the slab. Address cracks, spalling, low areas, high spots, and joint details with compatible products.
- Clean and verify the surface. Remove dust and contaminants, confirm flatness, and repeat testing when repairs or water exposure could change conditions.
- Install only after approval. Check product instructions, cure times, moisture limits, adhesive requirements, and room temperature before flooring goes down.
When slab preparation is part of a larger renovation, a contractor who coordinates whole-home remodeling services can address finished floor heights before cabinets, doors, trim, and transitions are installed.
When to Call a Qualified Flooring Professional
Professional help is appropriate when moisture readings are abnormal, the slab has a history of flooding, or the source of dampness isn't clear. A specialist can select the correct testing methods and explain whether the floor needs drying, mitigation, or a different installation system.
Get an evaluation for structural cracks, vertical offsets, recurring cracks, spalling, exposed reinforcement, or noticeable slab movement. The same applies when walls, doors, or nearby finishes show signs of settlement.
Ask for more than a visual inspection. A reliable installation plan should identify the flooring product, required tests, repair materials, surface preparation, cure times, and final acceptance conditions. If those details are unclear, postpone installation until the slab has been properly assessed.
Conclusion
Sanibel flooring lasts longer when the concrete beneath it is treated as part of the flooring system. Concrete slab preparation includes moisture testing, source control, crack and level repairs, thorough cleaning, and enough time for every repair to cure.
Start with the slab's actual condition rather than the appearance of the surface. Once the concrete meets the flooring manufacturer's requirements, the installation has a sound foundation and a much better chance of performing well in Sanibel's coastal climate.