
Kitchen Cabinet Hardware for Cape Coral Remodels
Cabinet doors may set the kitchen's style, but kitchen cabinet hardware determines how the room feels every day. The right knob or pull makes a heavy drawer easier to open, keeps wet hands away from cabinet faces, and adds a finished look to the entire space.
Cape Coral homeowners also need to consider humidity, coastal air, cooking residue, and frequent use. A beautiful finish won't help if it feels awkward in your hand or begins to show wear after a short time. Use the cabinet layout, door style, and daily routine to guide every choice.
How kitchen cabinet hardware shapes a Cape Coral remodel
Hardware is one of the most frequently touched parts of a kitchen. You may open a drawer dozens of times while preparing one meal, often with damp, oily, or full hands. That makes grip, projection, and placement just as important as color.
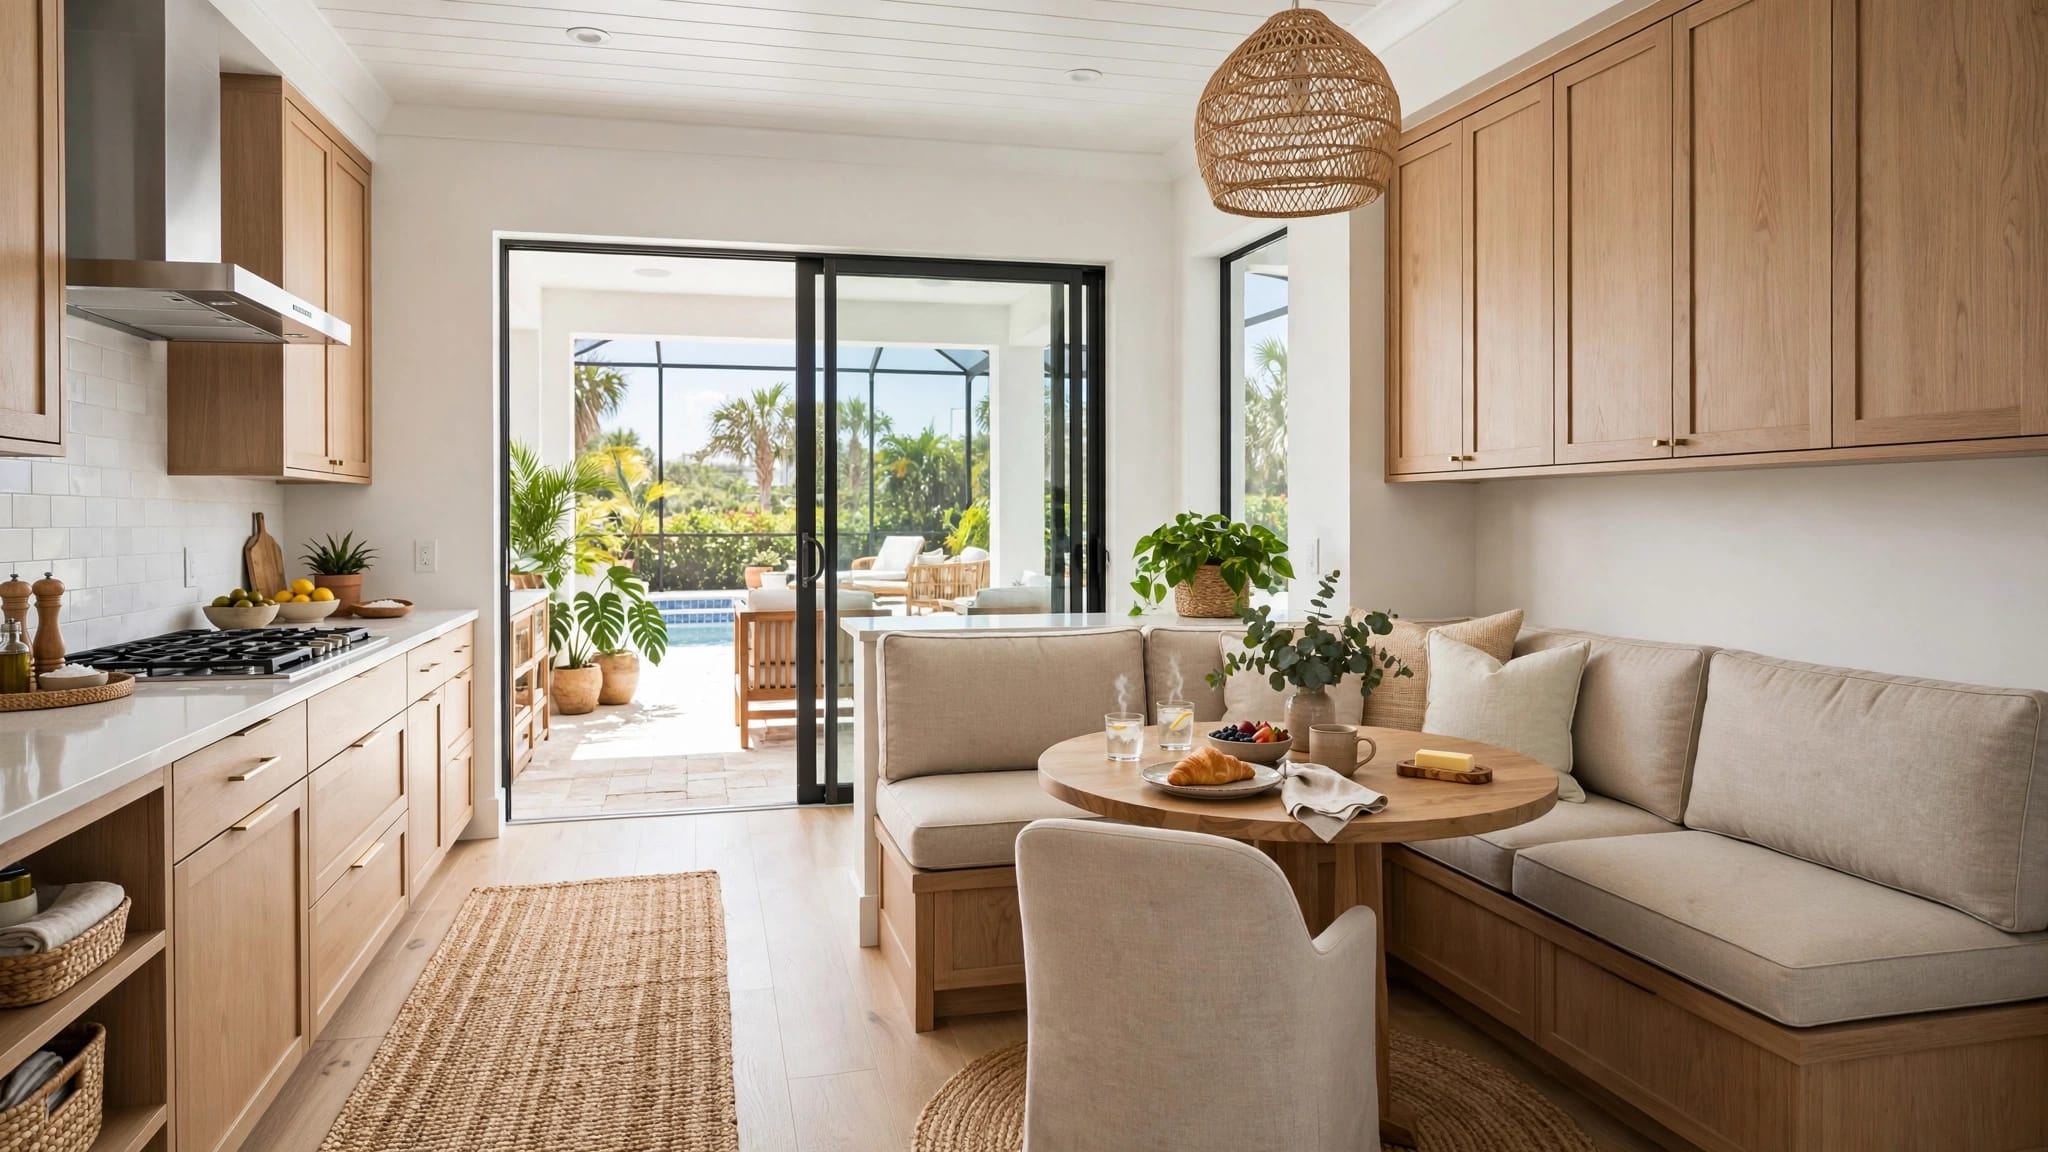
In an open-concept Cape Coral home, hardware also ties the kitchen to nearby living areas. The finish may need to coordinate with the faucet, pendant lights, appliance handles, barstools, and door hardware. A small mismatch can make the room feel pieced together, especially when the kitchen is visible from the dining or living space.
The local climate adds another consideration. Humidity and airborne salt can affect exposed metal over time, particularly when the kitchen sits near an open lanai or frequently opened exterior doors. Stainless steel, well-finished brass, and quality coated hardware can be good choices, but every product still needs proper care.
Cabinet hardware can also change the visual weight of a kitchen. Long pulls emphasize wide drawers and create strong horizontal lines. Small knobs keep a traditional kitchen lighter and more detailed. Black hardware adds contrast, while brass brings warmth to white, blue, gray, or natural wood cabinets.
Start by reviewing the cabinet elevations, not by browsing a hardware display without a plan. Mark the doors and drawers that need hardware, then consider how each section will look and feel when opened.
Knobs or pulls: choose by cabinet function
Knobs work well on cabinet doors because they require a simple grip and take up little visual space. A round knob, square knob, or small bar knob can suit traditional, transitional, and contemporary kitchens. Knobs are also useful when you want the cabinet finish or door profile to remain the main feature.
Pulls usually provide better leverage on drawers. You can wrap several fingers around a pull, which helps when a drawer contains pots, dishes, or pantry items. Longer pulls also make wide drawers easier to open without pulling from one side.
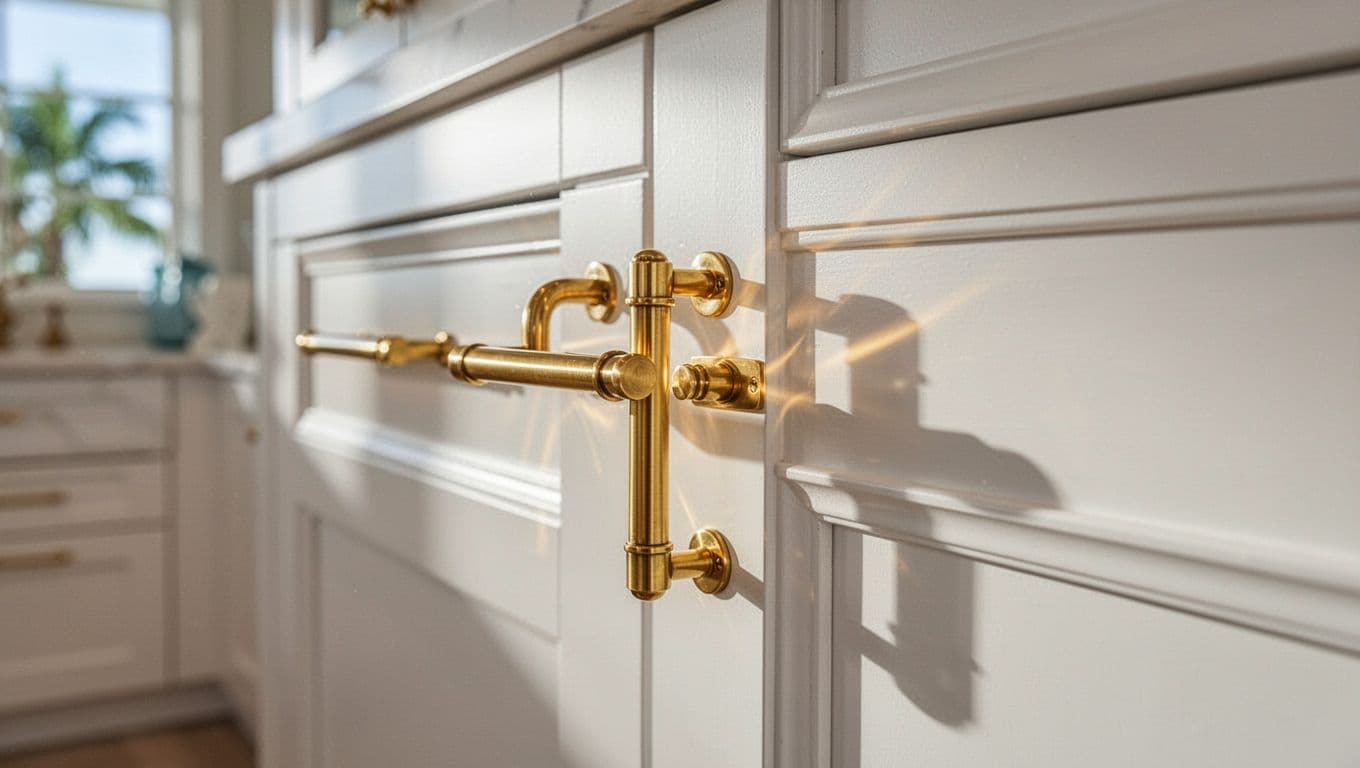
A mixed approach often gives the best result. Use knobs on doors and pulls on drawers when you want a classic arrangement. Matching pulls across doors and drawers create a cleaner, more contemporary appearance. Cup pulls can work on lower drawers in a farmhouse or traditional kitchen, but they may feel less comfortable when your hands are wet.
Consider how each cabinet operates:
- Upper cabinet doors often work well with knobs or short vertical pulls placed near the lower corner.
- Base cabinet doors can use knobs or vertical pulls near the upper corner.
- Drawers usually need horizontal pulls, centered on the drawer front.
- Tall pantry doors benefit from longer pulls that provide more leverage.
- Appliance panels need hardware that feels substantial enough for repeated use.
The right kitchen cabinet hardware should feel natural before it looks decorative. Hold samples in your hand, especially for drawers near the range, sink, and refrigerator. Those areas receive the most use and reveal uncomfortable shapes quickly.
A pull can make a wide drawer easier to open, but the wrong length can make the whole cabinet wall look top-heavy.
Kitchen cabinet hardware sizing: pull length and center-to-center spacing
Size affects both comfort and proportion. A pull that is too short may feel difficult to grasp on a wide drawer. A pull that is too long can dominate a narrow door or compete with nearby trim.
Pull length and center-to-center spacing are different measurements. Overall length describes the full outside dimension of the pull. Center-to-center spacing measures the distance between the two screw holes. A pull may be 5 inches long but have a 3-inch center-to-center measurement.
Check the center-to-center measurement whenever you replace existing hardware. Matching the hole spacing can save you from drilling new holes or filling old ones. For new cabinets, choose the hardware first or provide the cabinet installer with the final specifications.
These starting points can help you narrow the choices before testing samples.
| Cabinet area | Common starting point | Practical reason |
|---|---|---|
| Small cabinet door | 1 1/4- to 1 1/2-inch knob | Keeps the door visually light |
| Standard drawer | 3- to 5-inch center-to-center pull | Provides a comfortable grip |
| Wide drawer | 5- to 8-inch center-to-center pull | Balances size and leverage |
| Drawer around 30 to 36 inches wide | 8- to 12-inch overall pull | Creates stronger visual proportion |
| Very wide or heavy drawer | Two pulls or a longer pull | Spreads pulling force across the front |
These measurements are starting points, not fixed rules. A 30-inch drawer may look right with an 8-inch pull in one kitchen and a 12-inch pull in another. Door height, rail width, cabinet color, and nearby hardware all affect the result.
For drawers wider than roughly 36 inches, consider two pulls if the drawer is heavy or the design calls for a balanced appearance. Place them an equal distance from the center, then check that the spacing doesn't conflict with cabinet dividers or adjacent doors.
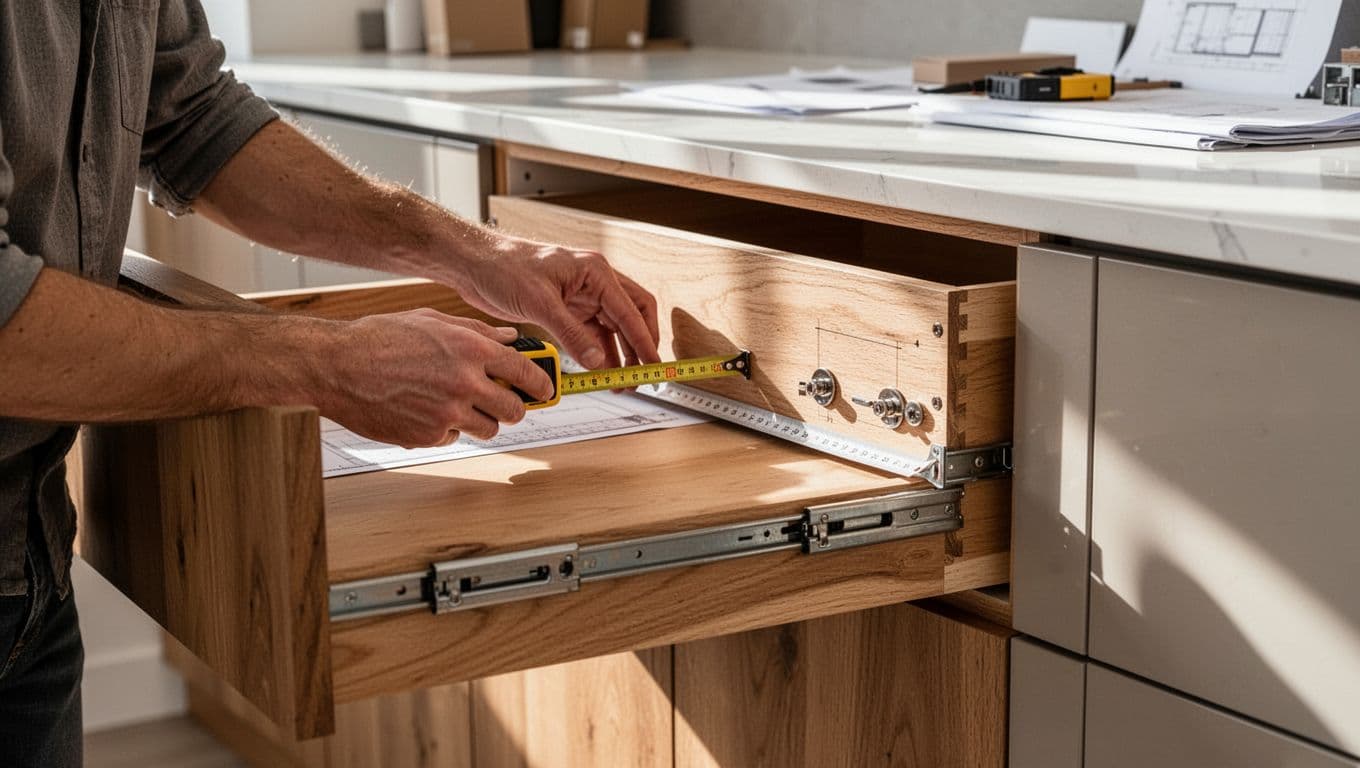
Use a full-size sample whenever possible. Tape it to the cabinet front and step back several feet. A pull that looks modest in a showroom can appear much larger once installed across a full wall of cabinets.
Select materials that fit a humid coastal home
The base material and surface finish both affect long-term performance. Ask what the hardware is made from, how the finish is applied, and what cleaning products the manufacturer allows.
Stainless steel is a practical option for contemporary kitchens. It has a cooler appearance and coordinates naturally with stainless appliances. Look for a finish that feels smooth and consistent across the entire set.
Brass adds warmth and works well with white, cream, green, blue, and wood cabinets. Unlacquered brass develops a patina as it ages, while lacquered or PVD finishes maintain a more consistent appearance. If you want the finish to stay uniform, choose a product designed for that result.
Bronze creates a richer, darker look. Oil-rubbed bronze can suit traditional cabinetry, while a modern bronze finish may pair well with flat-panel doors. Because bronze colors vary widely, compare an actual sample with the countertop and cabinet door.
Aluminum is light and can work well for long pulls. Zinc alloy is common in decorative hardware, though quality varies by product. Check the feel of the piece, the smoothness of the edges, and the strength of the mounting points before ordering a full set.

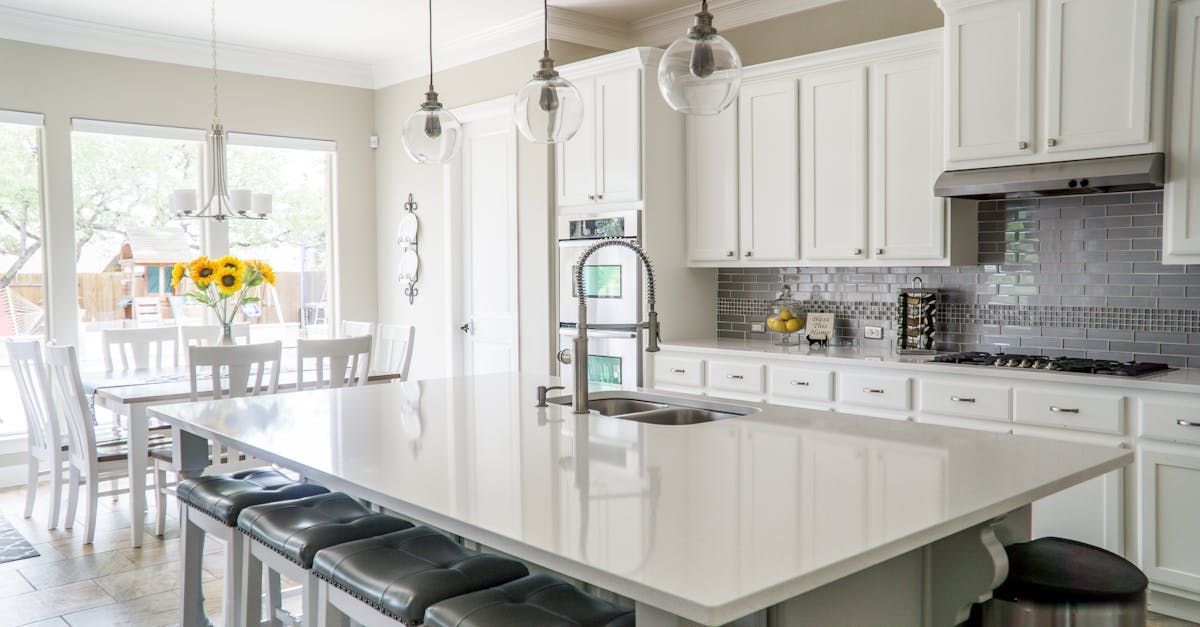
Photo by Alfredo Marco Pradil
Avoid assuming that a higher price automatically means better coastal performance. A premium-looking finish still needs routine cleaning and proper installation. Wipe away moisture, cooking grease, and salty residue with a soft cloth. Skip abrasive pads and harsh cleaners that can damage the coating.
Match finishes to the kitchen's larger design
Choose the cabinet hardware finish after reviewing the full material palette. Place cabinet, countertop, backsplash, flooring, faucet, lighting, and appliance samples together before making a final decision.
White cabinets allow almost any metal finish, but each option creates a different mood. Brushed nickel feels calm and understated. Matte black adds clear contrast. Brass makes the room warmer and more decorative. Chrome produces a sharper, reflective look that may feel more formal.
Wood cabinets usually pair well with warm brass, bronze, black, or muted nickel. The wood species matters. Light oak can handle dark contrast or warm metal, while deep walnut may need a lighter finish to keep the kitchen from feeling too heavy.
Blue and green cabinets often work with brass or aged bronze. Gray cabinets can support black, nickel, chrome, or brass, depending on whether you want a cool or warm palette. A coastal style doesn't require all-white cabinets or nautical details. Clean lines, natural textures, and a restrained finish mix can create a more current look.
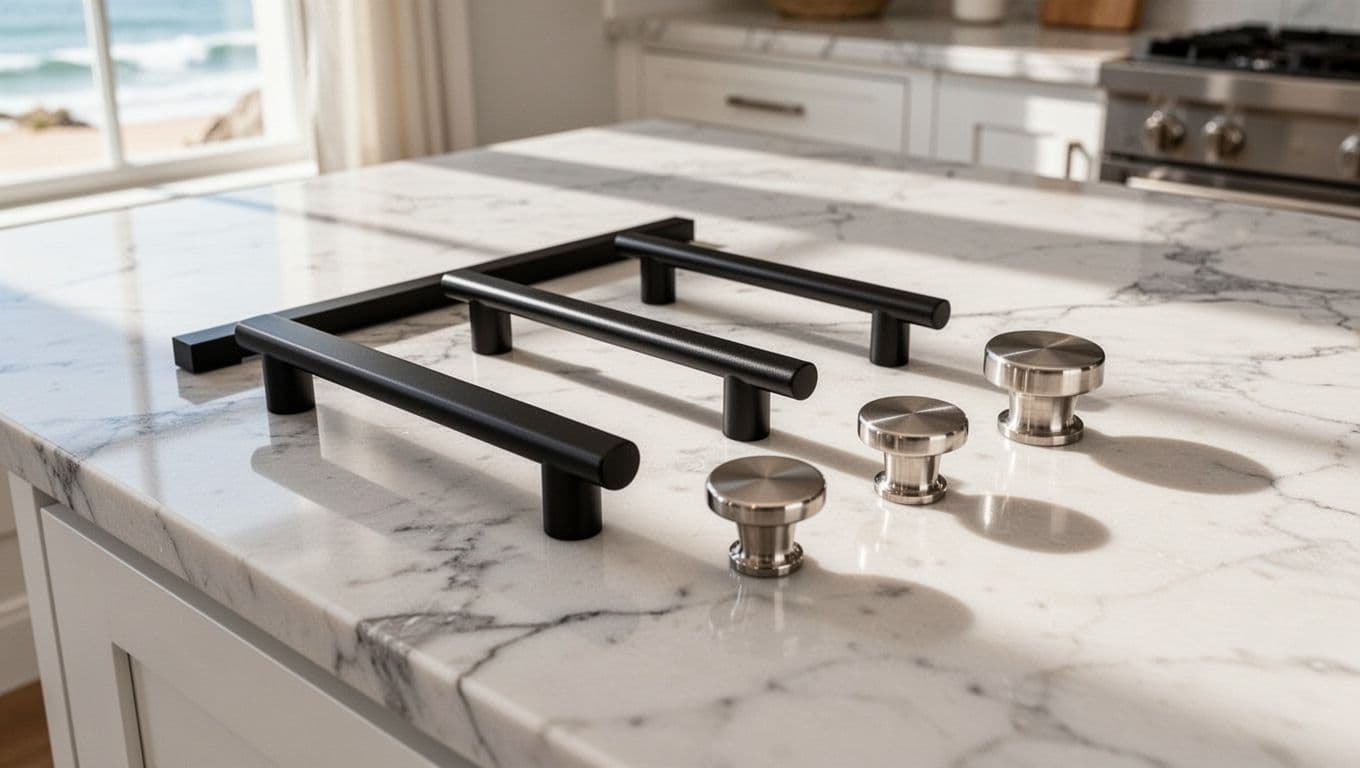
Mixing metals can work when the choices look intentional. Select one dominant finish for most cabinet hardware, then repeat a second finish in another visible element. For example, matte black pulls can coordinate with black window frames, while a brass faucet adds warmth. The second metal should appear more than once so it doesn't look accidental.
Appliance handles don't need to match cabinet pulls perfectly. Stainless appliances often have a cooler, more industrial finish than brushed nickel. Compare samples in the actual kitchen lighting before deciding whether the difference feels acceptable.
Also check sheen. Polished, satin, brushed, and matte finishes can look very different even when they share the same color. A polished brass pull beside a satin brass faucet may appear mismatched, while two slightly different brushed finishes may blend comfortably.
Install hardware with consistent placement
Good placement makes a kitchen feel organized. Inconsistent spacing can distract from expensive cabinetry, even when every piece of hardware is attractive.
For Shaker-style doors, knobs are often placed near the corner where the rail and stile meet. A common starting point is about 2 1/2 to 3 inches from the inside edges of the door, but the exact position should match the cabinet proportions. Wider rails may support a different placement than narrow rails.
Upper doors commonly use vertical pulls near the lower corner. Base cabinet doors usually use vertical pulls near the upper corner. Drawers generally receive horizontal hardware centered both side to side and top to bottom.
Flat-panel doors offer more flexibility. Their clean surfaces can support edge pulls, centered pulls, or a carefully repeated corner placement. Edge pulls attach along the top or side edge and create a minimal appearance, but they need enough projection for a comfortable grip.
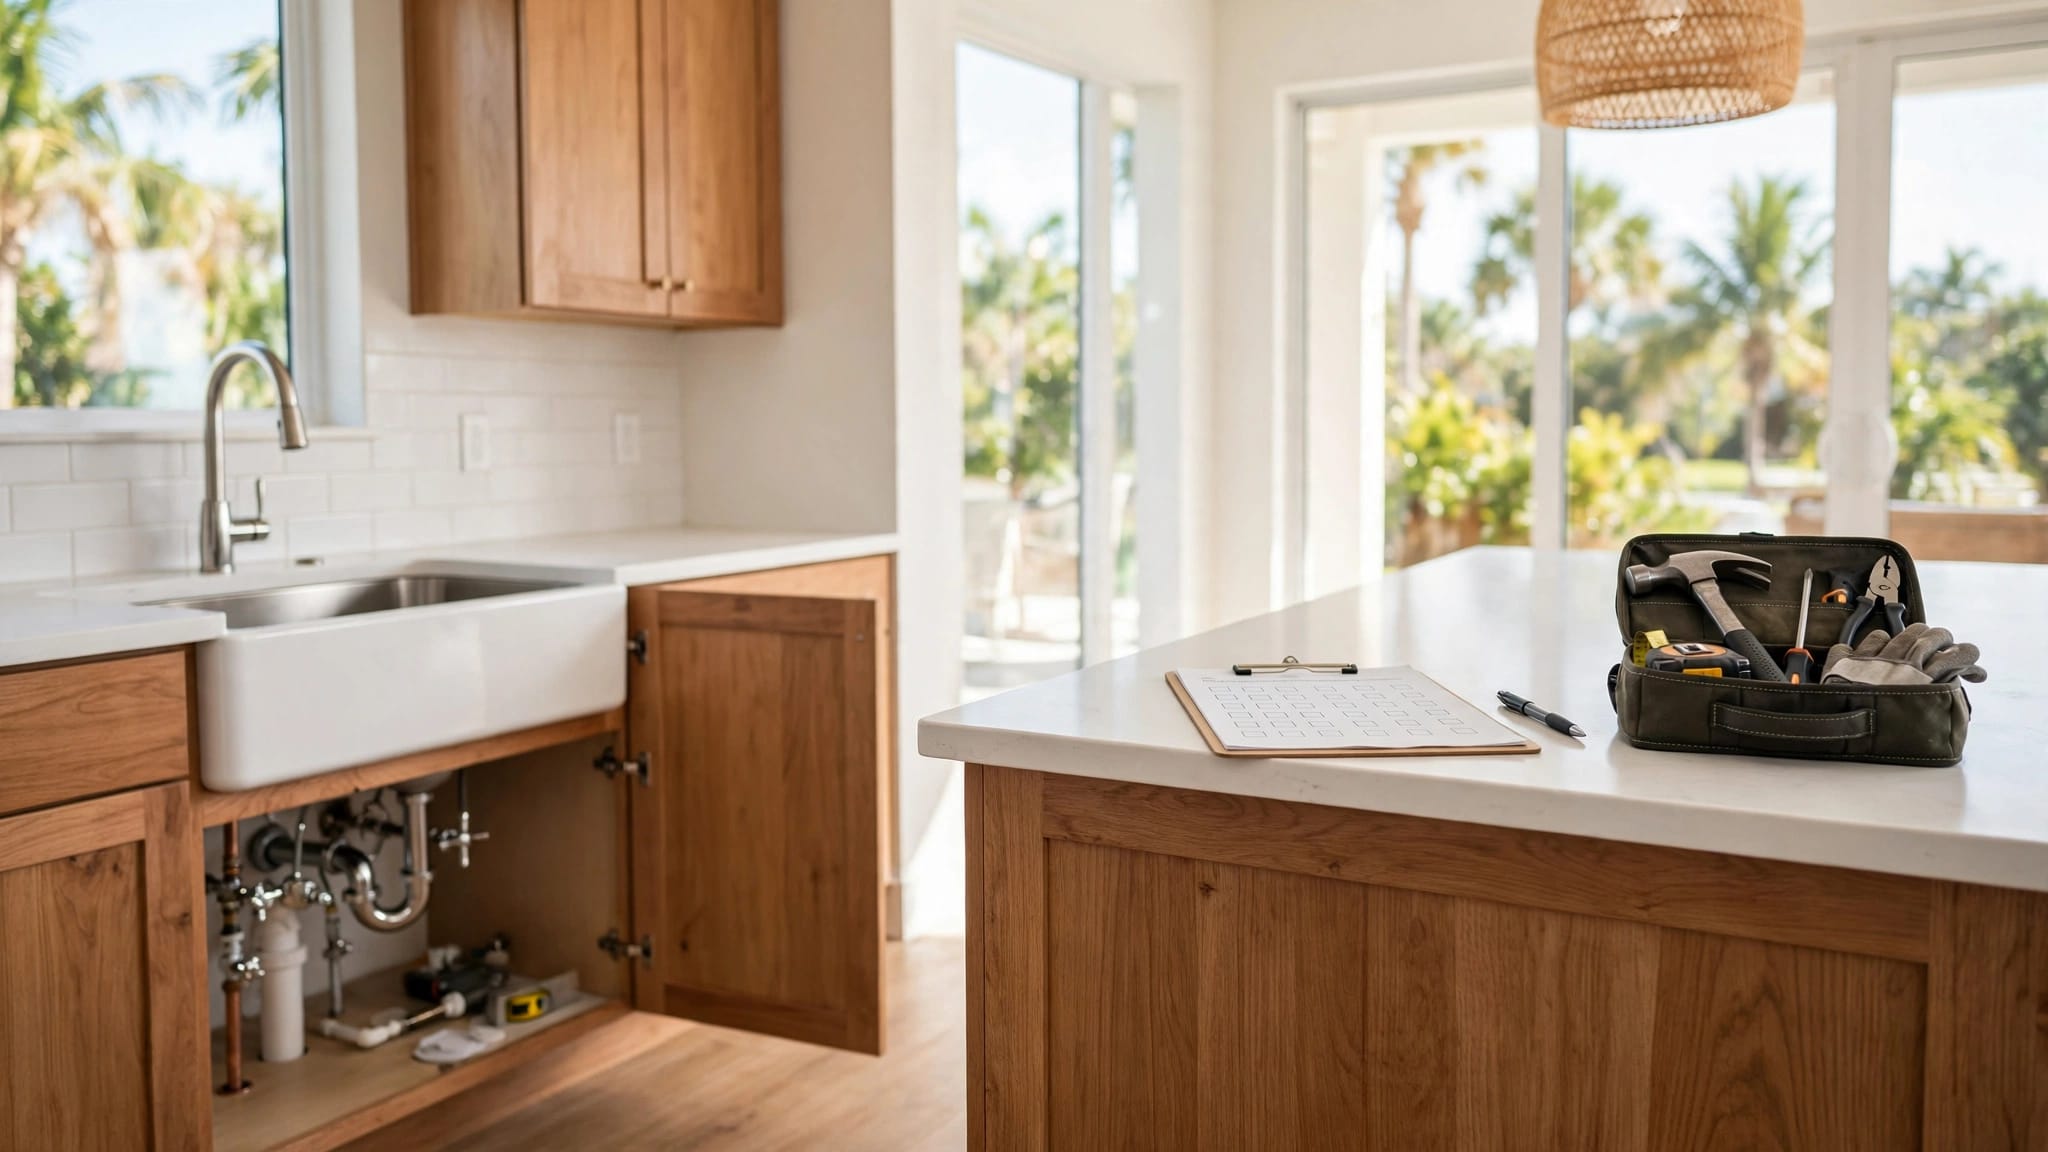
Before drilling, use a cabinet hardware template. Mark the intended position with painter's tape and install one sample. Open the door fully, check the nearby wall or appliance, and confirm that your hand has enough clearance.
A professional installer should also check:
- The pull doesn't hit an adjacent door when both cabinets open.
- Tall pantry hardware clears nearby trim and walls.
- Drawer pulls don't interfere with a countertop overhang.
- Screw length fits the cabinet door or drawer thickness.
- Every piece lines up across horizontal and vertical runs.
Use a level for alignment and tighten screws until the hardware is secure. Over-tightening can damage a cabinet face or strip the screw. Save one piece of the final hardware and its extra screws for future repairs.
Build hardware into the remodel budget
Hardware costs vary by material, finish, size, and brand. Basic knobs may cost only a few dollars each, while solid brass, specialty finishes, and long appliance pulls can cost tens of dollars per piece. A full kitchen can stay within a few hundred dollars or exceed $1,000 when it includes premium hardware.
Count every door, drawer, pantry panel, and integrated appliance panel. Then add about 10 percent for spare pieces. A kitchen with 24 doors and 10 drawers needs 34 pieces before extras. Ordering four additional pieces brings the total to 38 and provides replacements for future damage or loss.
Installation costs depend on whether the cabinets are new, whether holes already exist, and how much alignment the project requires. New cabinet installation is usually easier because the hardware plan can be built into the cabinet layout. Retrofitting existing cabinets may require filling holes, touching up finishes, or adjusting placement.
Bring the hardware samples to countertop and backsplash appointments. The final cost includes more than the piece itself. Account for templates, replacement screws, shipping, and any special pulls needed for appliances or oversized drawers.
Add hardware to the remodel timeline
Choose cabinet hardware after you confirm the cabinet door style, but before the doors are fabricated or drilled. This timing gives the installer a clear plan and prevents rushed decisions near the end of construction.
Start with one knob and one pull sample. Test them beside the sink, range, refrigerator, and pantry. Pay attention to grip, projection, edge comfort, and how easily you can use them with one hand.
A hardware schedule should list each cabinet location, the hardware type, the finish, the center-to-center measurement, and the placement. Photos or cabinet elevations can make the schedule easier to follow. Keep the information with the cabinet plans so everyone works from the same details.
If the project includes a new layout, hardware decisions fit naturally into the broader Cape Coral kitchen renovation process. Cabinet size, appliance placement, lighting, and countertop edges all affect the final hardware plan.
The final walkthrough is the right time to check every piece. Open each door and drawer, test the appliance panels, and look down long rows for alignment. Small corrections are easier before the installer leaves and before the kitchen fills with dishes and appliances.
Conclusion
The best cabinet hardware choice combines comfortable use with a clear design plan. Knobs suit many doors, pulls improve leverage on drawers, and longer hardware can give wide cabinet fronts better proportion. Measurements, center-to-center spacing, material, finish, and placement all deserve attention before installation.
For a Cape Coral remodel, compare samples in the actual kitchen and choose finishes that fit the home's climate and daily routine. Well-planned kitchen cabinet hardware won't compete with the cabinets or countertop. It will make the entire room easier to use and more complete.