
How to Create a Kitchen Appliance Landing Zone
A kitchen appliance landing zone gives frequently used machines a practical home without taking over your counters. The right setup keeps appliances near suitable outlets, leaves room for food preparation, and makes cleanup easier.
Good planning starts with your daily routine, not a cabinet catalog. Whether you're building a home, renovating in Cape Coral, or working with an existing kitchen, map the appliances, storage, electrical needs, and clear counter space before installation begins.
Start with the Routine, Not the Appliance
The best landing zone supports the tasks you perform repeatedly. Watch how your household makes coffee, prepares breakfast, unloads groceries, bakes, cooks dinner, and cleans up afterward.
A coffee maker may belong near mugs, filters, and the refrigerator. A toaster or toaster oven needs counter space nearby for bread, plates, and heat-safe placement. A blender or food processor works best close to the sink and a clear prep surface.
Group appliances by daily task
Keep frequently used appliances in the area where their ingredients and accessories already live. Coffee supplies can occupy a drawer below the beverage station. Baking tools may fit better near the main prep counter. A slow cooker used once a month can go in a pantry or lower cabinet instead of occupying prime counter space.
The goal is to reduce unnecessary carrying. If you need to move a heavy appliance across the kitchen every time you use it, the landing zone isn't doing its job.
Keep a clear landing area beside the machine
Every appliance needs a place for ingredients, hot dishes, lids, or prepared food. A coffee maker needs room for a mug and water reservoir. A mixer needs space for a bowl and ingredients. A toaster oven needs safe surrounding clearance and a surface where hot pans can rest.
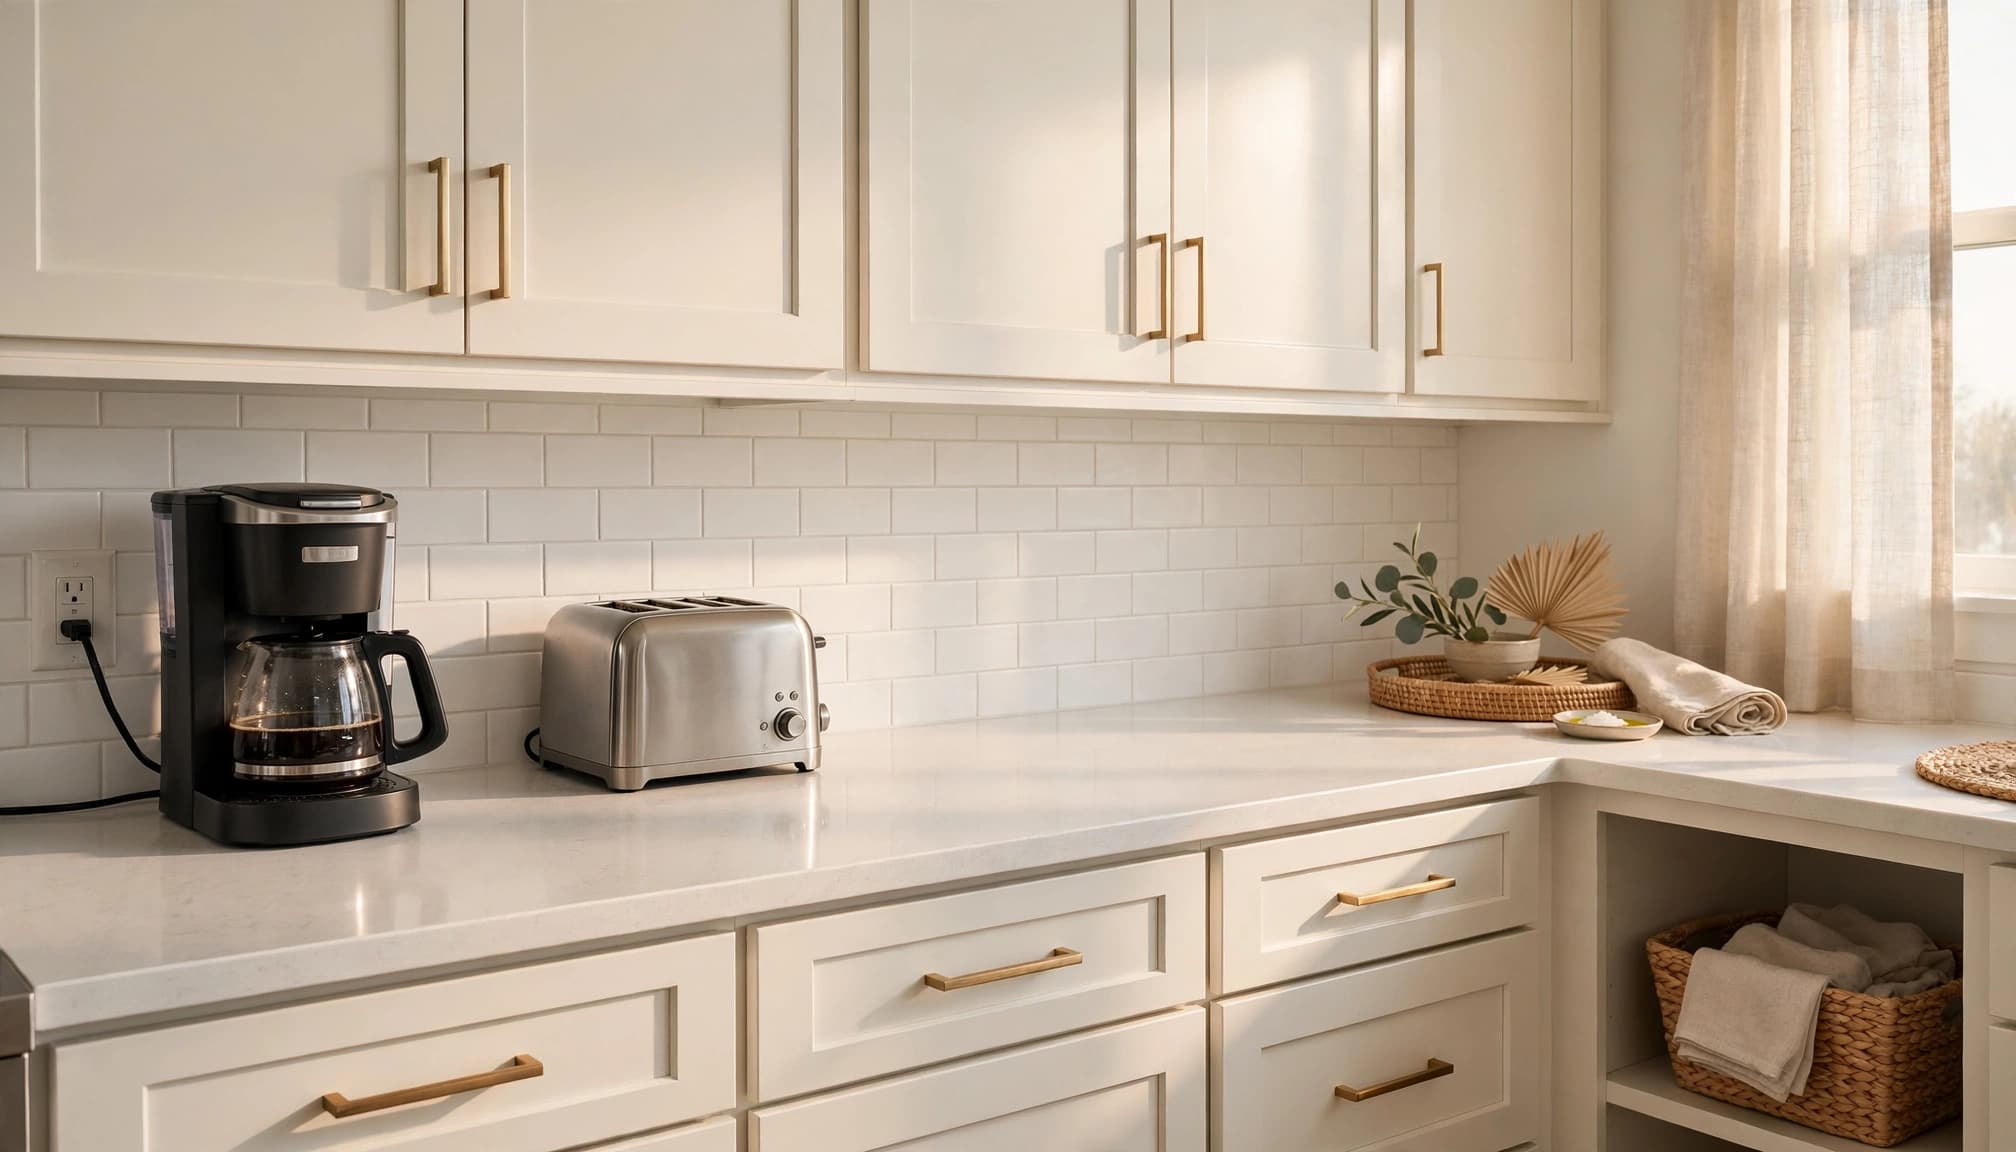
A short stretch of open counter often provides more value than another decorative storage feature. Avoid placing an appliance directly in front of the only useful prep area.
Give Each Appliance Zone a Clear Job
A kitchen works better when zones support distinct activities. The landing zone doesn't need to be large, but it should have a clear purpose.
A coffee station might include a brewer, grinder, kettle, mugs, filters, and a small drawer for spoons. A baking station could place a mixer near flour storage, a pull-out shelf, and a durable section of counter. A breakfast zone may hold a toaster, cereal, plates, and a nearby refrigerator.
Occasional-use appliances deserve a different strategy. Store an air fryer, ice cream maker, bread machine, or slow cooker in a pantry, appliance garage, or deep drawer when possible. Measure the appliance before choosing the storage location. Leave space for handles, cords, ventilation, and removal.
Avoid stacking heavy machines where retrieving one requires lifting another. A lower pull-out shelf can help, but its hardware must support the appliance weight and remain stable during use.
If you are planning a remodel, review Cape Coral kitchen remodeling options early enough to coordinate cabinet layouts, counter space, and appliance placement together.
Plan Power, Storage, and Ventilation Together
A landing zone can look attractive and still fail if the electrical plan comes later. Outlet locations should follow the final cabinet elevations, appliance dimensions, countertop height, backsplash, and open wall areas.
Place outlets where appliances can actually use them
Keep receptacles near the appliance zone, but away from sink splash areas and locations occupied by plumbing. Avoid placing an outlet directly behind a fixed appliance if the plug will become inaccessible or push the appliance forward.
Face-up receptacles installed in the countertop can collect crumbs and spills. A properly located backsplash receptacle is usually easier to clean and maintain. Your electrician should confirm required GFCI and AFCI protection for the project and current local requirements.
Several countertop appliances may run at the same time. A coffee maker, toaster oven, kettle, and air fryer can create a heavy load, so don't assume one shared circuit will handle every combination. Have the electrician review actual appliance specifications and separate circuits when required.
Match storage to the appliance
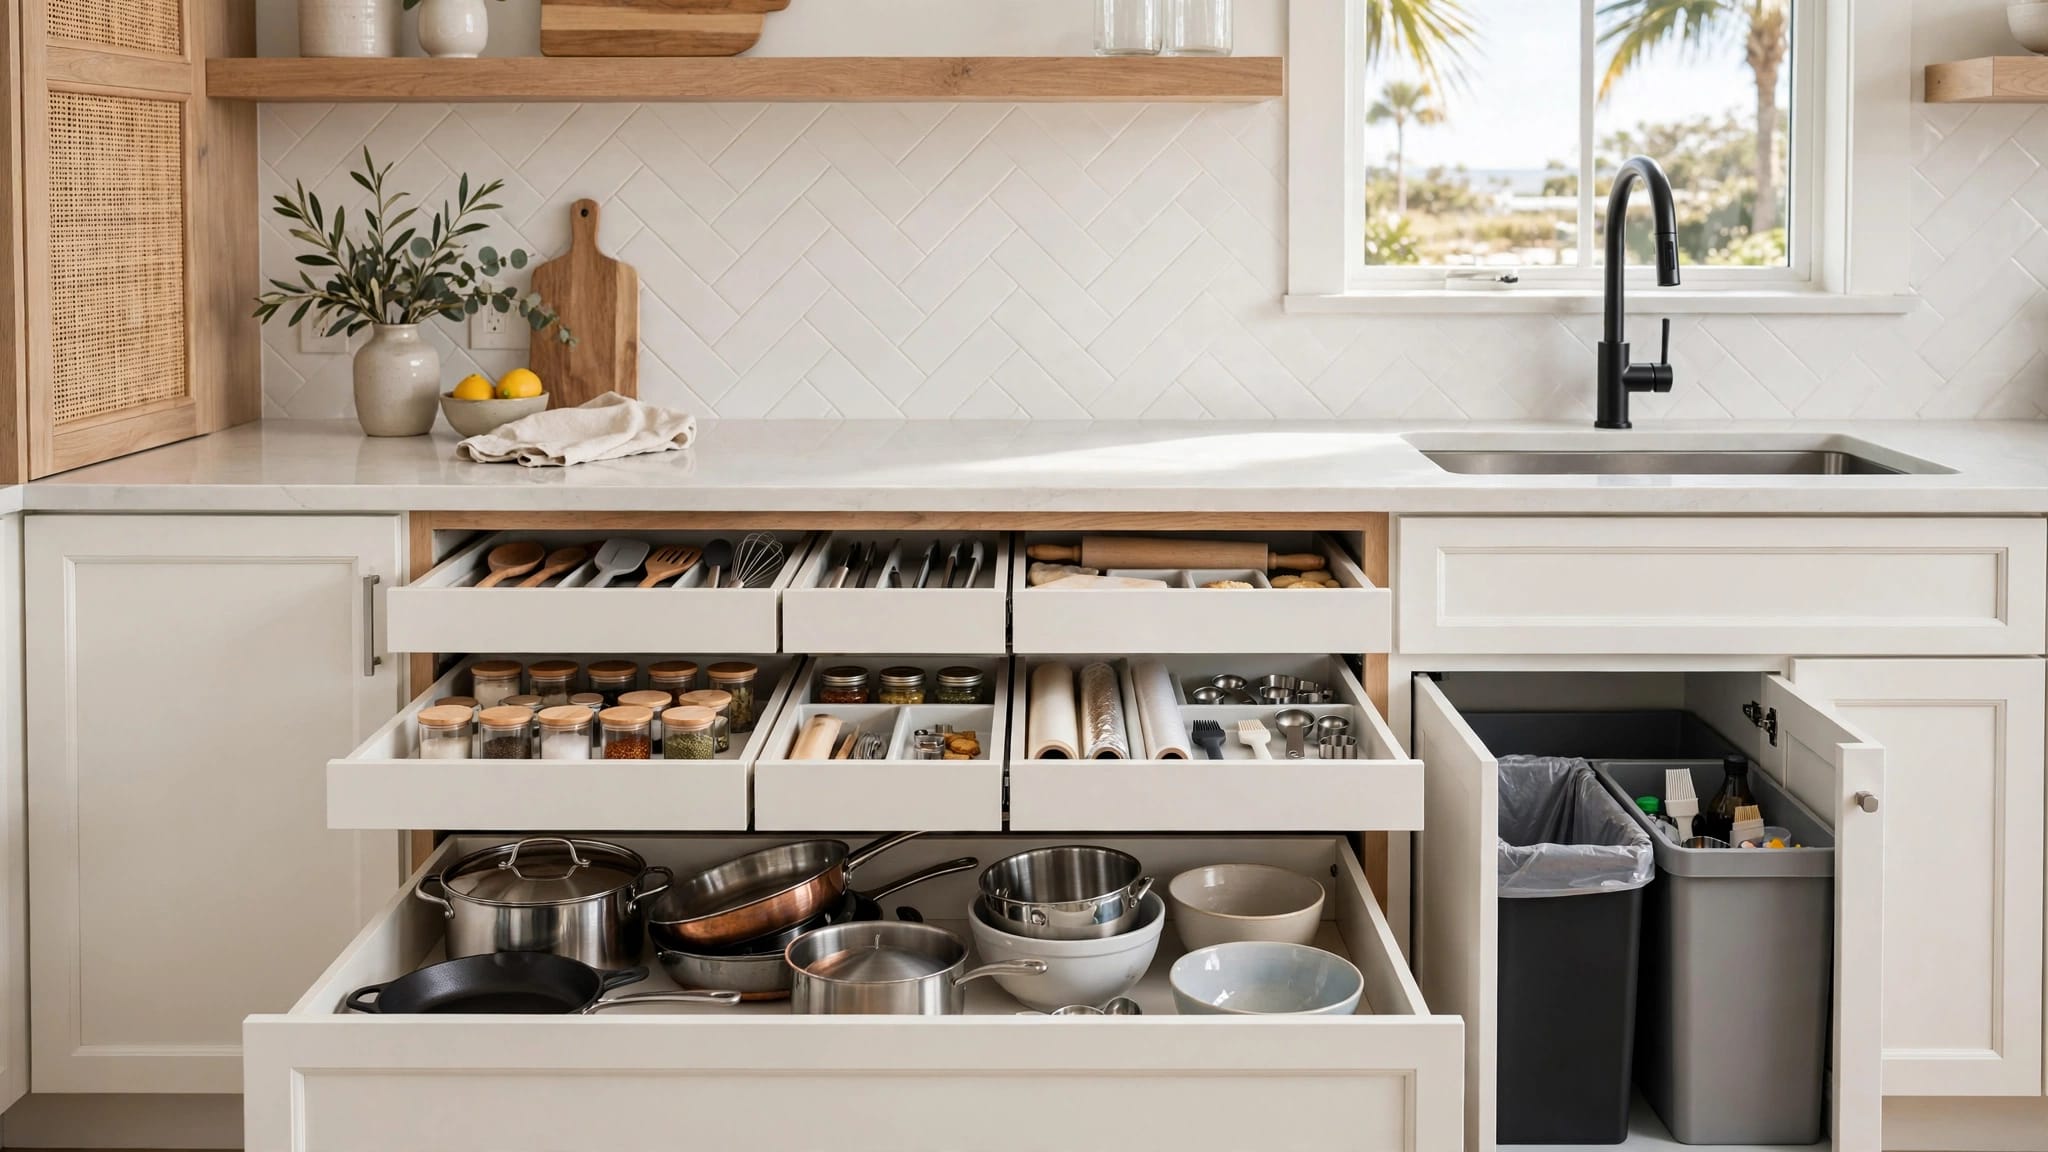
Deep drawers work well for compact appliances that need to remain accessible. Tall pantry shelves suit bulky machines with awkward shapes. Appliance garages can hide equipment, but they need enough interior height, ventilation, cord access, and room to operate the door.
A cabinet that conceals a coffee maker may look tidy, yet steam and heat can damage finishes if the machine runs inside a cramped enclosure. Confirm the manufacturer's requirements before operating any appliance behind a closed door.
Lighting controls belong in the same planning conversation. Under-cabinet lights, pendants, dimmers, and three-way switches can affect box locations and wiring routes. A well-planned landing zone should be easy to use at night, not dependent on a single ceiling fixture.
Coordinate major appliances and ventilation
Large appliances need their own plan. Confirm requirements for the refrigerator, microwave, dishwasher, disposal, range, wall oven, and hood using the actual product specifications.
A refrigerator outlet may need to sit in a nearby cabinet or recessed location so the plug doesn't push the refrigerator too far forward. Dishwasher and disposal wiring must also avoid plumbing access. A microwave inside a cabinet may need dedicated power, ventilation, and a carefully chosen height.
For a new build, floor plan and electrical planning should happen before cabinets and backsplash materials are finalized. The same principle applies to a major renovation.
Protect Prep Space and Kitchen Circulation
Appliances compete with the surfaces you need for chopping, mixing, serving, and setting down hot cookware. A kitchen appliance landing zone should support those activities instead of consuming every open inch.
Start with the counter beside the sink and main cutting area. Keep a clear section where groceries can land after unloading and where ingredients can wait during cooking. Place the blender or food processor close enough to reach the outlet without sending a cord across the sink.
Corners often become crowded with cabinet fillers, trim, and appliance handles. A receptacle in the center of an open backsplash section is usually more useful than one hidden near a corner.
The island requires special attention. If it includes seating, keep outlets away from knees, chair backs, and areas where cords could snag. An outlet on the side panel may help with charging, but the cabinetmaker, electrician, and designer should agree on the exact location before rough-in.
Leave enough room for drawers and appliance doors to open fully. Check refrigerator handles against islands, dishwasher doors against walkways, and microwave doors against nearby cabinets. These small conflicts become daily frustrations after installation.
Make Small Kitchens and Rentals Work
Limited space doesn't eliminate the need for an appliance zone. It makes flexibility more important.
Use movable storage in a small kitchen
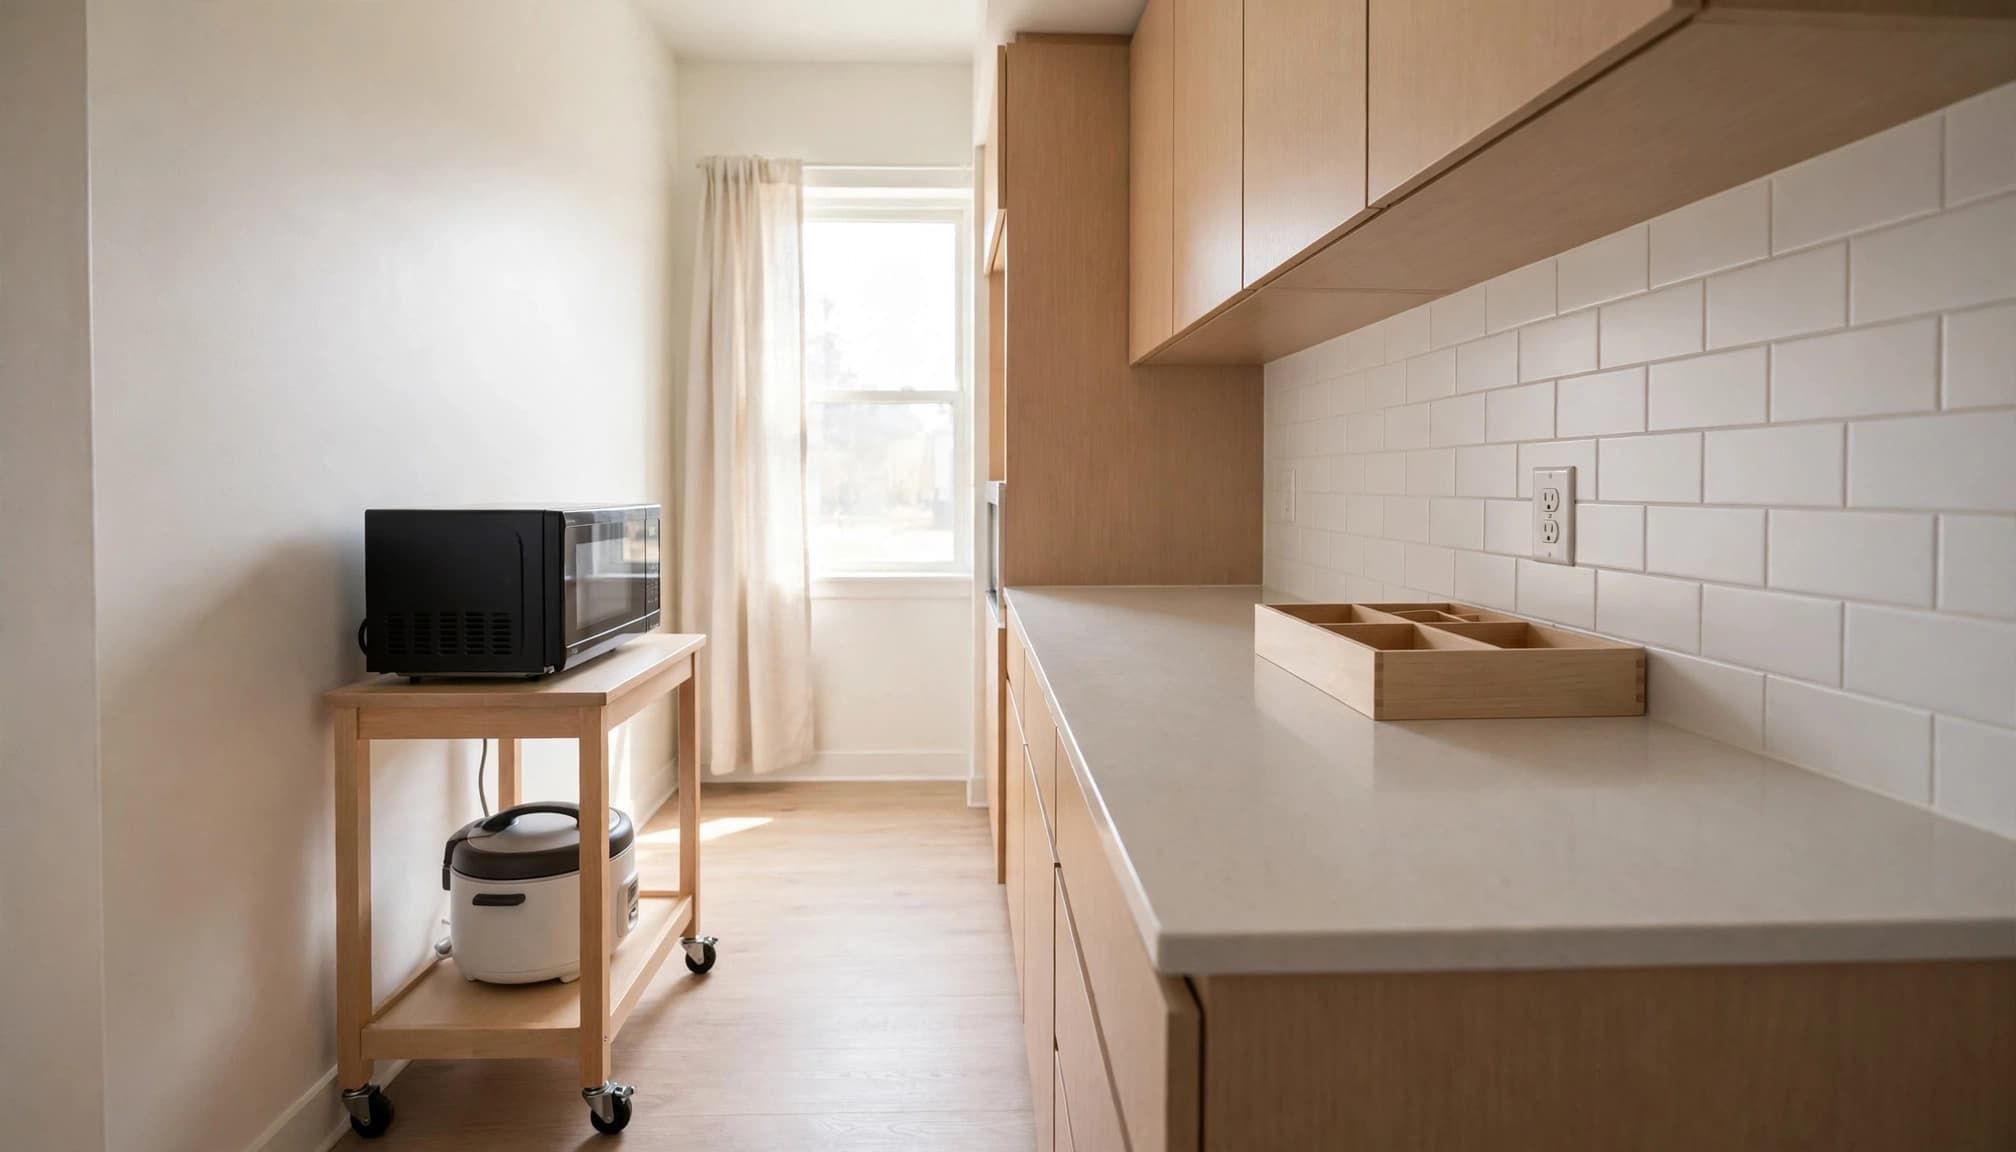
A narrow rolling cart can hold a microwave, coffee supplies, or a compact appliance without requiring permanent cabinetry. Open shelving keeps equipment visible and accessible, while a lidded bin controls smaller accessories.
Choose one appliance category for each surface. A cart that holds a microwave and rice cooker may work well, but adding a blender, toaster, and cookware can turn it into a second cluttered counter.
Keep the cart outside the main work triangle and away from door swings. Locking casters can improve stability, especially when the cart holds a heavy appliance.
Choose reversible solutions for renters
Renters can use freestanding shelves, removable organizers, countertop risers, and adhesive cord guides that don't require permanent changes. A microwave cart can create storage below while keeping the countertop available for prep.
Never rely on an extension cord as a permanent solution for a high-load appliance. Use existing outlets appropriately, avoid overloaded circuits, and ask the property manager or a licensed electrician about any electrical change.
In a small kitchen, store occasional-use appliances outside the main work area. A nearby pantry, dining cabinet, or utility shelf can hold equipment that only comes out for holidays or large meals.
Review the Landing Zone Before Construction
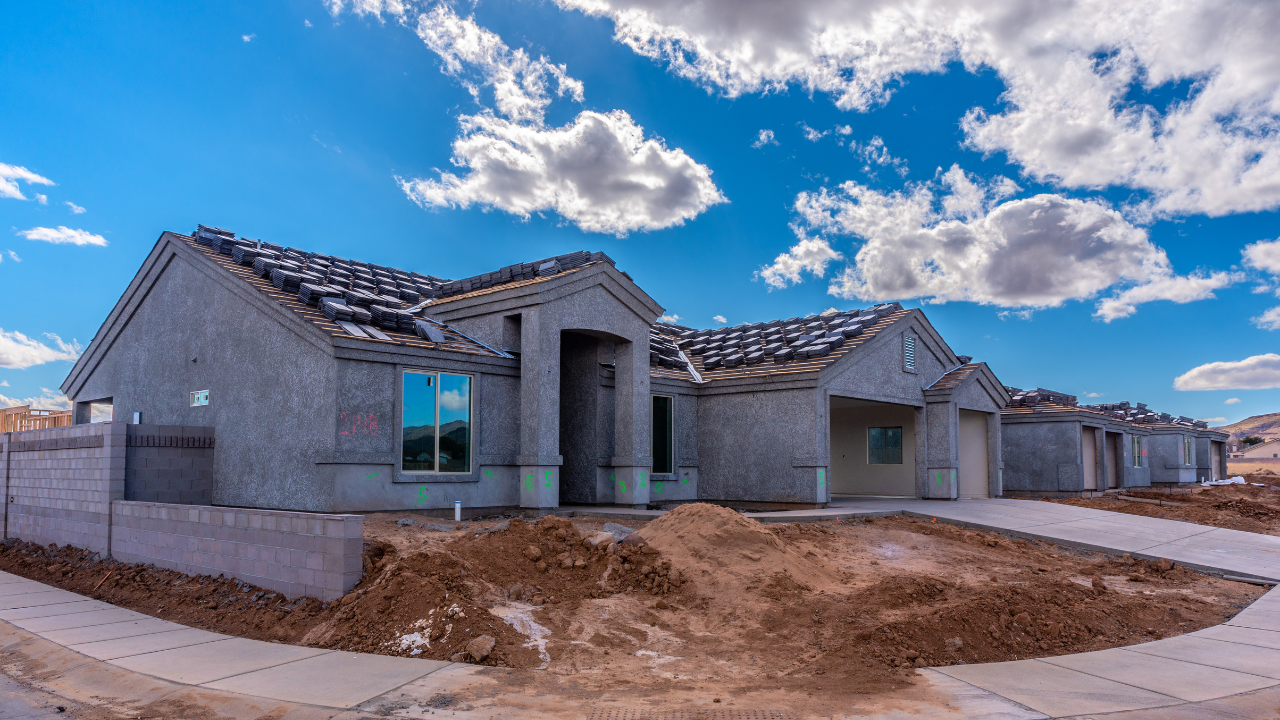
Electrical work happens before drywall, backsplash tile, and countertops cover the walls. That makes the rough-in stage the right time to catch problems.
Mark the plan in the actual room
Use painter's tape to mark proposed outlets, cabinets, appliance edges, island seating, and counter heights. Bring the actual appliance dimensions into the review. Walk through normal activities such as making coffee, unloading groceries, blending food, and charging a phone.
Check that each outlet lands in an open backsplash area. Confirm that no cabinet, plumbing line, duct, appliance, or trim piece will block access. Review drawer and door swings at the same time.
This walk-through should include the homeowner, designer, cabinetmaker, electrician, and remodeling contractor. If you're building a new home, a custom home builder in Southwest Cape Coral can coordinate the landing zone with the broader floor plan.
Photograph the rough-in
Take clear photographs after wiring and boxes are installed but before insulation and drywall cover the walls. Capture wide views and close-ups that show measurements, nearby corners, windows, and plumbing locations.
Keep those photographs with your remodel documents. They can help locate wiring later without exploratory cuts when you add shelves, cabinets, lighting, or other features.
Use a final planning checklist
Before the walls close, confirm:
- Frequently used appliances have accessible outlets and nearby landing space.
- Appliance loads and circuit requirements have been reviewed using actual specifications.
- GFCI and AFCI protection have been addressed by the electrician.
- Sinks, plumbing, cabinet interiors, and service access won't conflict with receptacles.
- Major appliances have the needed power, ventilation, water, drainage, and clearances.
- Under-cabinet lighting and wall controls are included in the electrical plan.
- Counter space remains available for prep, serving, and hot cookware.
- Rough-in photographs are stored with the project records.
Key Takeaways
A reliable kitchen appliance landing zone starts with how you use the room each day. Keep frequent appliances close to their ingredients, accessories, and outlets, while storing occasional equipment out of sight.
Protect clear prep space, avoid overloaded circuits, and coordinate receptacles with cabinets, plumbing, lighting, ventilation, and appliance specifications. Before construction continues, mark the plan on the walls and walk through real kitchen tasks.
FAQ
What appliances belong in a landing zone?
Keep appliances you use most days, such as a coffee maker, toaster, kettle, or blender, near an appropriate outlet and clear counter space. Store larger or occasional-use appliances in a pantry, deep drawer, or appliance garage.
How much counter space does an appliance zone need?
There is no single useful dimension for every kitchen. The space should fit the appliance, its controls, ingredients, cords, and the items you place beside it. Measure the machine in use, not only when it is stored.
Can I put a coffee maker inside a cabinet?
You can plan a concealed coffee station, but the cabinet needs proper clearance, ventilation, cord access, and room to fill and remove the reservoir. Follow the appliance manufacturer's instructions, and don't operate a steaming machine in a cramped closed cabinet.
Should every appliance have its own circuit?
Not every small appliance needs an individual circuit. However, higher-load equipment and certain built-in appliances may require dedicated power. A licensed electrician should review the appliance nameplate information and the home's existing electrical capacity.
What should I do before drywall is installed?
Walk through the room with the final cabinet and appliance plan. Mark every outlet, switch, appliance edge, and lighting control with painter's tape. Confirm access, clearances, circuit planning, protection requirements, and utility connections before the walls close.
Conclusion
A kitchen appliance landing zone works when it supports real routines without sacrificing prep space or clean design. Plan the zone around daily tasks, place outlets where appliances can use them safely, and coordinate storage with electrical, plumbing, lighting, and ventilation needs.
The best setup may be a built-in coffee station, a deep drawer for a mixer, a movable cart in a rental, or a carefully planned pantry shelf. In every case, convenience begins before installation , while the walls and cabinets are still easy to change.