

Subfloor Moisture Testing Before Flooring in Cape Coral
A floor can look ready while moisture below the surface is still moving through the slab or wood structure. Subfloor moisture testing gives Cape Coral homeowners a clear answer before expensive flooring, adhesives, and trim cover the evidence.
This step matters after rain, plumbing repairs, storm-related water exposure, or long periods without air conditioning. It also matters in a new build, where a strong concrete slab may still need more drying time for the selected flooring system.
Start with the actual condition of the floor, then match the test and installation plan to the product you chose.
Why Subfloor Moisture Testing Comes First
Moisture can loosen adhesives, stain grout, swell wood, cause cupping, or create gaps between planks. A surface may feel dry and still hold moisture deeper in the concrete or framing.
Cape Coral's heat and humidity can slow drying. Wind-driven rain, water near exterior walls, plumbing leaks, and damp conditions after a power outage can also change the substrate after an earlier inspection.
Blue Heron's concrete slab moisture testing insights point out that flooring problems can begin beneath a slab that appears dry. Even waterproof flooring needs a substrate that meets the installation system's requirements.
A passing result is not one universal number. It is a documented result that meets the flooring, adhesive, underlayment, and manufacturer requirements for that room.
Testing before materials arrive gives you time to find the source, let the area dry, complete repairs, or select an approved moisture-control system. Flooring should never go over an unresolved moisture problem.
Concrete Slab Moisture Testing Before Flooring
Concrete is durable, but it releases moisture as it cures and dries. Older slabs can also take on moisture through cracks, plumbing leaks, exterior drainage issues, or damaged protection below the concrete.
Before testing, inspect the whole room. Look for discoloration, efflorescence, cracks, spalling, old adhesive, coatings, soft patches, and signs of previous water entry. These conditions don't prove a failure, but they help identify areas that need closer review.
Use the test the flooring system requires
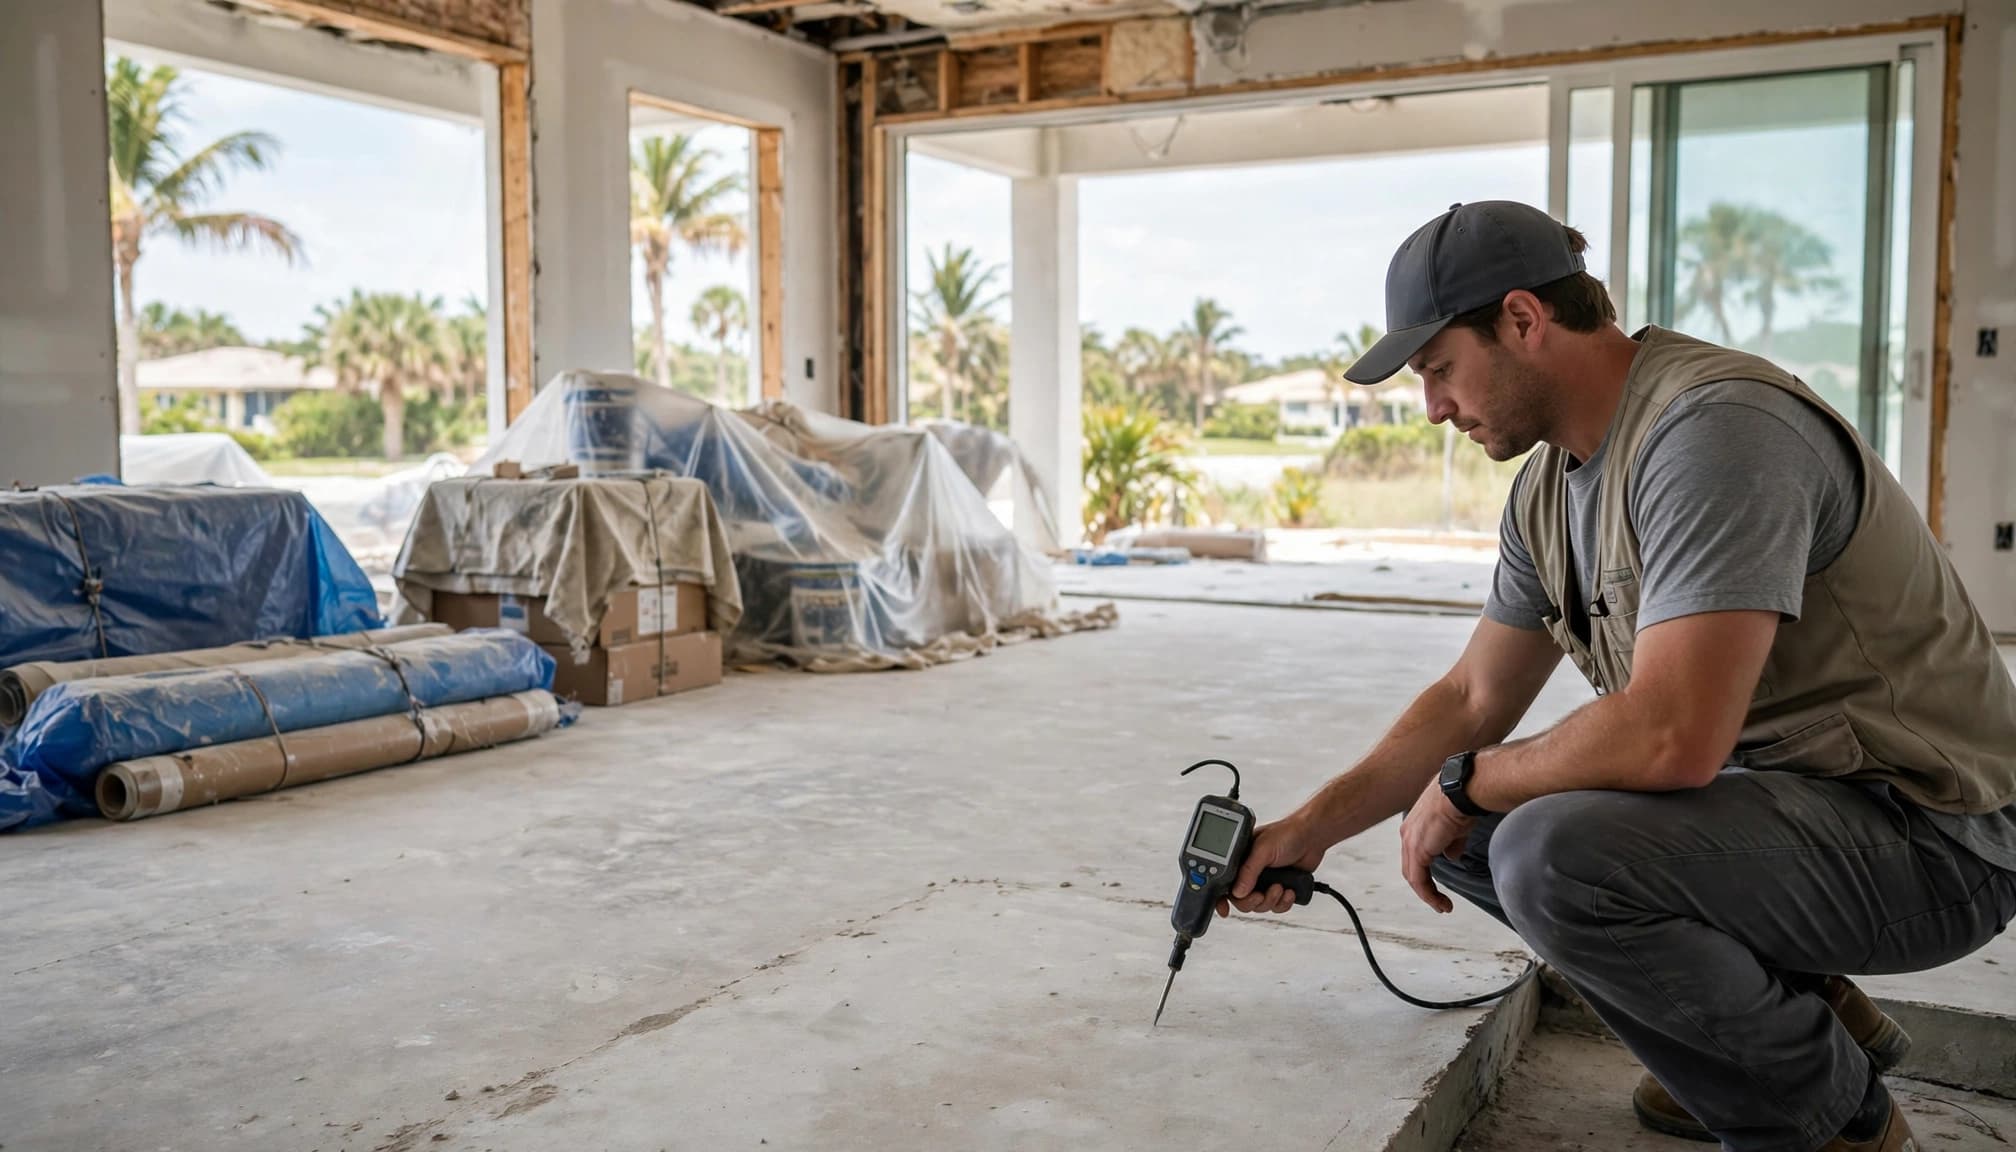
A handheld concrete moisture meter is useful for scanning the slab and locating areas that may need attention. However, it is a screening tool and should not replace the test method required by the flooring manufacturer.
An in-situ relative humidity test, commonly associated with ASTM F2170, measures humidity conditions inside the concrete. A calcium chloride test, commonly associated with ASTM F1869, measures moisture vapor emission at the slab surface. Some resilient flooring systems also call for surface pH testing because alkalinity can affect adhesive performance.
The flooring product instructions should identify the required test method, acceptable readings, test conditions, and any approved primer or moisture-mitigation product.
Treat the slab as part of the full floor assembly
Concrete strength and flooring readiness are different things. A new slab may be ready to support walls and furniture while still holding more moisture than a particular wood floor or adhesive can accept.
For new homes, Blue Heron's listed concrete slab and foundation features include a vapor barrier beneath a reinforced 4-inch slab. That detail is part of its new-home construction assembly, not proof that every existing Cape Coral home has the same protection.
A vapor barrier below the slab can limit moisture movement from the ground, but it cannot correct an active leak, surface contamination, or water entering through the building exterior.
Wood Subfloor Testing Needs a Different Approach
Wood subfloors need their own inspection and moisture checks. Plywood, oriented strand board, floor joists, and framing can absorb moisture faster than concrete and show damage differently.
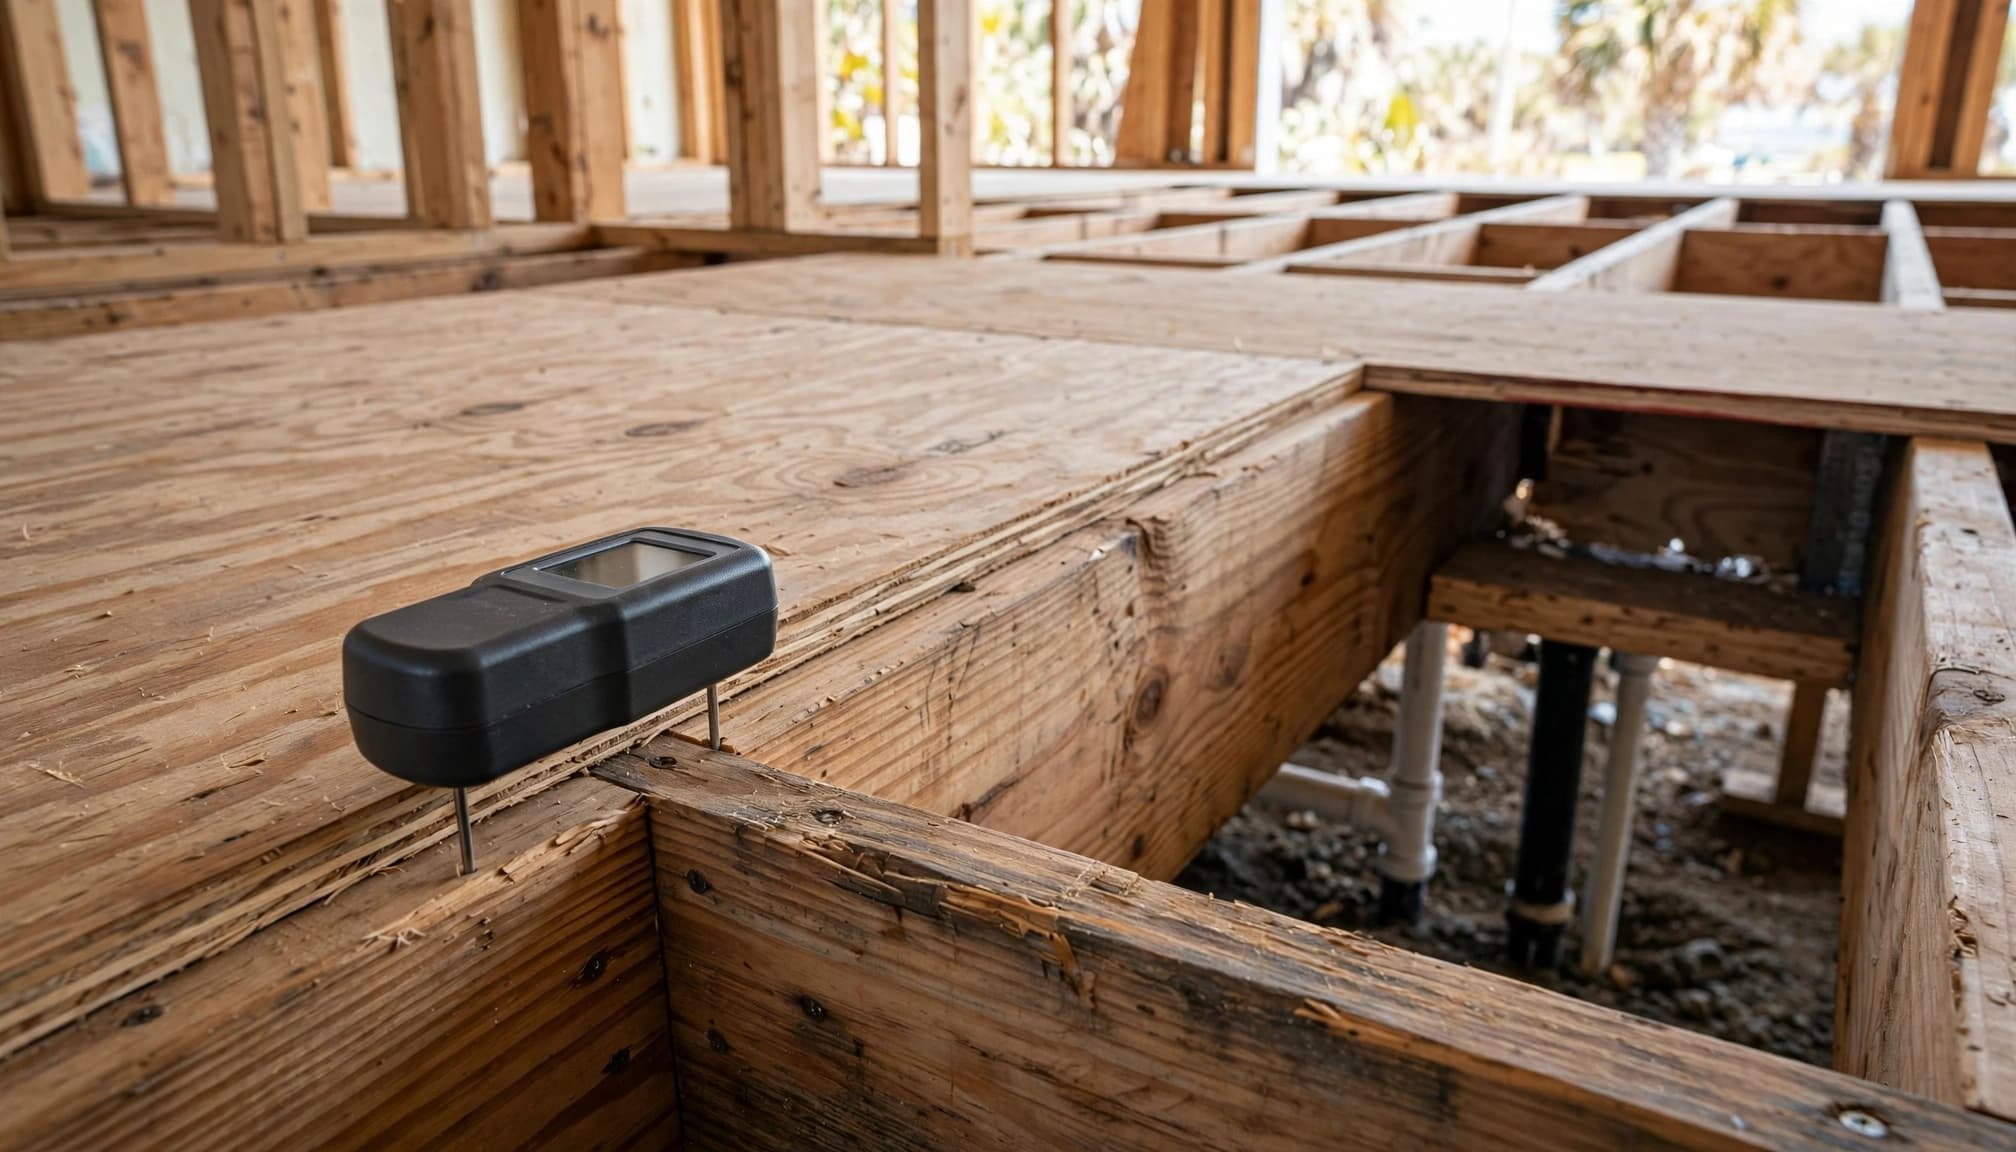
A pin-type moisture meter can check wood moisture content at several locations. The installer should compare readings across the room, especially near bathrooms, exterior doors, kitchens, windows, and areas with a history of leaks.
Inspect the structure, not only the top layer
Check for swelling, delamination, staining, mold-like growth, loose fasteners, soft areas, cracked panels, and movement underfoot. Look below the floor where access allows. Damp insulation, water marks on joists, and corroded plumbing connections can point to a hidden source.
A moisture meter reading without an inspection can miss the reason the wood is wet. Repairing the damaged section without correcting a leaking supply line or exterior opening only postpones the problem.
Let the room and flooring reach stable conditions
Wood flooring, engineered wood, laminate, and wood-based underlayments respond to changes in indoor moisture. They can expand, shrink, cup, or gap when conditions shift after installation.
Run the home's normal HVAC system before final testing and acclimation. Keep windows and exterior doors closed during this period when possible. Avoid testing immediately after major rain, flood cleanup, or a prolonged air-conditioning outage.
The flooring material itself may need moisture checks and acclimation under the manufacturer's stated conditions. The installer should confirm both the subfloor and the flooring are ready before installation begins.
Find the Moisture Source Before Repairing the Floor
A high reading is not a reason to add more adhesive or place a thicker underlayment. It is a reason to investigate.
Start with recent events. Review plumbing work, dishwasher or refrigerator leaks, overflowing fixtures, roof leaks, storm exposure, and water that entered through doors or windows. In kitchens and bathrooms, inspect supply lines, drain connections, shutoff valves, and appliance hookups.
Outside the home, consider drainage, irrigation, grading, and water collecting near exterior walls. Inside, check wall penetrations, window openings, air-conditioning condensate lines, and areas around shower or tub plumbing.
When a bathroom renovation includes moving a shower drain, the work may involve slab penetration and inspection before the floor is closed. Review plumbing and slab inspection requirements early when a remodel changes plumbing below the finished floor.
If the source is unclear, postpone installation. A qualified flooring or moisture-testing professional can help determine whether the floor needs drying, repairs, mitigation, or a different flooring assembly.
Match the Preparation to the Flooring Material
Tile, luxury vinyl, engineered wood, solid hardwood, laminate, and sheet vinyl do not share the same moisture limits or preparation rules. The manufacturer's current instructions control the decision.
Tile and resilient flooring still need a sound substrate
Porcelain and ceramic tile handle surface water well, but they still need clean, stable, adequately prepared concrete or wood beneath them. Cracks, low spots, weak concrete, and movement can lead to cracked grout, hollow areas, or uneven tile.
Luxury vinyl can be waterproof at the surface, yet the adhesive, seams, and substrate remain sensitive to unsuitable moisture conditions. Sheet vinyl can also reveal ridges, debris, and shallow low areas through the finished surface.
Use only primers, patching materials, membranes, and adhesives approved for the selected system.
Wood and laminate require tighter moisture control
Solid and engineered wood can react strongly to moisture changes. Some products require an approved adhesive or moisture barrier over concrete, while others have different subfloor and underlayment requirements.
Laminate and floating floors also need a flat, dry substrate. An underlayment may improve sound or comfort, but it cannot stop an active moisture condition or correct a sloped floor.
Check the exact flooring product, installation method, adhesive, underlayment, and room conditions as one complete assembly. Mixing materials from unrelated systems can void product requirements or create a weak layer beneath the floor.
Prepare, Test, and Document the Work
Good documentation protects the homeowner, installer, and flooring manufacturer. It also gives everyone a record if a later concern develops.
Follow a practical order of work
- Inspect the slab or wood subfloor before cleaning or covering it.
- Repair leaks, drainage issues, damaged materials, cracks, and unstable areas.
- Run HVAC under normal living conditions, then complete the required moisture tests.
- Make leveling repairs with compatible products and allow each layer to cure as directed.
- Recheck conditions after repairs, water exposure, or changes that could affect the substrate.
Concrete dust, paint, oil, curing compounds, old adhesive, drywall residue, and salt contamination can prevent adhesives and patching products from bonding. Surface preparation should follow the flooring and repair product instructions.
Keep a complete installation record
Save the test date, room conditions, test method, results, floor product name, adhesive or underlayment details, repair materials, and manufacturer instructions. Include photos of stains, cracks, plumbing repairs, and areas affected by water.
Larger projects also need coordination around finished floor height. New flooring can affect door clearance, cabinet toe kicks, appliance openings, baseboards, and transitions into adjacent rooms. Cape Coral general remodeling services can help coordinate those connected details before finishes make changes harder.
Key Takeaways
- Test concrete and wood subfloors differently because they hold and release moisture in different ways.
- Use moisture meters to investigate, but follow the flooring manufacturer's required test method for approval.
- In-situ relative humidity and calcium chloride testing can apply to concrete slabs, depending on the flooring system.
- Address plumbing leaks, rain entry, drainage issues, and water damage before installing any floor covering.
- Let HVAC stabilize the home before final testing, acclimation, and installation.
- Keep written records of readings, repairs, materials, and product instructions.
Frequently Asked Questions
Can a concrete slab be dry enough on the surface but fail moisture testing?
Yes. Concrete can feel dry at the surface while moisture remains deeper in the slab. As moisture moves upward, it can affect adhesives, leveling compounds, wood products, and resilient flooring. That is why visual inspection alone is not enough.
Should I test the floor again after a plumbing leak or heavy rain?
Yes, if the water exposure affected the room, entered near the flooring area, or changed the indoor conditions. Repair the source first, dry the affected materials, and retest according to the selected flooring system's requirements.
When should I hire a moisture-testing professional?
Bring in a professional when readings are outside the product requirements, the home has a flooding history, the source of moisture is unclear, or the slab has recurring cracks, spalling, or signs of movement. Professional help is also wise before installing wood flooring over concrete.
A Dry-Looking Floor Is Not Always a Ready Floor
The most dependable flooring installations begin with a stable, clean, properly tested substrate. In Cape Coral homes, humidity, rain exposure, plumbing, and the existing floor structure all affect that decision.
Subfloor moisture testing gives you the information to solve problems before they become trapped beneath a finished floor. Wait for documented approval from the flooring system's requirements, then install with confidence.